 Pin it
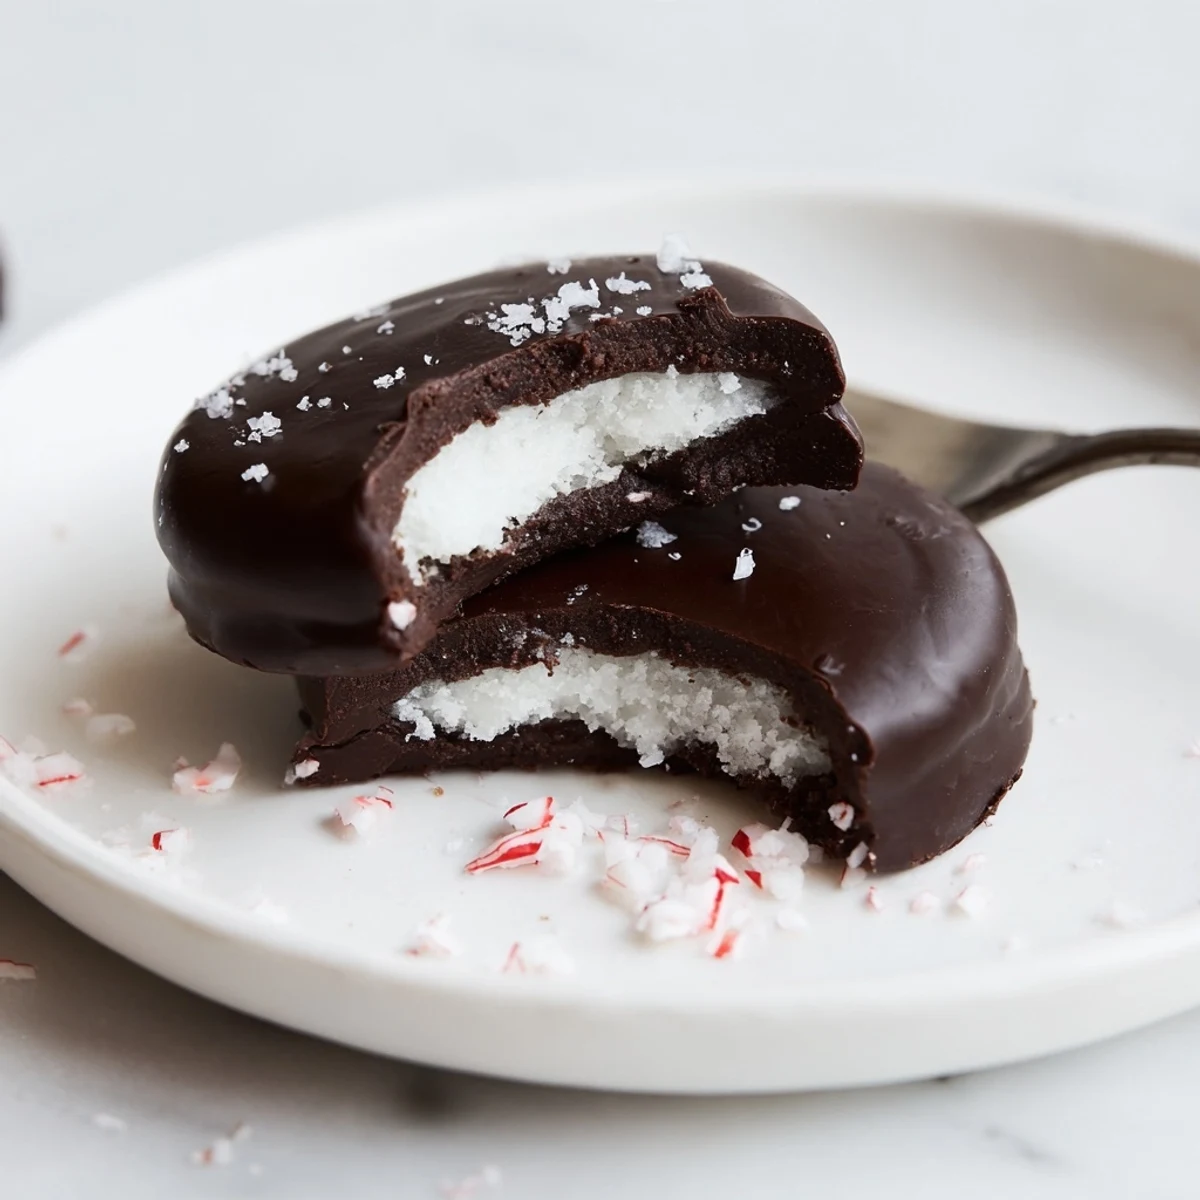
 Make bright peppermint centers by beating sifted powdered sugar with softened butter, peppermint extract, a touch of cream and salt until smooth. Shape into small discs and freeze until firm. Melt dark chocolate gently and dip the chilled discs, letting excess drip off, then chill again to set. Finish with crushed candy or flaky salt; swap dairy for plant-based alternatives to make a vegan version. Store chilled in an airtight container up to two weeks.
The first time I made peppermint patties at home, the wintry scent of peppermint gently crept through my kitchen, clinging to my apron and everything nearby. Without the hum of holiday tunes or a crowd, I found the quiet just as memorable—the sound of chocolate cracking and the tap of a fork echoing through the room. My curiosity was piqued by how simple ingredients mixed together became smoother than I expected, almost soothing to my hands. That sense of effortless transformation made each step surprisingly joyful.
The time I made these for a friend’s surprise engagement party, I remember nervously giggling as I fished each patty out of the chocolate, worried the drizzle would be messy. Instead, everyone loved the perfectly imperfect patterns, and we all ended up trading stories over a platter of glossy, homemade peppermint patties. Someone commented that they tasted like winter in candy form, which has stuck with me ever since. There’s nothing like the thrill of watching guests close their eyes at the first bite, grinning at the cool hit of mint.
Ingredients
- Powdered sugar: This sifts easily into the dough for a silky-smooth filling—I always sift it twice to avoid any tiny lumps.
- Unsalted butter: Using butter that’s just barely soft helps everything blend, and I let it sit on the counter for 10 minutes max.
- Pure peppermint extract: Start with 2 teaspoons, but I’ve learned that adding a drop more (if you’re a true mint lover) makes all the difference.
- Heavy cream: This is what makes the filling soft enough but not sticky; use cold cream so your dough stays firm.
- Pinch of salt: Don’t skip this, even a tiny bit wakes up the flavor of the mint and balances the sweetness.
- Dark chocolate (60–70% cocoa): I chop mine into small chunks so it melts evenly and quickly over the double boiler.
- Coconut oil (optional): Just a touch will give the chocolate coating extra sheen and a soft crack instead of a snap.
Instructions
- Make the mint dough:
- In a mixing bowl, combine powdered sugar, butter, peppermint extract, heavy cream, and salt—with your spatula, press everything together until the mixture turns smooth and pliable. If it’s still sticky, sprinkle in a bit more powdered sugar until your hands come away clean.
- Shape the patties:
- Scoop out 2 teaspoons of dough per patty, then roll into balls and gently flatten into 1/4-inch thick discs on a parchment-lined baking sheet.
- Chill the discs:
- Slide the baking sheet into the freezer for 20 to 30 minutes, letting them firm up until cool to the touch but not icy.
- Melt the chocolate:
- In a heatproof bowl set over simmering water, stir the chopped chocolate and coconut oil until melted and perfectly glossy.
- Dip each patty:
- Drop each chilled disc into the chocolate with a fork, coating both sides, and then lift it out gently, letting any excess drip back into the bowl before replacing on the sheet.
- Set the chocolate:
- Chill the dipped patties in the refrigerator for 15 minutes, just until their coating is firm and ready to eat.
 Pin it
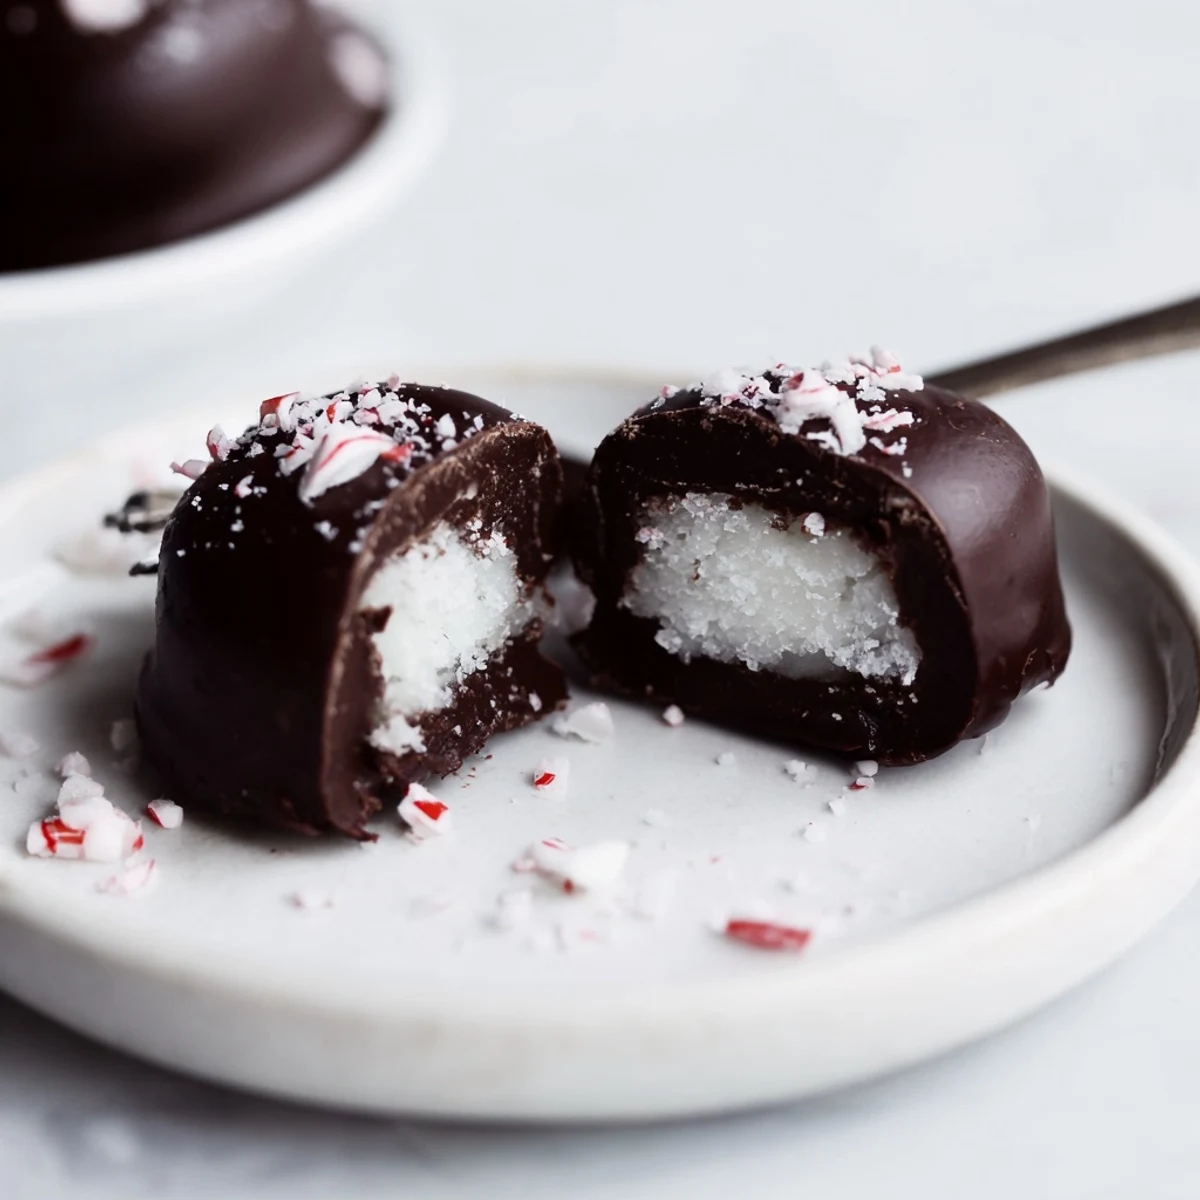
 One of my favorite moments with these patties was slipping a few into a hand-stitched bag for a friend going through a rough week. Her thankful text (and the inevitable request for more) made me realize how a tiny homemade treat can spark genuine connection. For a confection so simple, these patties have a way of weaving themselves into every kind of happy occasion.
Chilling Secrets for Perfect Patties
After a few batches, I found the freezer is your best friend: if you’re ever uncertain the filling is firm enough, give it five more minutes of chill time. It prevents the filling from smudging the chocolate, and helps each patty keep its iconic shape once coated. Even in summer heat, the frozen touch means the job feels less stressful and a bit more foolproof.
Choosing Chocolate Like a Pro
I always go for 60–70% dark chocolate, and I’ve learned that chopping it finely (instead of using chips) gives the smoothest coating. If you don’t have a double boiler, a glass bowl over a saucepan of gently simmering water works just as well. Don’t rush this step—slow, gentle melting brings out the shine and flavor you want.
A Few Last Touches from My Kitchen
Sometimes I sprinkle crushed peppermint candy or flaky sea salt on top of the patties right after dipping—a festive look and a flash of bright, salty sparkle. Storing the patties in the fridge keeps the chocolate crisp and the filling cool for days (if they last that long). And for anyone following a vegan diet, dairy-free butter and coconut cream bring the same creamy bite in every piece.
- If your dough starts sticking, dust your hands with a little powdered sugar.
- Set each dipped patty on fresh parchment so it lifts easily when serving.
- Remember: a few imperfect swirls of chocolate give each patty homemade charm.
 Pin it
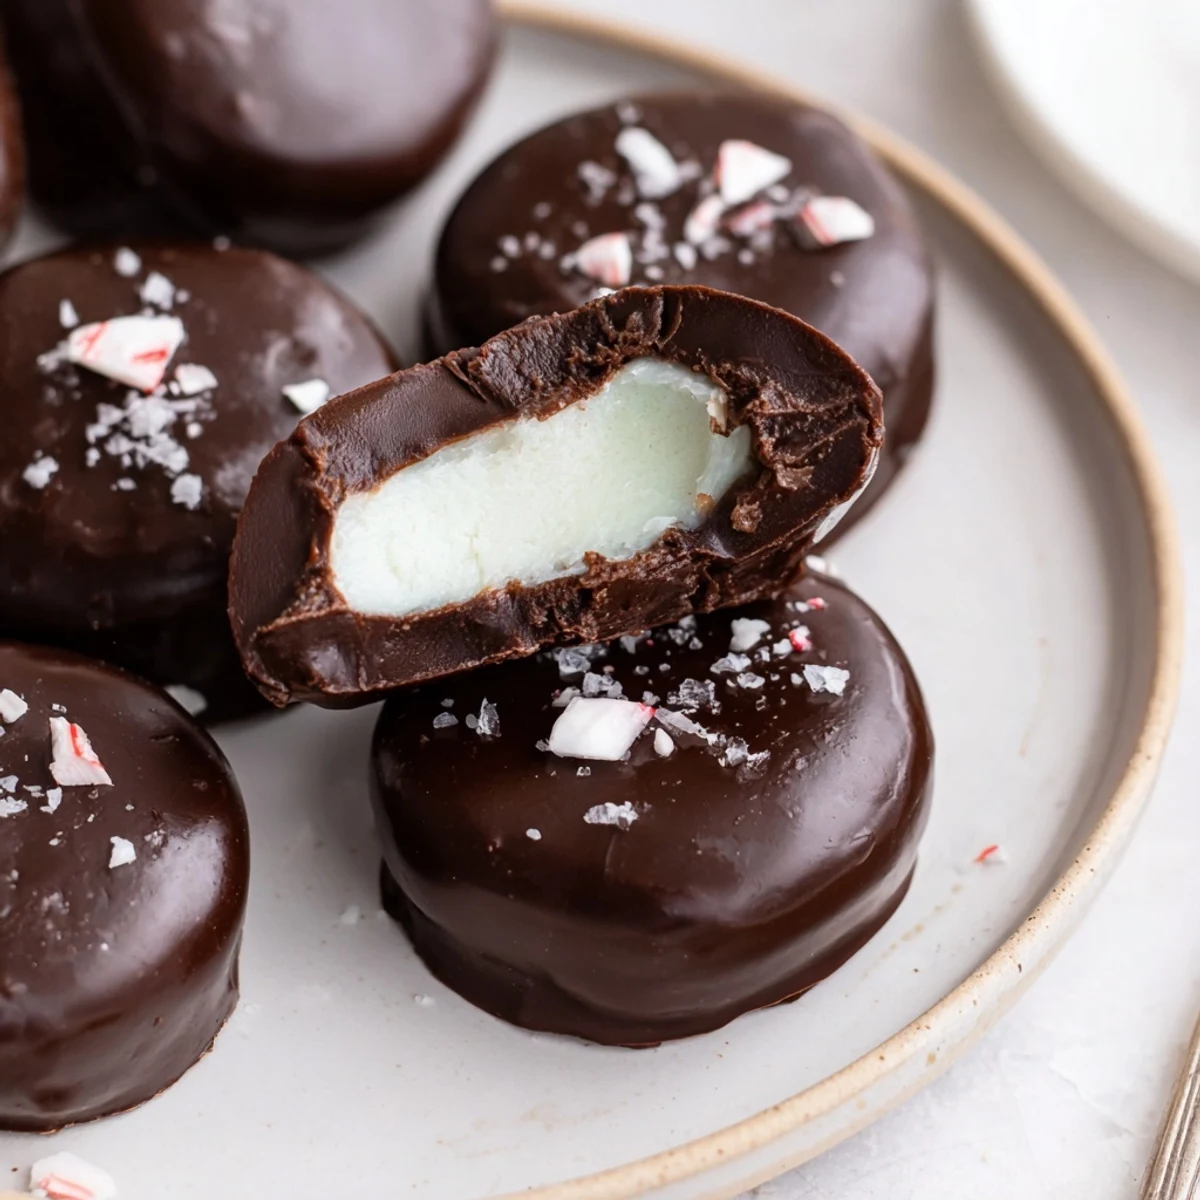
 Sharing these peppermint patties is a tiny way to show you care, and making them together means there’s always chocolatey laughter in the kitchen. Here’s to cool mint, warm hands, and treats that simply make people smile.
Recipe FAQs
- → How do I stop the filling from being too sticky?
-
Gradually add more sifted powdered sugar until the mixture is pliable but not tacky. Chilling the discs before dipping helps them hold shape and reduces stickiness during coating.
- → Can I use milk or white chocolate instead?
-
Yes. Milk or white chocolate will be sweeter and softer; add a teaspoon of coconut oil for a smoother coating and better shine. Be mindful that sweeter chocolate alters the balance with the mint filling.
- → What's the best way to melt the chocolate without seizing?
-
Melt over a gentle bain-marie, stirring frequently and keeping water out of the bowl. Alternatively, use short low-power microwave bursts with stirring between intervals to avoid overheating.
- → Any tips for a glossy, crisp coating?
-
Add a small amount of coconut oil to the melted chocolate and work at a moderate temperature. Allow excess to drip off and place on parchment; quick chilling helps set a smooth, glossy finish.
- → How should I store finished patties?
-
Keep them in an airtight container in the refrigerator for up to two weeks. For firmer texture, serve chilled; for a softer bite, let sit at room temperature for a few minutes before serving.
- → How can I make a dairy-free version?
-
Replace butter with a vegan spread and heavy cream with coconut cream. Choose dark chocolate labeled dairy-free and check for cross-contamination to maintain a vegan-friendly option.