 Pin it
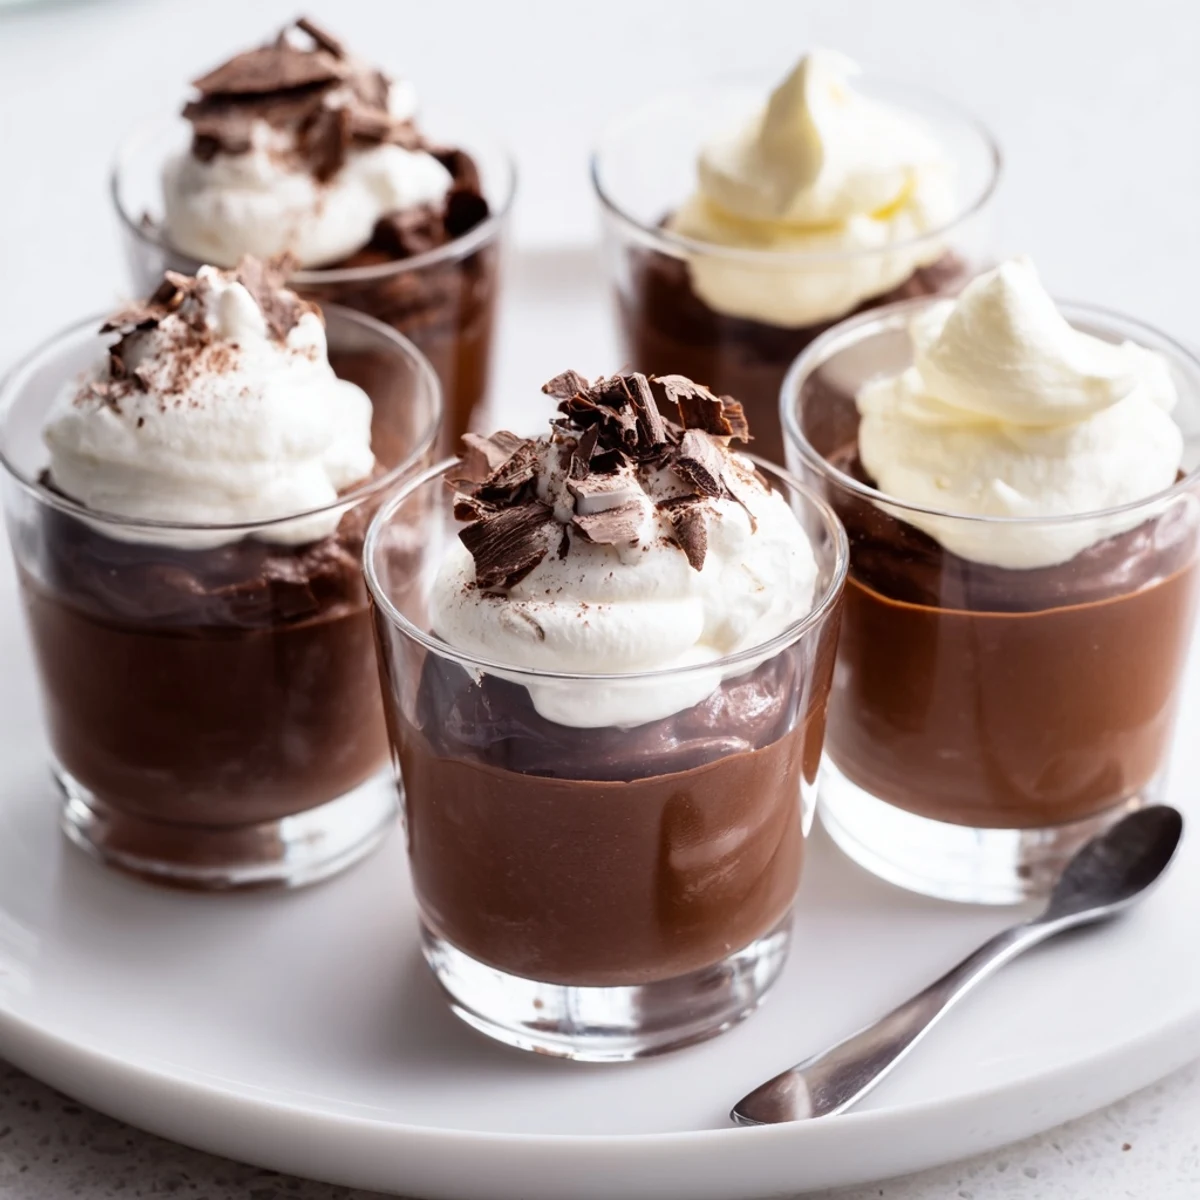
 Three distinct mousses — dark, milk and white — are made by melting chocolate, whisking egg yolks with sugar, folding in the melted chocolate, then gently incorporating whipped cream to keep a light texture. Spoon each layer into six small cups, chill between layers and let set for about 1–2 hours. Finish with shaved chocolate or a dusting of cocoa; add a splash of coffee liqueur to the dark layer if desired.
Three types of chocolate, one little spoon—there’s something mischievous about quietly assembling these Triple Chocolate Mousse Cups while rain patters outside. The anticipation always grows as each colored layer stacks up in those clear glasses. I remember the scent: deep, bittersweet, and sweet cream swirling together, making the kitchen feel lush and slightly forbidden. When you sneak a taste of the dark mousse, it hints why patience will be rewarded later.
Last winter, I made these for my friends during our annual puzzle night, and everyone stopped mid-piece to eye the cups lined up on the table. We snacked and guessed the chocolate layers, passing bites around and making a mess of the mousse and the game board. I didn’t mind; the laughter lingered longer than the pieces did. It’s a dessert that turns into a little event, every single time.
Ingredients
- Dark chocolate (100 g, minimum 60% cocoa), chopped: The bitter edge balances the sweetness—choose a good bar for velvety depth.
- Egg yolk (1 large per mousse layer): It gives each mousse richness and a melt-in-your-mouth feel, just be sure the yolks are at room temp for easier mixing.
- Sugar (1 ½ tbsp per mousse layer): Not too much, just enough to lift each chocolate’s flavor without overwhelming them or making the dessert cloying.
- Heavy cream (100 ml, cold, per mousse layer): Cold cream whips higher and lighter—keep it in the fridge until the very last moment so your mousse sets properly.
- Milk chocolate (100 g), chopped: This layer is creamy and approachable, bringing a softer sweetness between the bold and the light.
- White chocolate (100 g), chopped: It’s the mellow, milky top layer; watch out when melting—it scorches easily.
- Shaved chocolate or cocoa powder (for topping): The garnish adds just enough contrast and flair—use your favorite for extra panache.
Instructions
- Make the Dark Chocolate Mousse:
- Melt the dark chocolate gently using a bain-marie or microwave, stirring until glossy, then let it cool just so it won’t cook the eggs. Whisk the egg yolk with sugar until pale and thick, and fold in the cooled chocolate; it should smell dense and inviting. In a separate cold bowl, whip the heavy cream until soft peaks form—it will look like clouds. Gently fold the whipped cream into the chocolate mixture and spoon it into 6 serving cups as the bottom layer; chill to set while you work on the next layer.
- Create the Milk Chocolate Layer:
- Melt the milk chocolate until silk-smooth but not hot; repeat the whisking of yolk and sugar until it resembles a pale custard. Blend in the melted chocolate, inhaling the caramelly scent, then fold in freshly whipped cream again. Aim for a gentle touch—overmixing knocks out the air. Spoon or pipe the milk chocolate mousse over the dark base, keeping lines neat for pretty cups, and return to the fridge.
- Add the White Chocolate Finale:
- Melt the white chocolate slowly (it likes to scorch!), cool just a touch, combine with another yolk-beaten-with-sugar, and then the cream. The mixture will be pale and luscious; fold softly to keep it airy. Pipe or spoon gently over the milk chocolate layer, smoothing the tops, then chill all the cups for at least an hour (more if you can stand it) until firm.
- Dress Them Up:
- Right before serving, shave chocolate curls over each cup or dust with cocoa powder. The layers should gleam, and the texture will be pure velvet at the first bite.
 Pin it
 When my sister and I spent a Sunday making these, we laughed at how precise I got about leveling each chocolate layer, as if we were entering a bake-off. Later, watching her sneak the last spoonful, I realized sometimes these small desserts become part of much bigger memories.
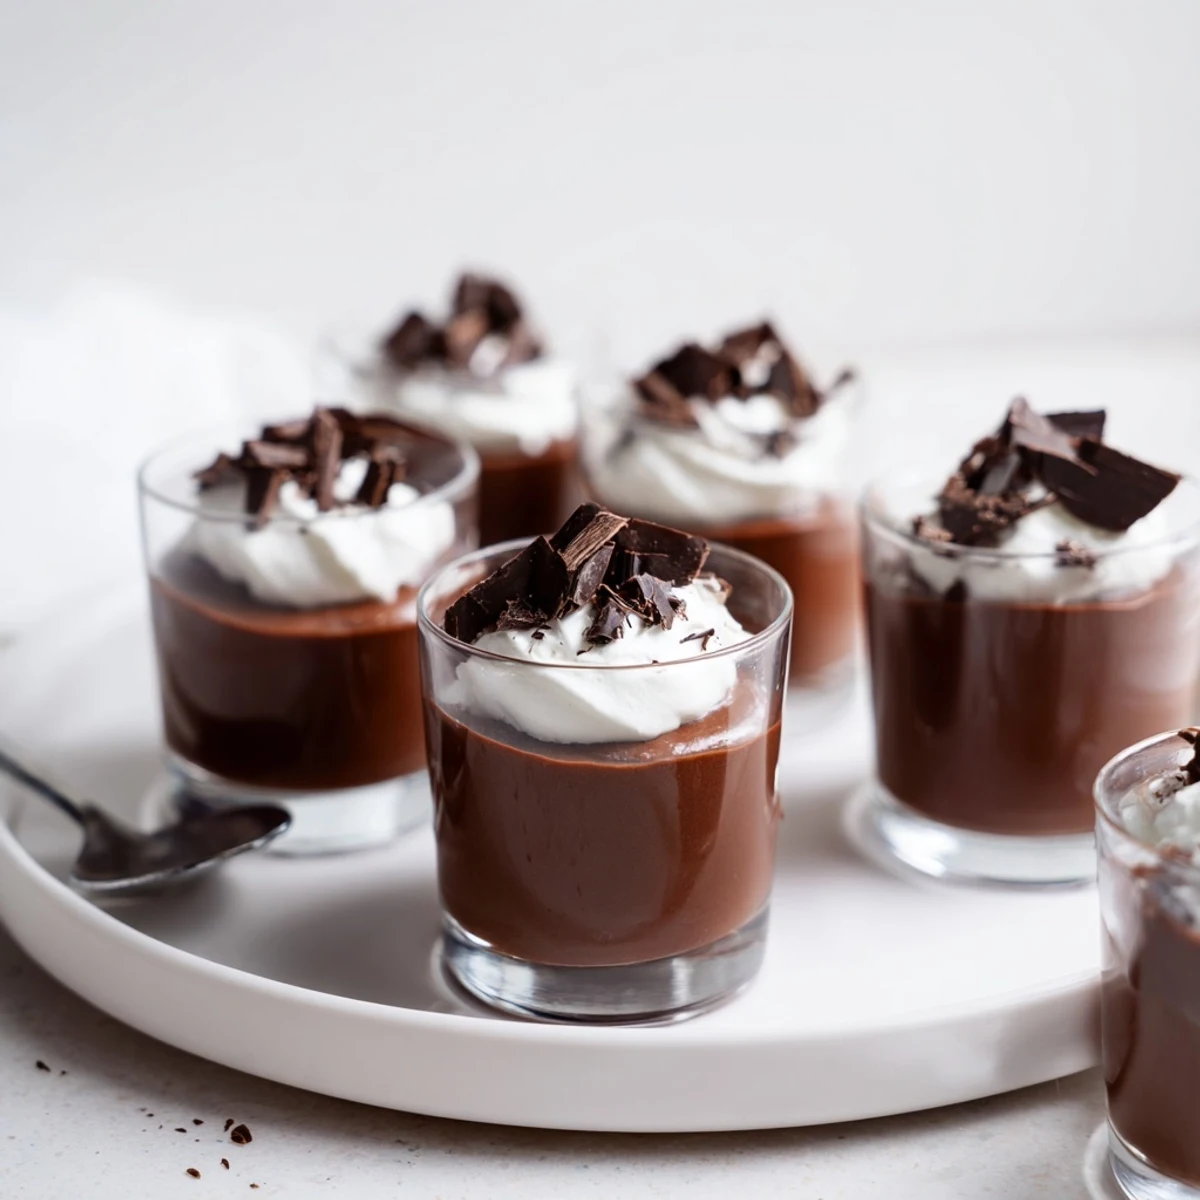
How to Layer Like a Pro
Adding each mousse slowly lets you show off the colors without mixing them up. I use a piping bag for the final layer and a steady hand for the middle chocolate so everything stays defined. Start by tapping the cup lightly on the counter to settle the base. If any mousse slides or smears, don’t fuss—a swoop of garnish covers all imperfections!
Choosing Your Chocolate
I've found that using the best chocolate you can find makes every bite feel luxurious. Each type brings its own mood: dark gives drama, milk coziness, and white a gentle finish. Admittedly, tasting each as you work is almost mandatory, for quality control! If you spot single-origin bars, even better.
Time-Saving Tricks for Busy Days
Sometimes I cheat and speed-chill the mousse layers in the freezer if I’m short on time, just don’t let them freeze solid. Making all the mousses back-to-back while the cream is cold saves dishwashing, too. And piping mousse means fewer drips on the cup edges, so everything still looks bakery-worthy.
- Chill your mixing bowls beforehand for extra fluff.
- If the mousse is too stiff, add a splash of cream and fold again.
- Always taste before layering—happiness is three kinds of chocolate in a bite.
 Pin it
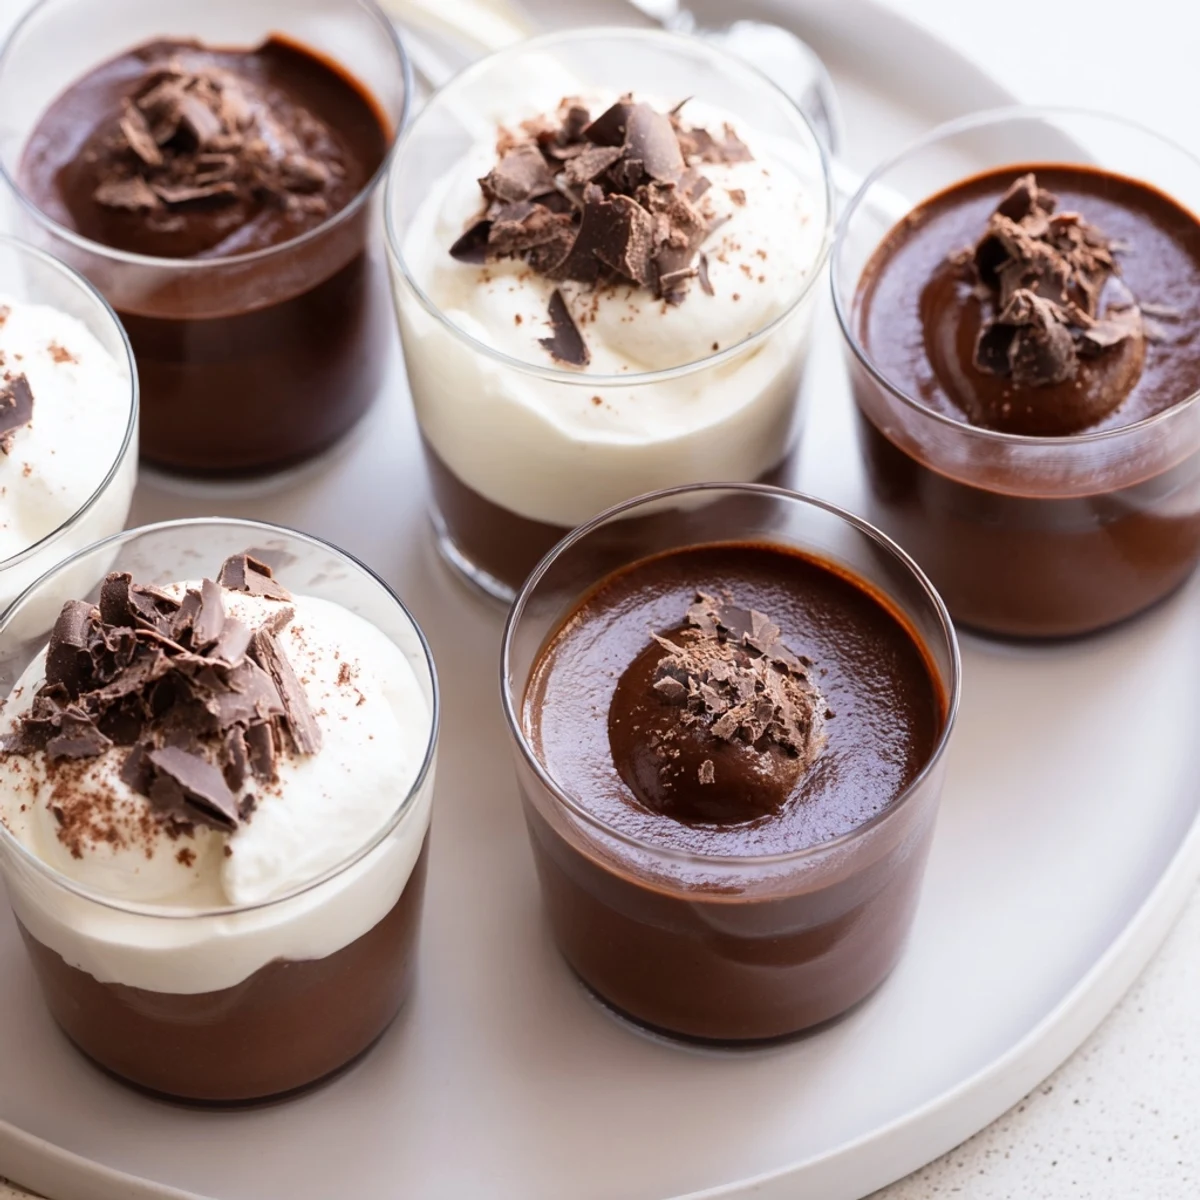
 These mousse cups always disappear faster than I expect, and I love how they turn an ordinary night into something playful and special. Hope each spoonful brings you a pause for joy, too.
Recipe FAQs
- → How do I avoid a grainy texture in the mousse?
-
Ensure chocolate is fully melted and not overheated, and fold melted chocolate into the yolk mixture gently. Whip cream to soft peaks and fold carefully to preserve air and a silky mouthfeel.
- → Can I skip the egg yolks?
-
Egg yolks add richness and structure. For an egg-free approach, use stabilized whipped cream or a gelatin/starch thickener, but texture and flavor will differ from the original approach.
- → How can I speed up setting between layers?
-
Chill the cups in the freezer for 25–30 minutes between layers for quicker setting, but avoid freezing solid; return to the refrigerator for final chilling to achieve the best texture.
- → What type of chocolate works best?
-
Use good-quality chocolate with appropriate cocoa percentages: at least 60% for the dark layer, mid-range for milk, and quality white chocolate for the top. Better chocolate improves flavor and texture.
- → How should I store the finished cups?
-
Cover and refrigerate for up to 2–3 days. Bring to cool room temperature for a few minutes before serving to soften slightly, which enhances flavor and mouthfeel.
- → Any tips for neat, even layers?
-
Use a piping bag or a small spoon and pour slowly onto the back of the spoon held just above the previous layer. Chill briefly after each layer to minimize blending.