 Pin it
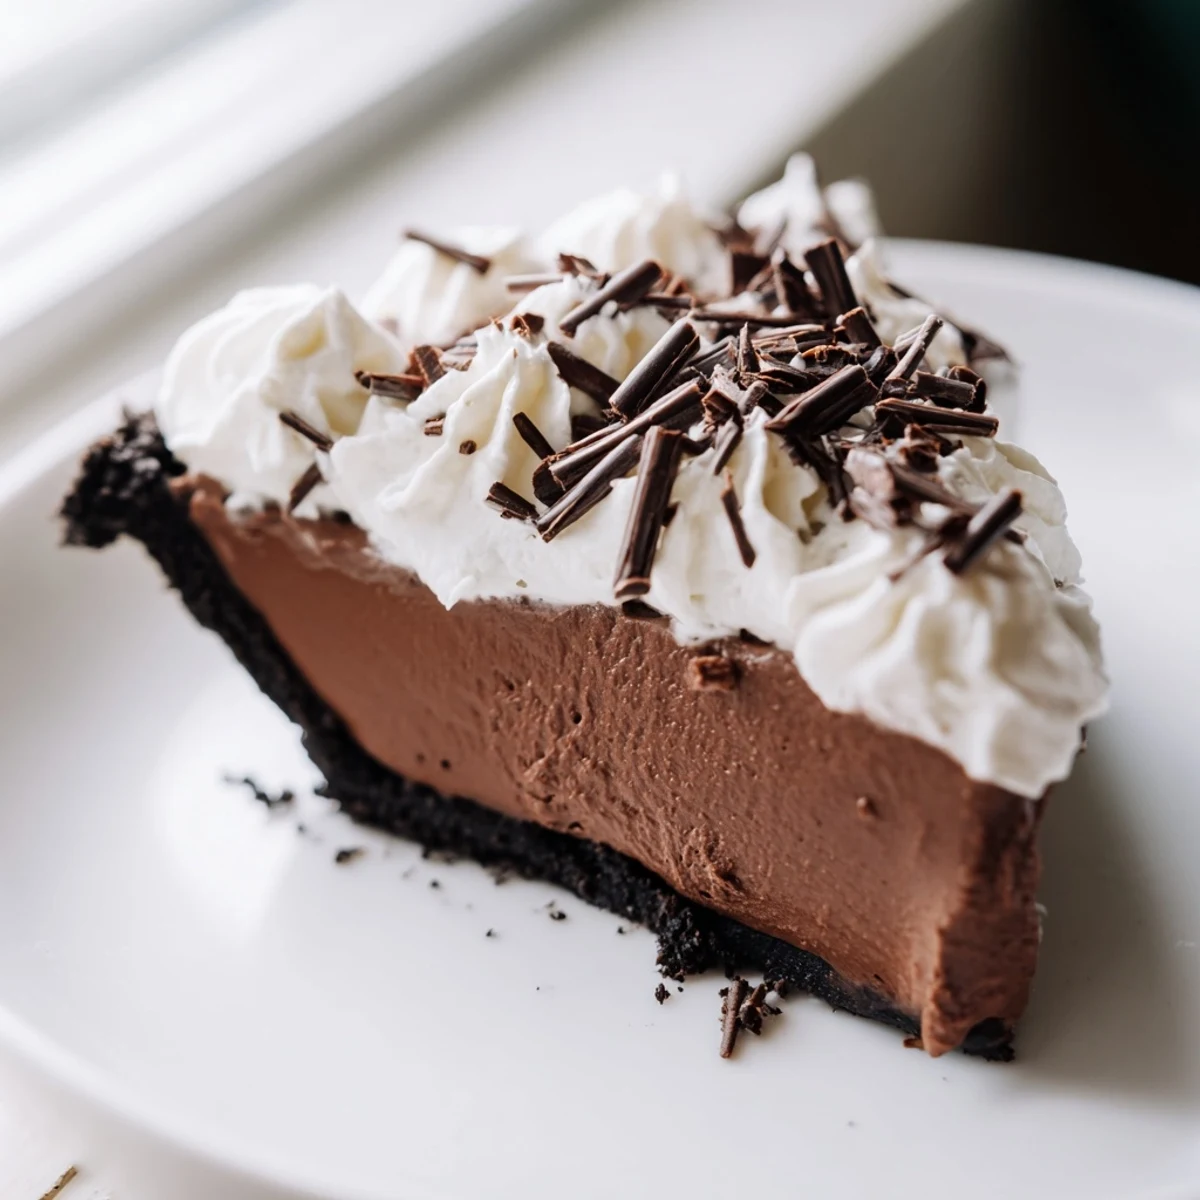
 This luscious dessert features a crisp chocolate cookie crust filled with a smooth, silky chocolate mixture. The filling is whipped to a fluffy texture with eggs, butter, and rich bittersweet chocolate, then chilled to set perfectly. Topped with clouds of softly whipped cream sweetened and flavored with vanilla, it offers a creamy balance to the rich cocoa flavors. Garnished with chocolate curls or shavings, this indulgent treat pairs beautifully with coffee or port wine. Ideal for sharing and impressing dessert lovers.
The first time I attempted chocolate silk pie, I stood in my kitchen wondering if something so simple could really taste extraordinary. My grandmother had mentioned it casually over Thanksgiving, describing this impossibly smooth filling that practically melted on your tongue. I took my time that afternoon, creaming butter and sugar until my arm actually tired, then watched in amazement as the mixture transformed into something velvety and light. When my sister took her first bite later that evening, she went quiet for a full ten seconds before declaring it the best thing I'd ever made.
I remember bringing this to a dinner party last winter, watching snow fall outside while we lingered over dessert for an hour. The hostess actually refused to serve her own planned sweets, insisting this pie needed to be the grand finale. Something about that combination of crisp chocolate crust and impossibly creamy filling makes people slow down, savor every bite, and forget about whatever else is waiting on their to-do lists.
Ingredients
- Chocolate wafer cookies: These create a deeper, more chocolate-forward crust than standard graham crackers and hold their texture beautifully
- Unsalted butter: Room temperature butter is non-negotiable here it needs to be soft enough to cream properly into the sugar for that signature silkiness
- Bittersweet chocolate: The quality shows here so use something you'd enjoy eating plain as it becomes the star of the show
- Granulated sugar: This isn't just for sweetness the extended creaming time incorporates air and helps create that lighter-than-expected texture
- Pure vanilla extract: Don't skip this even though it seems small it balances and rounds out all that intense chocolate
- Eggs: Room temperature eggs incorporate better and create that silky emulsion that defines the filling
- Heavy cream: Cold cream whips up faster and holds its structure longer giving you those perfect cloud-like peaks
- Powdered sugar: This stabilizes the whipped cream without making it overly sweet or grainy
Instructions
- Build the foundation:
- Press those chocolate crumbs into your pie dish with conviction using the bottom of a measuring cup to create an even, firm layer that will hold up to that generous filling
- Set the crust:
- A brief bake in a 175°C oven transforms the crumb mixture from loose crumbs into a cohesive shell that will provide the perfect textural contrast
- Melt with patience:
- Gently melt your chocolate using a double boiler or careful microwave bursts then let it cool to just warm you don't want to cook those eggs when they meet
- Cream butter and sugar:
- Beat room temperature butter and sugar for a full four minutes until pale and fluffy this air is what makes the filling impossibly light rather than dense
- Incorporate chocolate:
- Pour in that slightly cooled melted chocolate and vanilla beating until completely smooth and glossy
- The magic happens:
- Add eggs one at a time beating each for several minutes on medium-high speed this isn't overkill it's what creates the silk texture and ensures the eggs are fully incorporated
- Fill and chill:
- Smooth the filling into your cooled crust and refrigerate for at least four hours this non-negotiable chilling time lets the flavors meld and the texture set properly
- Cloud topping:
- Whip cold heavy cream with powdered sugar and vanilla until soft peaks form then spread generously over your completely chilled pie
- Final flourish:
- Add chocolate shavings if you're feeling fancy then slice with a hot knife for those picture-perfect clean edges
 Pin it
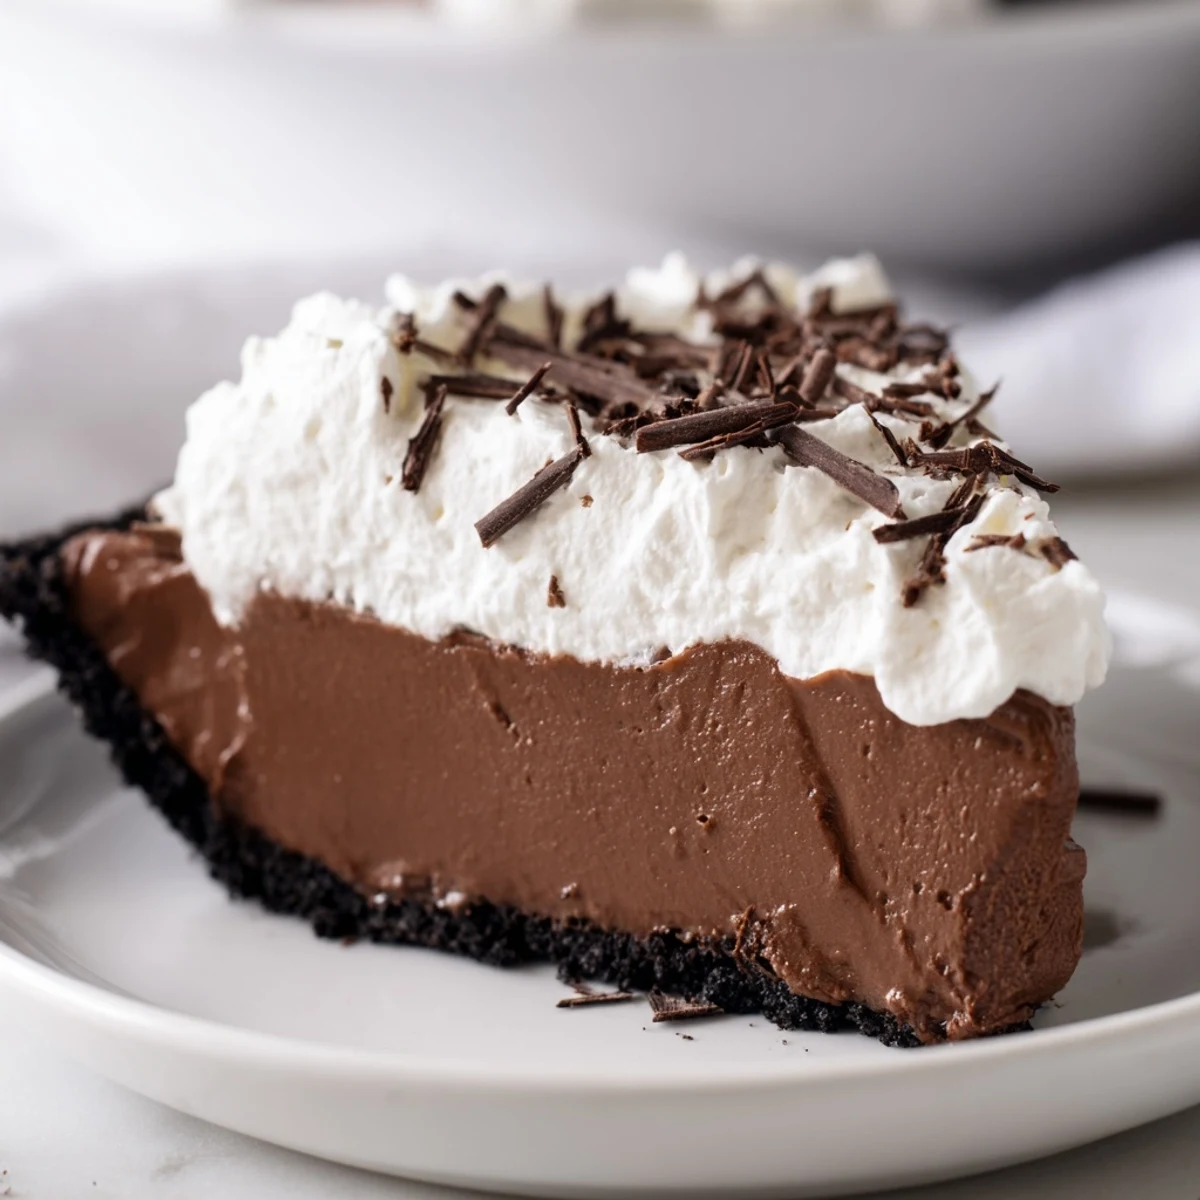
 My daughter requested this for her birthday instead of cake two years running now. There's something about that first fork sliding through the layers crisp chocolate crust then cream then more chocolate that makes people close their eyes and savor. It's become my go-to for celebrations the dessert that makes people feel truly celebrated.
Making It Your Own
I've learned that this recipe is remarkably forgiving once you understand the technique. Sometimes I'll add a pinch of sea salt to the crust for that salty-sweet magic or fold a teaspoon of instant espresso powder into the melted chocolate. A friend swaps half the bittersweet chocolate for milk chocolate when making it for kids creating a slightly sweeter, more approachable version. The technique remains the same but the personality shifts to match the occasion.
The Pasteurized Egg Question
Let's address the elephant in the room this recipe uses uncooked eggs. I use pasteurized eggs when serving anyone who might be concerned about raw eggs and honestly they work perfectly in this application. You can also place your mixing bowl over a pot of simmering water and whisk the eggs constantly until they reach 160°F if you prefer to pasteurize them yourself. The texture remains just as gorgeous and everyone can enjoy it without worry.
Make-Ahead Magic
This might be the ultimate do-ahead dessert. The crust can be baked and cooled a day ahead wrapped tightly in plastic. The filling improves after a full 24 hours in the refrigerator as the flavors deepen and the texture becomes even more luxurious. I often make the entire pie the day before a dinner party leaving only the whipped cream to be whipped just before serving. That overnight rest gives the filling time to set perfectly and develop that characteristic silk texture.
- Whip the cream just before serving it holds its structure better when fresh
- Let the pie sit at room temperature for 10 minutes before slicing for the softest texture
- Clean your knife between slices for those picture-worthy restaurant-style edges
 Pin it
 There's something deeply satisfying about a recipe that rewards patience and technique with such spectacular results. This pie has become my signature dessert not because it's flashy but because it makes people feel cared for in that particular way that only exceptional food can achieve.
Recipe FAQs
- → How do I achieve the silky texture in the filling?
-
The silky texture comes from carefully whipping the melted chocolate, butter, sugar, and eggs together until light and fluffy, usually about 10 minutes of mixing.
- → Can I prepare the crust ahead of time?
-
Yes, baking the chocolate wafer crust in advance and allowing it to cool completely helps maintain its crispness before filling.
- → What is the best way to whip the cream for topping?
-
Use cold heavy cream, powdered sugar, and vanilla. Whip in a chilled bowl until soft peaks form for a light, fluffy topping.
- → How long should the pie be chilled before serving?
-
The pie needs at least 4 hours in the refrigerator to properly set and develop its smooth texture.
- → Can I substitute ingredients for dietary needs?
-
For gluten-free options, use gluten-free cookies for the crust. Pasteurized eggs can be used for safety concerns.