Pin it
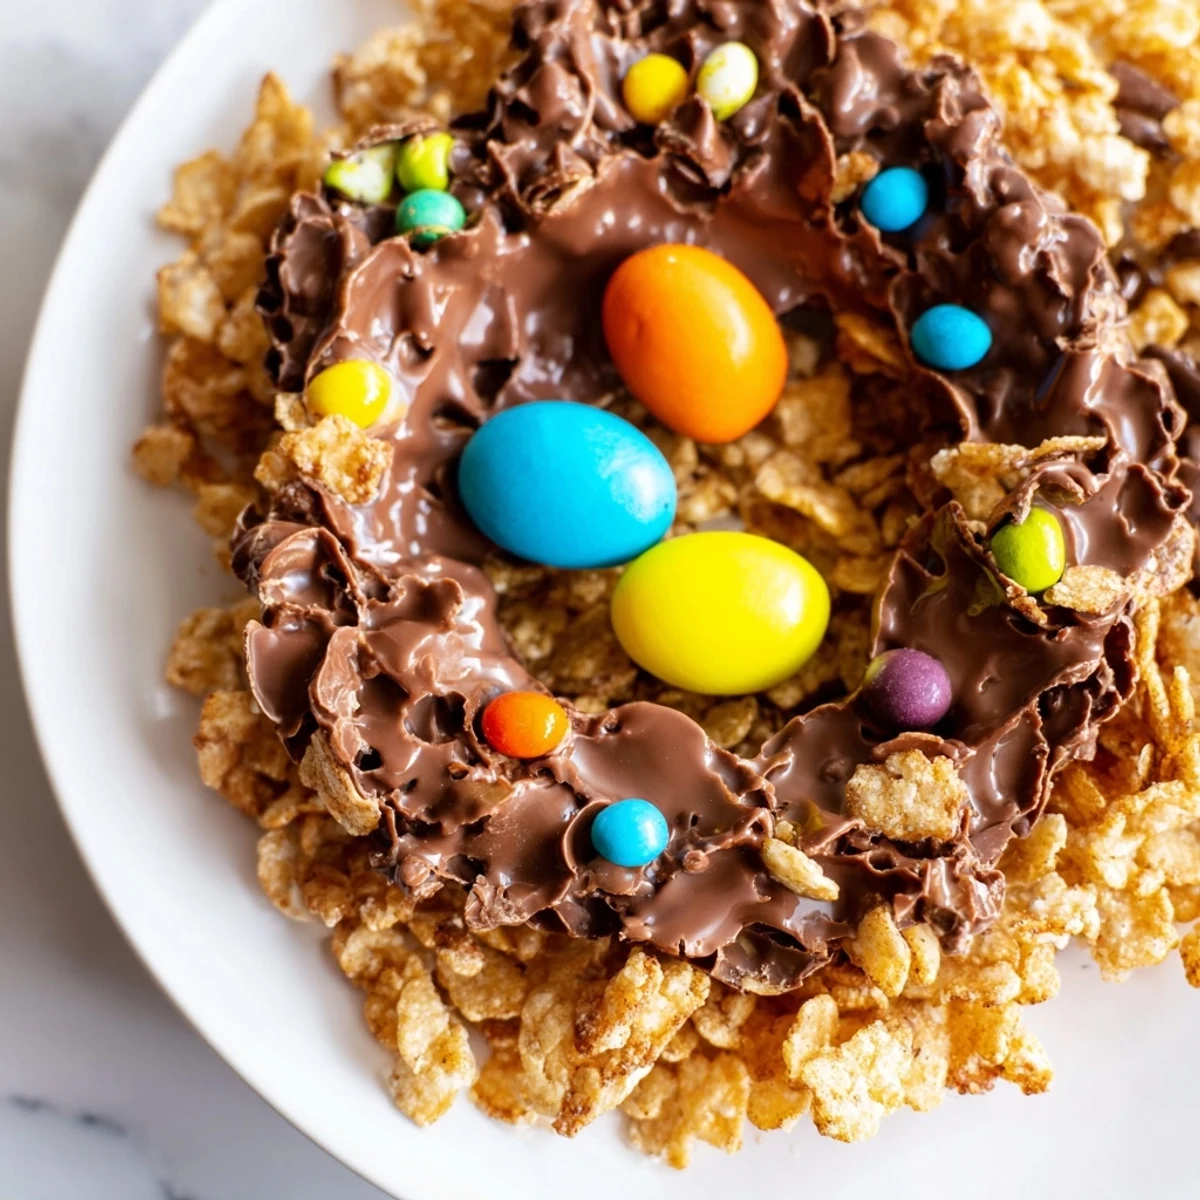
 This no-bake chocolate delight combines melted milk and dark chocolate with golden syrup to create a smooth base. Crisp cornflakes are folded in to add crunch and texture. The mixture is pressed into nest shapes and topped with colorful candy-coated chocolate eggs. After chilling, these nests offer a quick, festive treat that’s ideal for celebrations and sharing with loved ones. Simple to prepare and visually appealing, they deliver a blend of creamy chocolate and crispy bites without any baking required.
Last Easter, my youngest insisted we make something that looked like what real birds actually build, and these chocolate nests became an instant tradition in our house. The way the cornflakes get all cozy and tangled in melted chocolate still reminds me of tiny twigs bound together.
I made these for my daughters class party and somehow ended up with chocolate fingerprints on my cheek and cornflakes scattered across half the kitchen floor. The kids went absolutely wild for them, and I caught a few parents sneaking seconds when they thought no one was watching.
Ingredients
- 200 g milk chocolate, chopped: The milk chocolate brings that comforting creamy sweetness we all crave
- 100 g dark chocolate, chopped: Dark chocolate balances the sugar and adds depth so the nests arent cloyingly sweet
- 100 g unsalted butter, cubed: Butter helps the chocolate set properly and gives it that gorgeous glossy finish
- 3 tbsp golden syrup: This golden nectar is what keeps the chocolate mixture pliable and prevents it from seizing
- 100 g cornflakes: Light and crispy cornflakes create the most convincing twig-like texture for the nests
- 100 g mini candy-coated chocolate eggs: These colorful little eggs are what make the nests instantly recognizable and festive
Instructions
- Get your nest ready:
- Line a 12-hole muffin tin with paper cupcake cases so the nests hold their shape perfectly while chilling.
- Melt the chocolate base:
- Set a heatproof bowl over a saucepan of gently simmering water and melt the milk chocolate, dark chocolate, butter, and golden syrup together until you have a silky smooth mixture.
- Add the crunch:
- Fold in the cornflakes gently until every flake is coated in chocolate but still maintains some texture.
- Shape your nests:
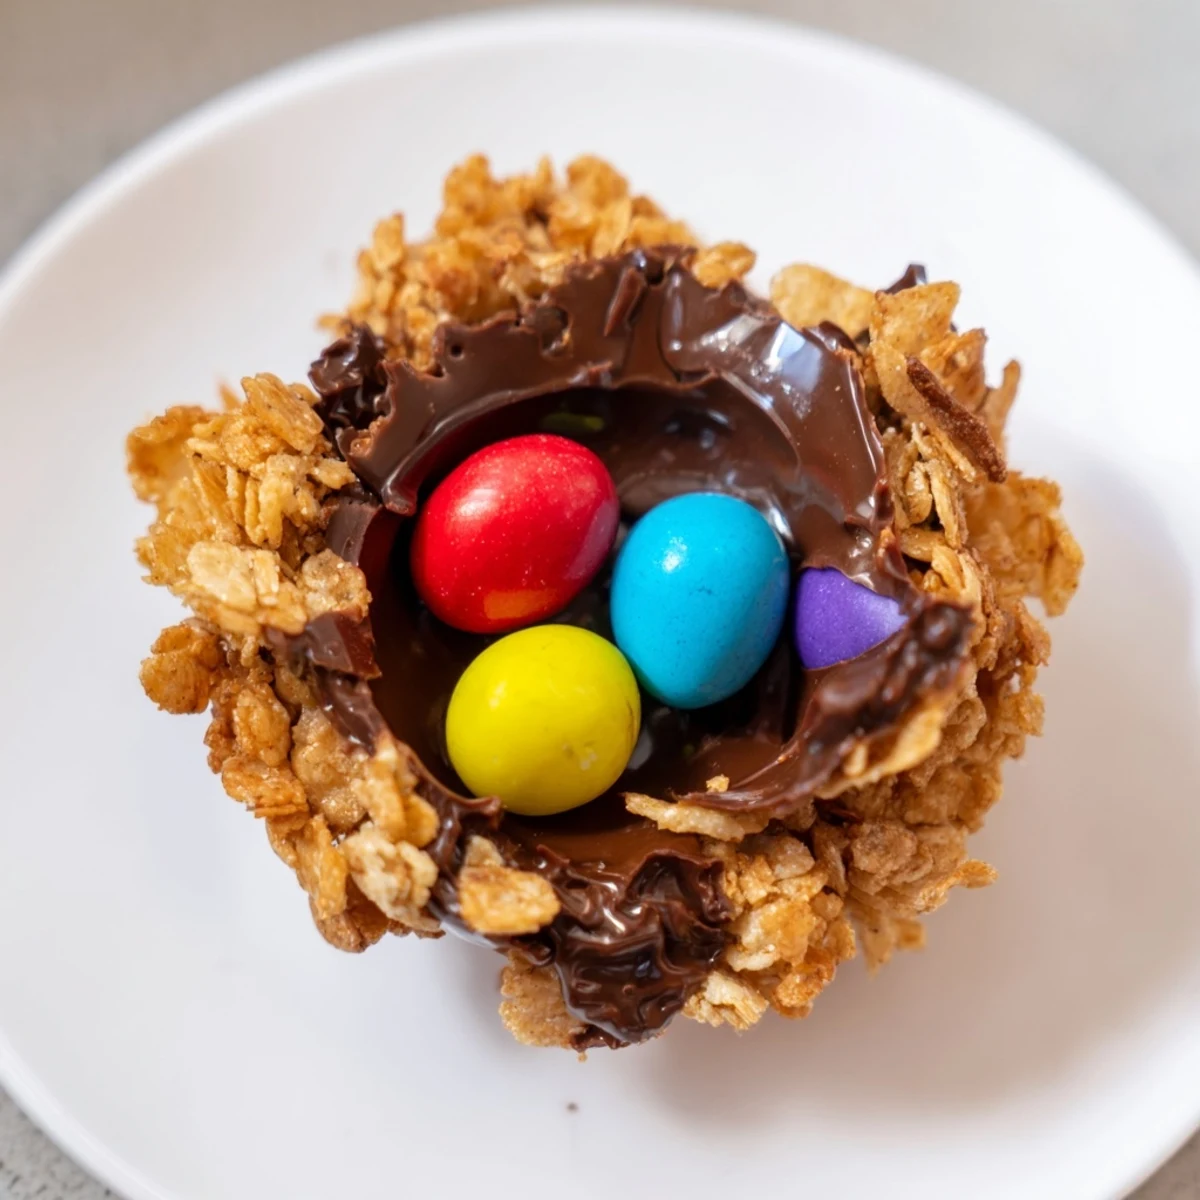
- Divide the mixture among the paper cases and use the back of a spoon to create a little hollow in the center of each nest.
- Add the eggs:
- Place 2 or 3 mini chocolate eggs into the center hollow of each nest while the chocolate is still slightly tacky.
- Let them set:
- Chill in the refrigerator for at least 30 minutes until the chocolate has completely hardened.
- Serve and enjoy:
- Remove the nests from the tin and peel away the paper cases just before serving.
 Pin it
 My grandmother used to make something similar but with shredded wheat, and the contrast between her rustic version and my neat little muffin-tin nests always makes me smile. Both versions disappeared just as quickly at family gatherings.
Making Them Your Own
Shredded wheat creates an even more authentic nest appearance with its rougher texture, and I love how it looks slightly more wild and natural. Sometimes I throw in a handful of chopped toasted hazelnuts for extra crunch and a subtle nutty flavor that pairs beautifully with the chocolate.
Getting Kids Involved
Children are naturals at pressing the chocolate mixture into the muffin cups and placing the tiny eggs in the centers. The pride they feel when presenting their handmade nests to family members is absolutely worth the extra sticky surfaces and chocolate smears everywhere.
Storage and Serving
These nests keep beautifully in an airtight container in the refrigerator for up to a week, though they rarely last that long in my house. They make lovely edible gifts wrapped in clear cellophane with a pastel ribbon, perfect for teachers, neighbors, or coworkers.
- Let them come to room temperature for about 10 minutes before serving so the chocolate softens slightly
- Arrange them on a bed of edible Easter grass or coconut shreds dyed green for a full nest effect
- Make a double batch because they disappear faster than you expect
 Pin it
 These chocolate nests have become one of those recipes that feel less like cooking and more like creating edible memories with the people I love most.
Recipe FAQs
- → Can I use alternatives to cornflakes for crunch?
-
Yes, shredded wheat can be used to give a more nest-like texture and added crunch.
- → How do I melt the chocolate without burning it?
-
Melt the chocolate gently in a heatproof bowl over simmering water (double boiler) while stirring regularly.
- → What can I add for a nutty flavor?
-
Chopped roasted hazelnuts or almonds can be folded into the mixture for a crunchy nutty twist.
- → How long should these nests chill before serving?
-
Chill the nests in the refrigerator for at least 30 minutes until they set firmly.
- → How should I store the finished nests?
-
Store them in an airtight container in the refrigerator for up to one week to maintain freshness.