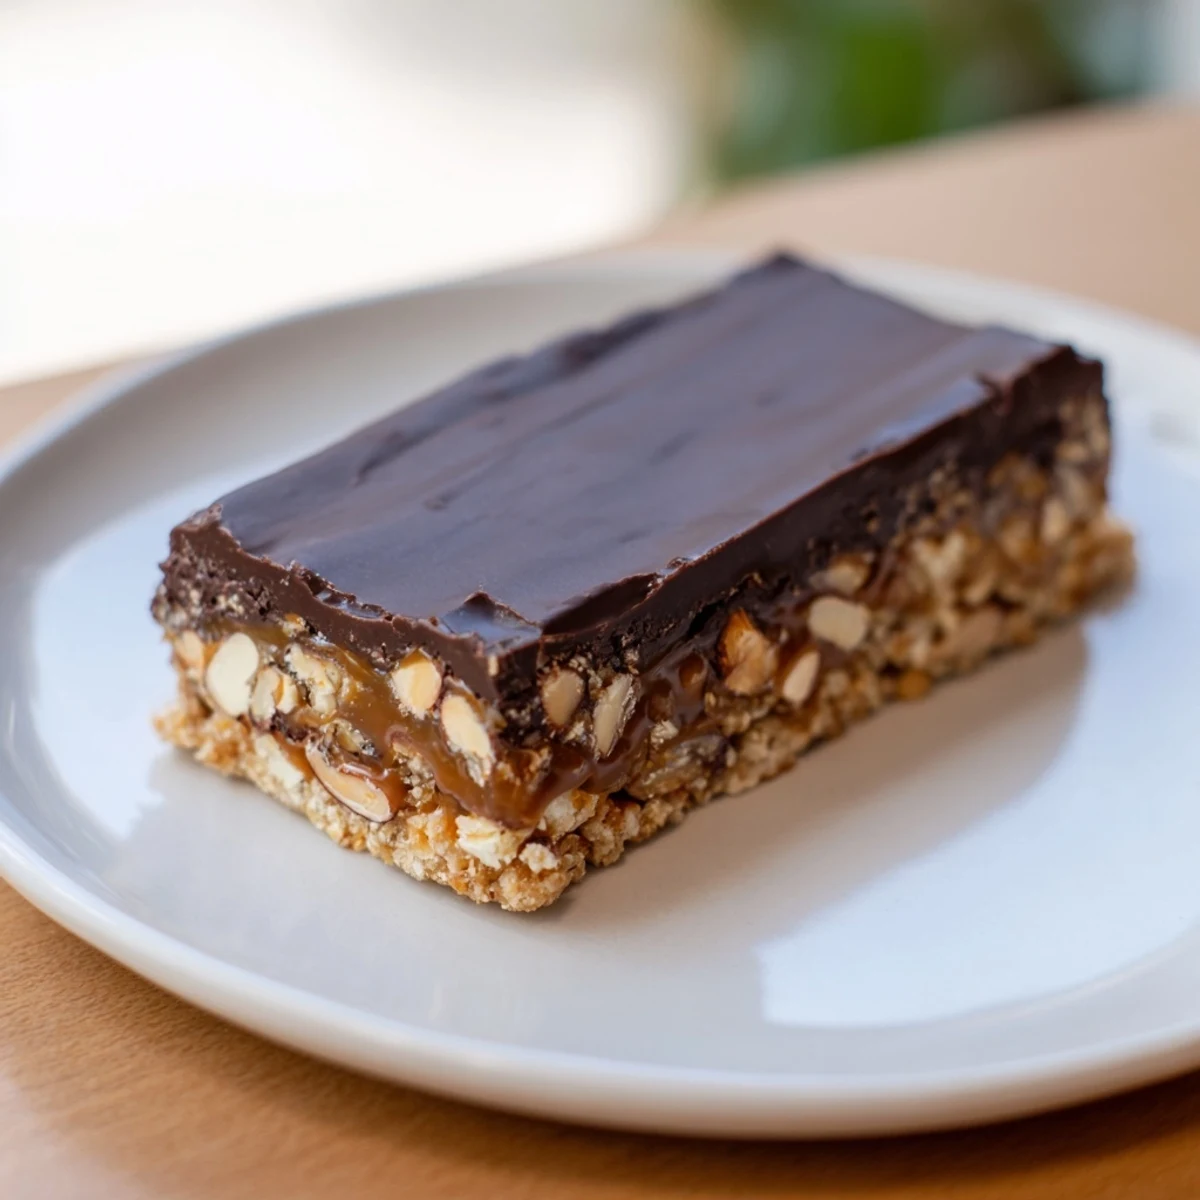
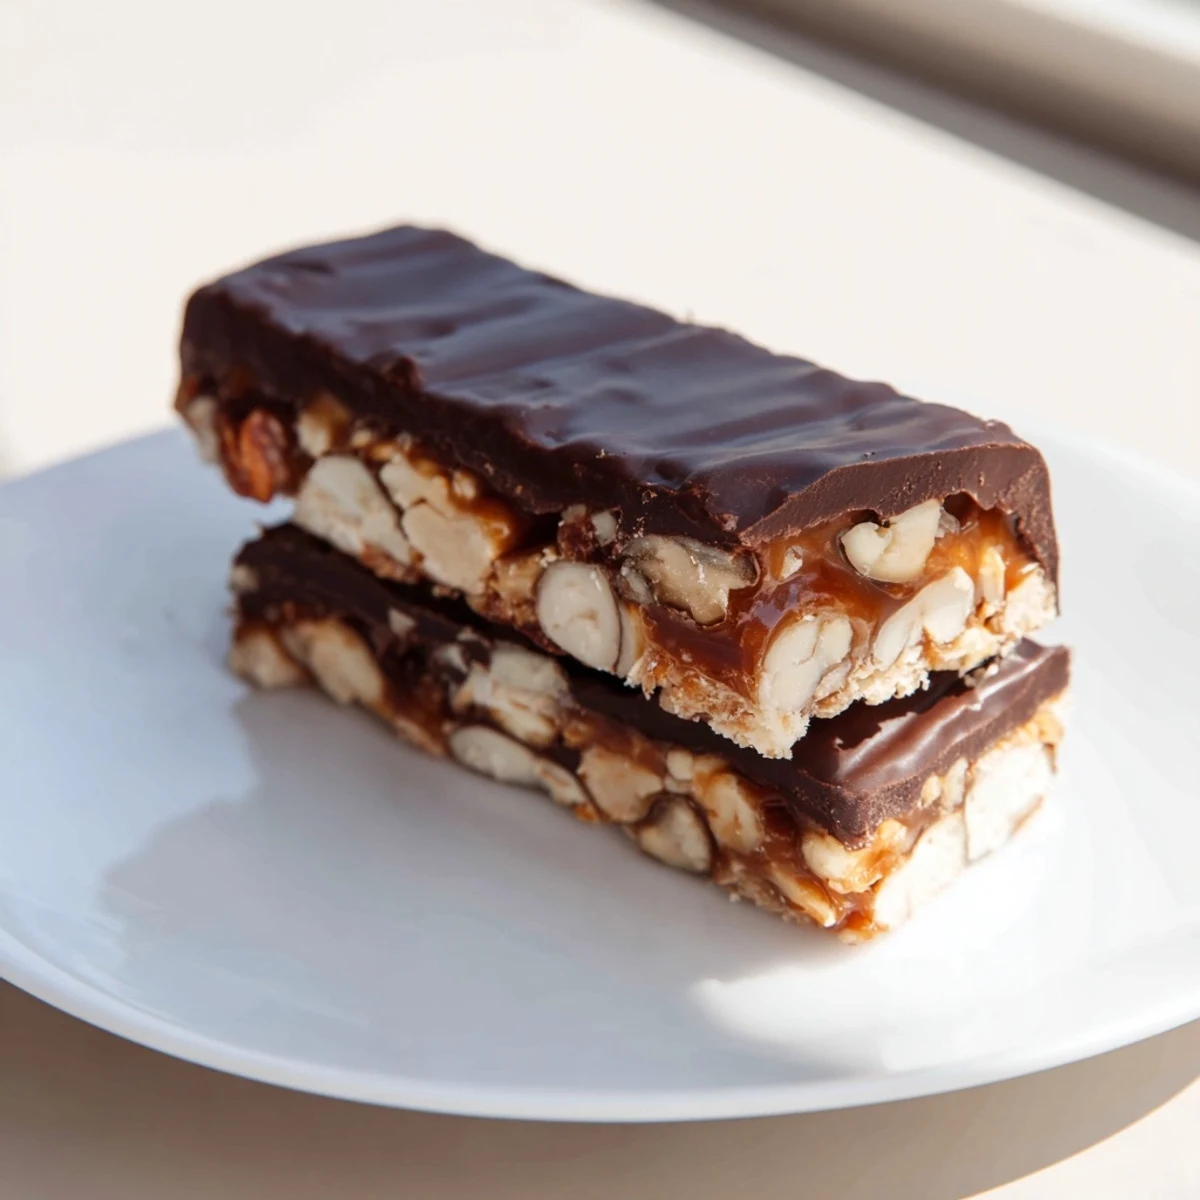
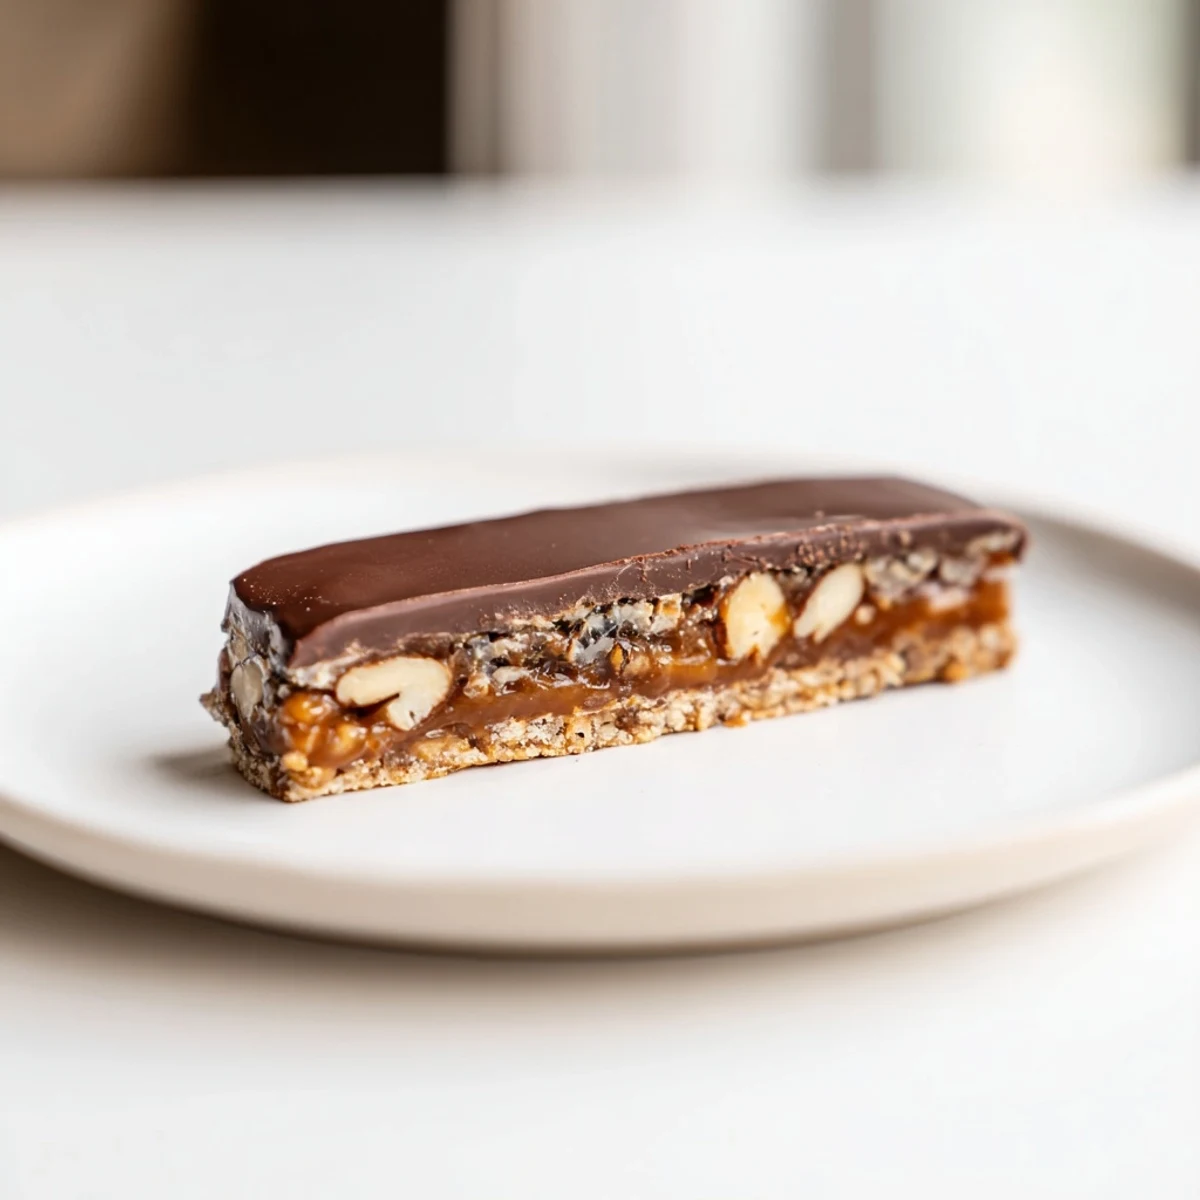
 Pin it
 Create stunning layered chocolate caramel nut bars in just over an hour. Start with a golden shortbread base, add a smooth homemade caramel layer studded with toasted nuts, then top with melted chocolate. These decadent bars are perfect for dessert tables, gift giving, or satisfying sweet cravings. With simple ingredients and straightforward assembly, you'll achieve bakery-quality results at home.
The first time I made these chocolate caramel bars was during a thunderstorm that kept the kids indoors all Saturday. The kitchen became our sanctuary as lightning flashed outside, and the rich scent of caramelizing sugar momentarily made us forget about the weather. What started as a way to pass time transformed into a family tradition that reappears whenever dark clouds gather.
Last Christmas, I packaged these bars in little gold boxes for neighbors and was stopped three times in the grocery store by people asking for the recipe. My husband joked that we needed business cards attached to each gift, as my phone kept lighting up with messages asking about my secret to getting that perfect caramel layer.
Ingredients
- Unsalted butter: Room temperature butter is crucial for the base, while the small amount in the chocolate layer creates that perfect glossy finish that snaps satisfyingly when bitten.
- Mixed nuts: I typically use equal parts almonds, pecans and walnuts, but have found that cashews add an unexpected buttery dimension worth trying.
- Heavy cream: The fat content matters here, so avoid substituting half-and-half or milk if you want that perfect silky caramel that remains soft even when refrigerated.
- Granulated sugar: Watch this like a hawk when making the caramel, as those few seconds between perfect amber and burnt can make or break your entire batch.
Instructions
- Create the buttery foundation:
- Press the crumbly base mixture firmly into your parchment-lined pan, making sure to get into the corners. You want an even layer that will support all the goodness to come.
- Master the caramel magic:
- When melting your sugar, use a light-colored pan if possible so you can see the color developing. The transformation from white crystals to amber liquid is almost hypnotic.
- Layer strategically:
- Scatter your nuts before pouring the caramel, allowing some pieces to float to the top. This creates little crunchy islands in the sea of caramel.
- Finish with chocolate artistry:
- Pour your melted chocolate mixture in the center and use an offset spatula to gently push it to the edges. Work quickly before it starts to set.
- Slice with precision:
- Heat your knife under hot water and wipe dry between cuts for clean edges. A straight down motion works better than dragging the knife through.
 Pin it
 My colleague Sara claimed she didnt like nuts in desserts until I practically forced one of these bars on her at an office potluck. The next morning, I found a sticky note on my desk simply reading, I was wrong about nuts. Recipe please? with a coffee stain in the corner that suggested shed been thinking about it all morning.
Storage Secrets
These bars develop an even deeper flavor profile after 24 hours in the refrigerator, almost as if the caramel and chocolate are having a delicious conversation. I often make them a day ahead of when I actually need them, knowing theyll only improve with a little patience.
Customization Options
The basic structure of these bars is incredibly forgiving to creative additions. Ive stirred espresso powder into the caramel for coffee lovers, added orange zest to the chocolate layer for a festive twist, and even experimented with a touch of bourbon in the caramel that disappeared in flavor but somehow enhanced everything else.
Troubleshooting Tips
If your caramel crystallizes suddenly while cooking, resist the urge to stir vigorously. Instead, add a tablespoon of water and gently swirl the pan over heat until it recovers its smooth texture.
- Keep a small pastry brush and cup of water nearby when making caramel to brush down any sugar crystals that form on the sides of the pan.
- If your chocolate develops white streaks after setting, you likely overheated it, but covering with a decorative dusting of cocoa powder or finely chopped nuts will hide any imperfections.
- For perfect portioning, score the chocolate top layer when its partly set but not completely hard, creating guide lines for your final cuts.
 Pin it
 These chocolate caramel bars have witnessed countless conversations around my kitchen island, with friends leaning on elbows, savoring each layer and sharing stories. In their own sweet way, theyre memory makers disguised as dessert.
Recipe FAQs
- → Can I make these bars ahead of time?
-
Yes, these bars keep beautifully in an airtight container in the refrigeridge for up to one week. You can also freeze them for up to three months for longer storage.
- → What's the best way to cut clean bar pieces?
-
Use a sharp knife dipped in hot water and wiped clean between cuts. This prevents chocolate and caramel from sticking and ensures neat, even portions.
- → Can I substitute the nuts?
-
Absolutely. Use any nuts you prefer—pistachios, hazelnuts, macadamia nuts, or cashews work wonderfully. For a nut-free version, try toasted seeds or crushed graham crackers.
- → How do I prevent the caramel from crystallizing?
-
When making caramel, stir constantly and avoid stopping until it reaches the amber stage. Don't scrape the sides of the pan, which can cause crystallization. A pinch of acid like lemon juice also helps.
- → What type of chocolate works best?
-
Semi-sweet and dark chocolate both work well depending on preference. Choose quality chocolate with at least 50% cocoa for best flavor and melting consistency.
- → Should I toast the nuts before using?
-
Toasting nuts intensifies their flavor and adds crunch. Bake them at 325°F for 8-10 minutes until fragrant, then cool before chopping and layering.