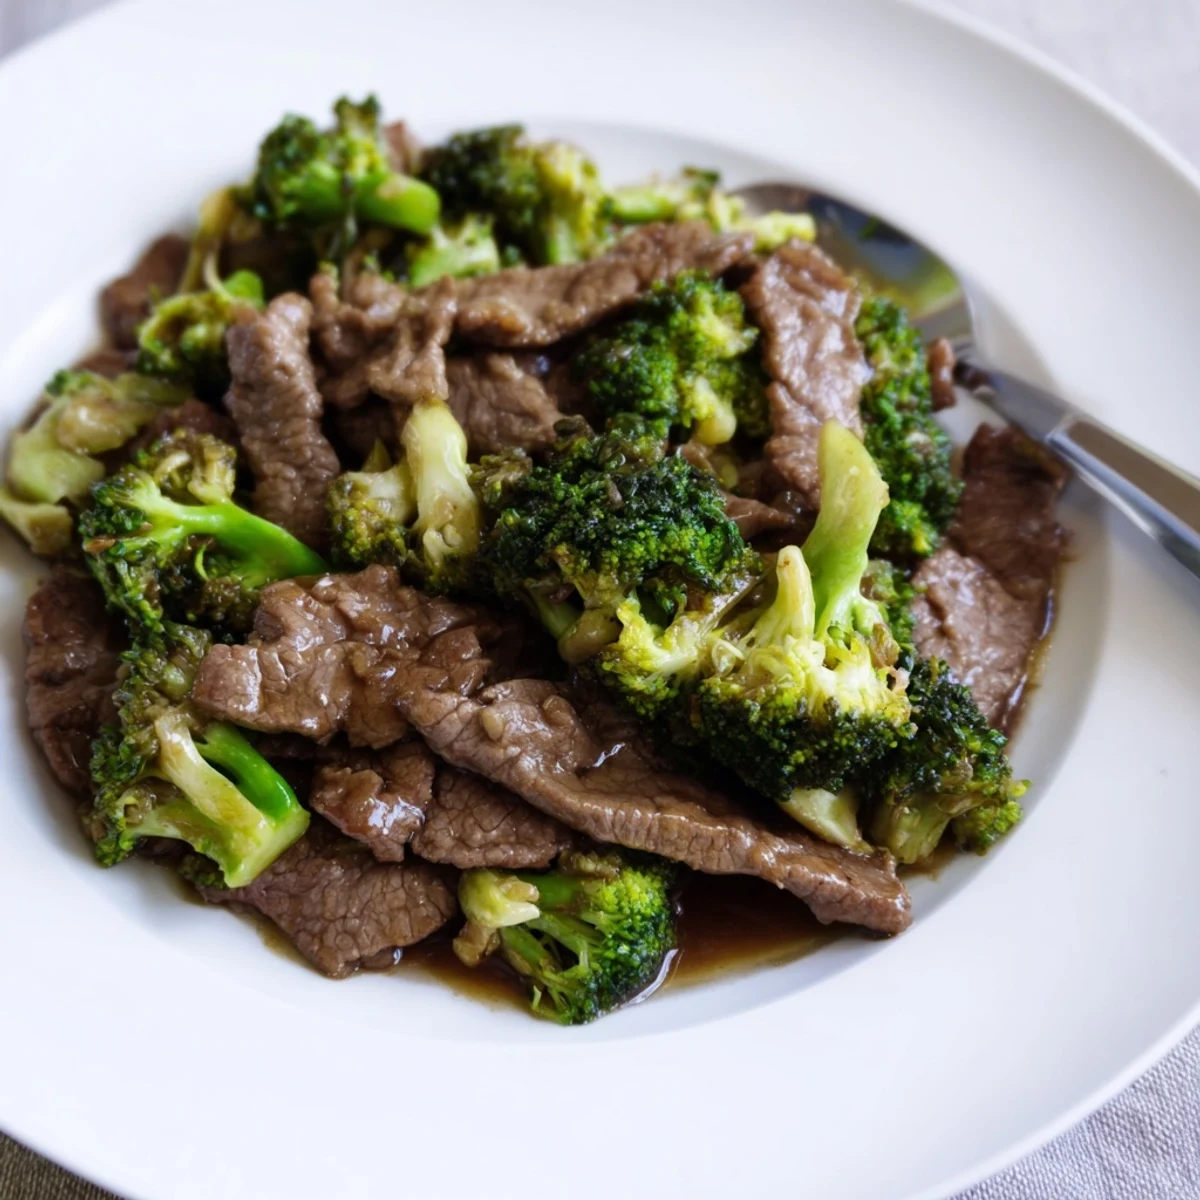
 Pin it
 This versatile sauce combines soy sauce, beef broth, and oyster sauce with brown sugar for that perfect balance of salty and sweet. Fresh garlic and ginger add aromatic depth, while cornstarch creates a glossy coating that clings beautifully to beef and broccoli. The entire process takes just 10 minutes, making it ideal for busy weeknight dinners.
You can easily customize the flavors—adjust sweetness, add heat with red pepper flakes, or make it gluten-free with tamari. The sauce keeps well in the refrigerator for up to 3 days, so you can prep it ahead for even quicker meals.
The first time I made beef and broccoli, I kept ordering takeout because my sauce never tasted quite right. Too salty one night, weirdly sweet the next, and sometimes just plain watery. After what felt like a dozen attempts and some serious taste testing, I finally cracked the code to that glossy restaurant style sauce that makes everything better.
Last Tuesday my roommate walked in right as I was simmering this sauce and literally stopped in her tracks. She stood there breathing it in for a solid minute before asking what smelled so incredible. We ended up making three batches that night because she kept finding new things to drizzle it on.
Ingredients
- 1/2 cup low sodium soy sauce: Regular soy sauce will make this way too salty, so trust me on this one
- 1/4 cup beef broth: Adds that rich depth, though water works in a pinch
- 2 tablespoons oyster sauce: The secret ingredient for that authentic restaurant flavor
- 2 tablespoons brown sugar: Balances the salt and gives you that gorgeous caramelized glaze
- 1 tablespoon rice vinegar: Just enough brightness to cut through all the richness
- 1 tablespoon sesame oil: Toasted sesame oil adds that unmistakable nutty finish
- 3 cloves garlic, minced: Fresh garlic only, never the jarred stuff
- 1 tablespoon fresh ginger, minced: Peel it with a spoon and grate it for maximum flavor
- 2 tablespoons cornstarch: Creates that velvety thick texture we are after
- 2 tablespoons cold water: Must be cold or your cornstarch will clump up immediately
Instructions
- Whisk your base together:
- In a medium bowl, combine soy sauce, beef broth, oyster sauce, brown sugar, rice vinegar, and sesame oil until the sugar completely dissolves and everything looks smooth.
- Add the aromatics:
- Stir in your minced garlic and fresh ginger, letting them hang out in the liquid to infuse all that flavor while you prep the thickener.
- Make your slurry:
- In a small separate bowl, mix cornstarch and cold water with a fork until no lumps remain, which is absolutely crucial or you will end up with weird cornstarch blobs in your sauce.
- Combine everything:
- Pour the slurry into your sauce mixture and whisk vigorously until completely incorporated, then immediately pour over your cooked beef and broccoli in a hot pan.
- Let it work its magic:
- Stir everything together and let it simmer for 2 to 3 minutes, watching as it transforms from thin and watery into this gorgeous glossy coating that clings to every piece of meat and vegetable.
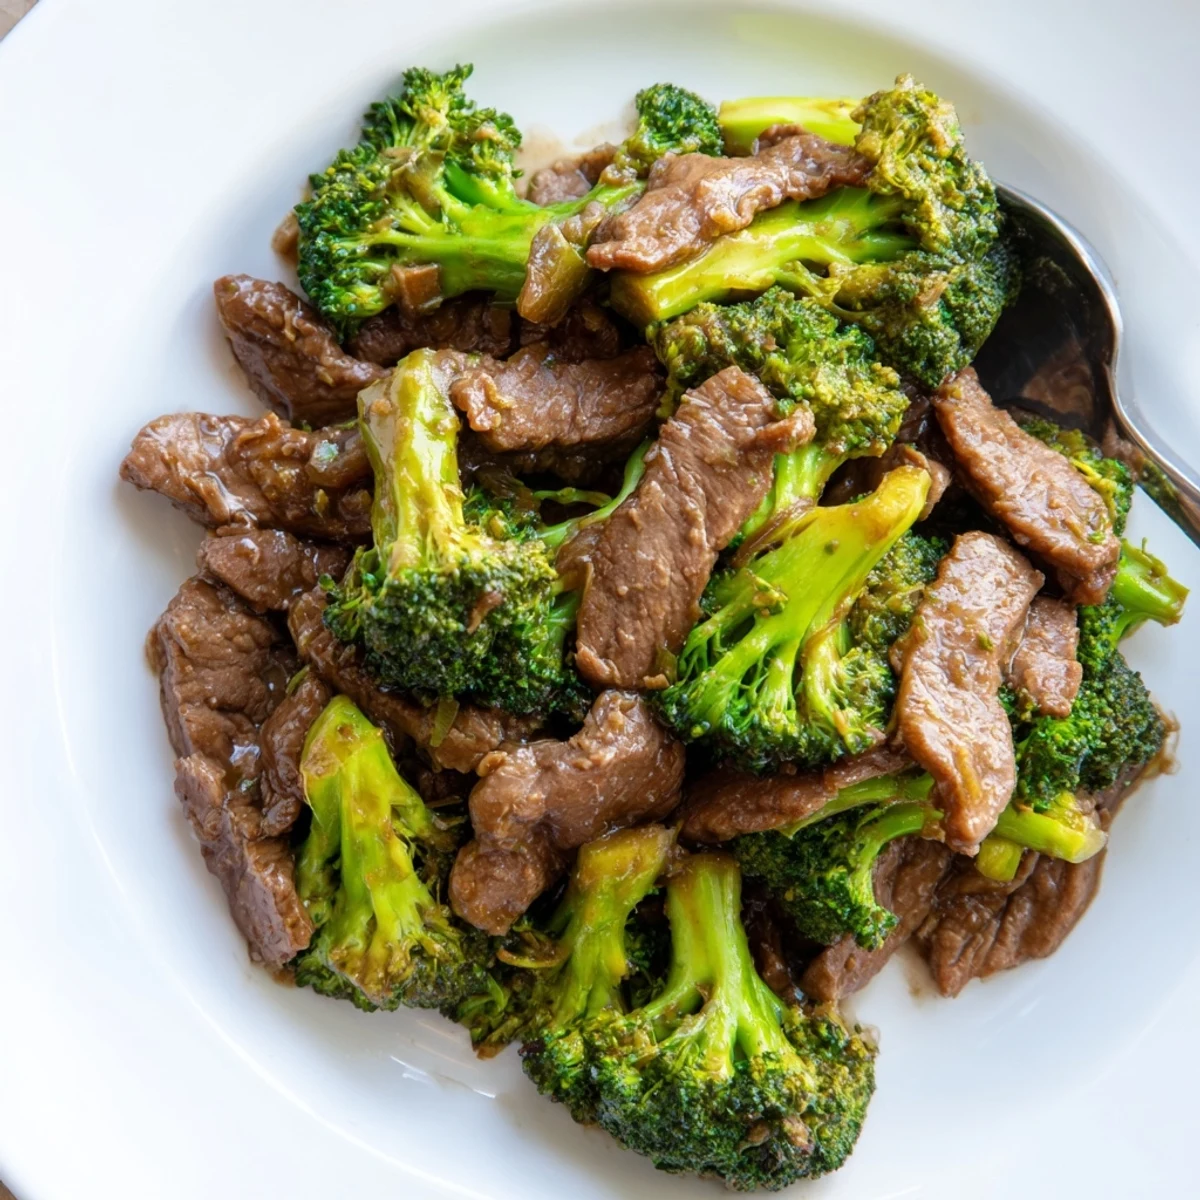 Pin it
 My dad claims he could eat rice with just this sauce on it, no toppings needed. After watching him practically inhale a bowl last weekend with nothing but the sauce drizzled over plain white rice, I am starting to think he might be onto something.
Making It Ahead
Mix everything except the cornstarch slurry up to three days in advance and store it in the refrigerator. The garlic and ginger will actually develop more flavor as they sit, making the sauce even better. When you are ready to use it, whisk in the cornstarch mixture right before cooking.
Customizing The Heat
I love adding red pepper flakes straight into the sauce base, but my sister prefers to serve hot sauce on the side so everyone can adjust their own bowl. You can also mince some fresh chilies into the aromatics step if you want that heat distributed throughout every bite.
Scaling For Meal Prep
Double or triple this recipe easily, though you will need a bigger whisk and a larger bowl to accommodate the volume. I like to make a big batch on Sunday and portion it into mason jars for quick weeknight stir fries.
- Write the date on your container since this keeps beautifully in the fridge
- Bring the sauce to room temperature before using if it has been refrigerated
- The sauce may separate slightly after sitting, just give it a good whisk before pouring
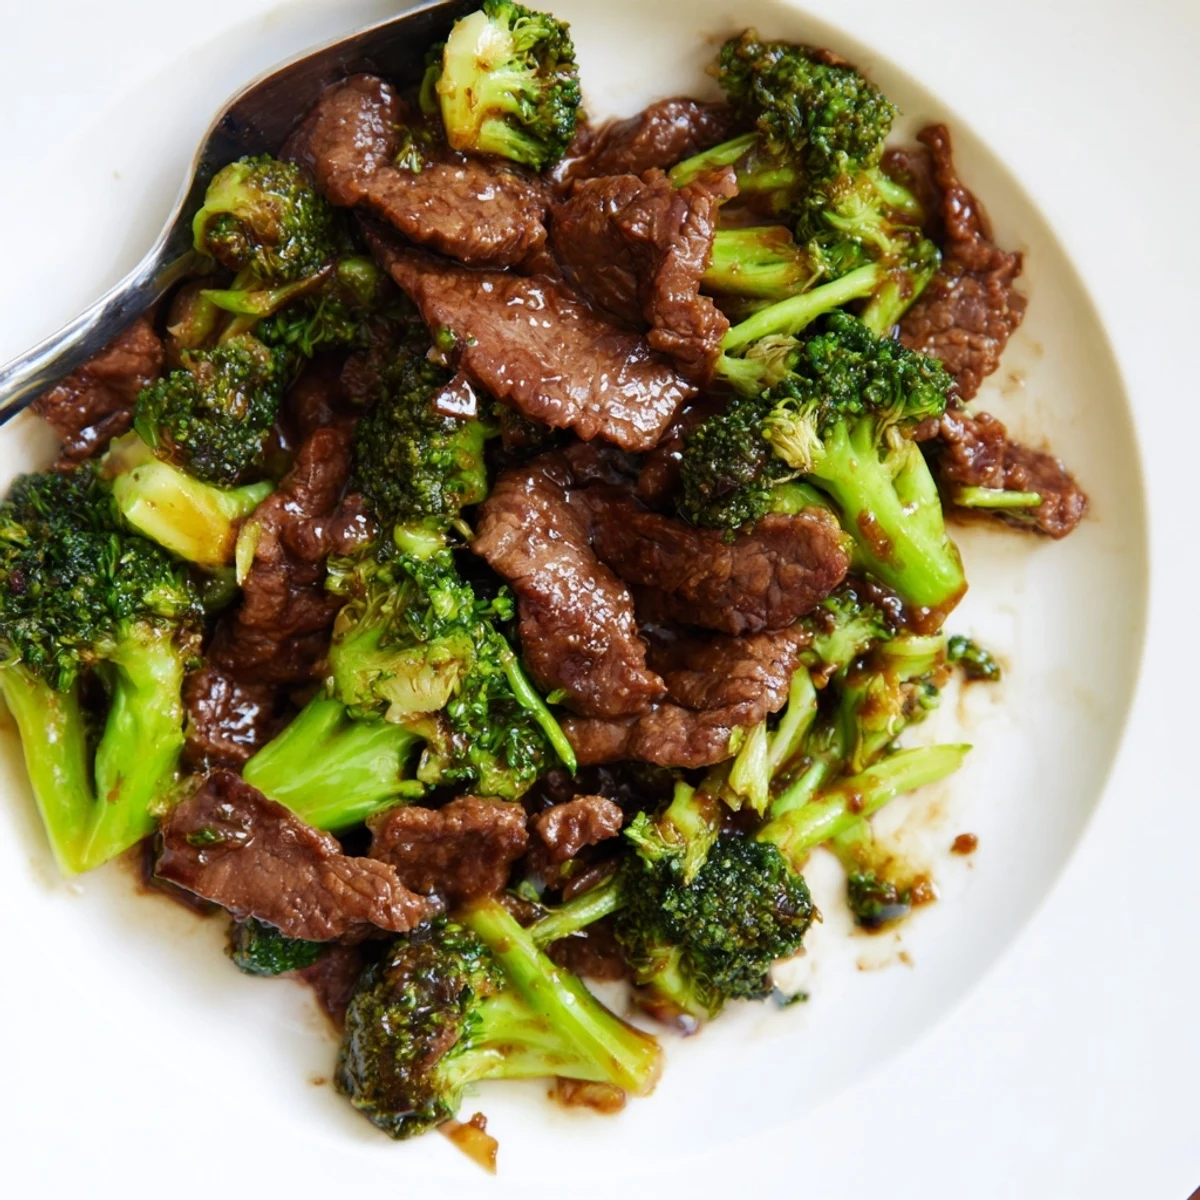 Pin it
 Once you master this sauce, you will find yourself putting it on everything from roasted vegetables to noodle bowls. That is exactly what happened in my kitchen, and honestly, I am not even sorry about it.
Recipe FAQs
- → Can I make this sauce gluten-free?
-
Yes, substitute low-sodium soy sauce with tamari or coconut aminos, and ensure your oyster sauce is labeled gluten-free. The taste remains nearly identical.
- → How long does the sauce last in the refrigerator?
-
Store the prepared sauce in an airtight container for up to 3 days. The cornstarch may settle, so give it a quick whisk before reheating.
- → Can I freeze this sauce?
-
Freezing isn't recommended as the cornstarch texture may change upon thawing. For best results, make fresh or refrigerate for up to 3 days.
- → What can I use instead of oyster sauce?
-
Mushroom sauce or a combination of hoisin sauce with a splash of fish sauce works well. Vegetarian mushroom oyster sauce is also available at most Asian markets.
- → Is this sauce spicy?
-
The base sauce is not spicy. Add red pepper flakes, sriracha, or chili garlic sauce if you prefer heat. Start with 1/4 teaspoon and adjust to taste.
- → Can I use this sauce for other dishes?
-
Absolutely. This versatile sauce works wonderfully with chicken, shrimp, tofu, or vegetable stir-fries. The umami-rich profile complements many proteins and vegetables.