 Pin it
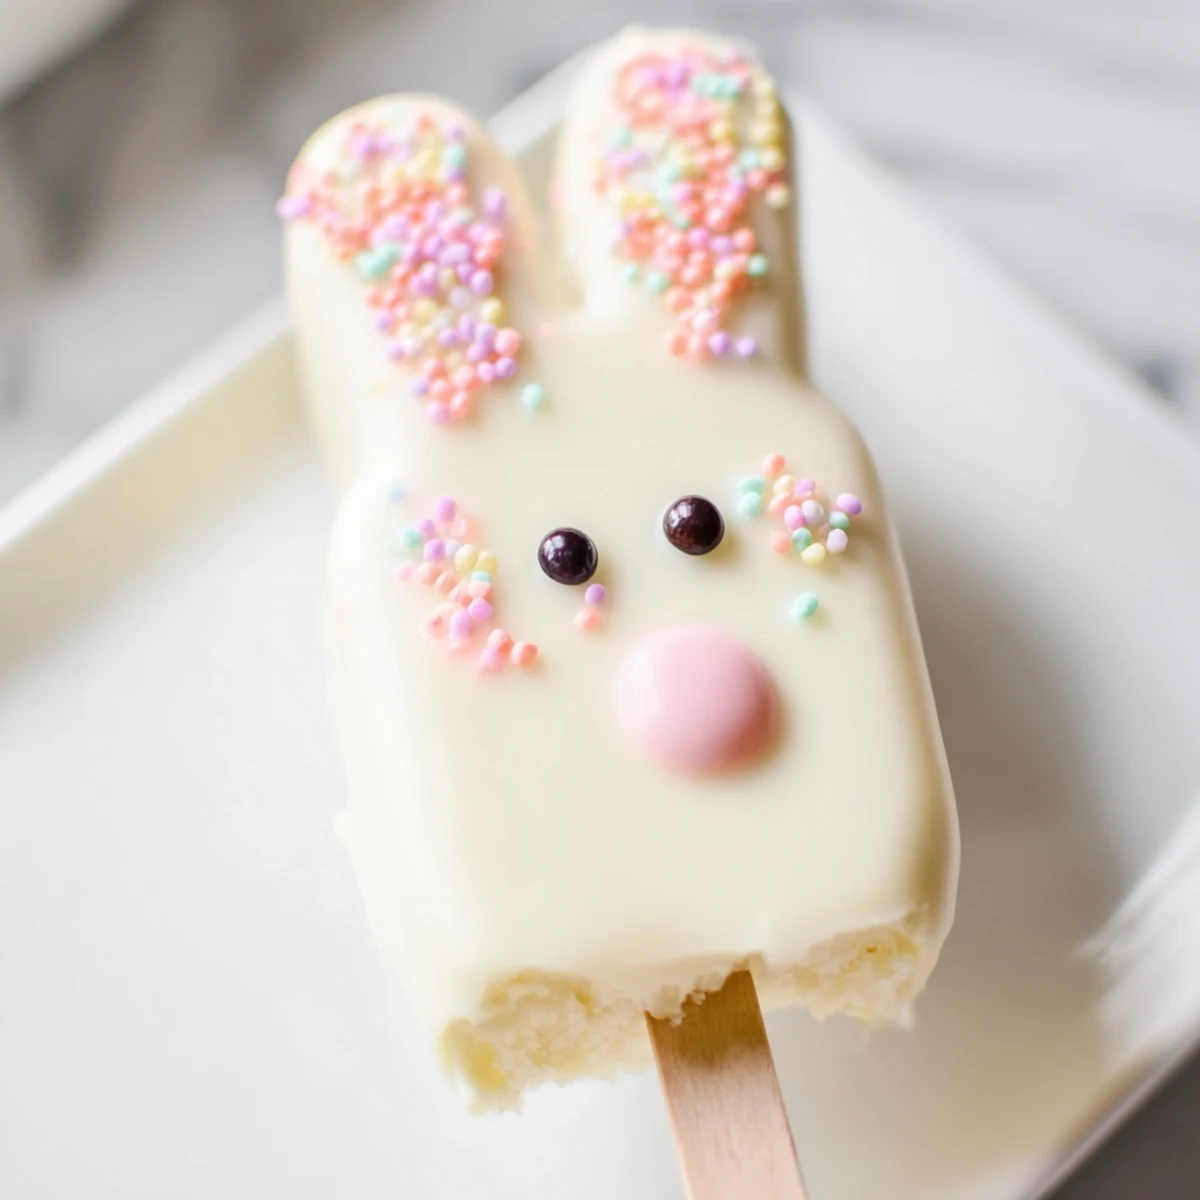
 These charming bunny-shaped treats combine moist vanilla cake with a luscious white chocolate coating. Simple to prepare with just eight ingredients, they're perfect for adding festive flair to your Easter gathering. The creamy cake mixture holds beautifully on sticks, while the smooth white chocolate provides the perfect canvas for creative decorations like candy eyes, sprinkles, and fondant bunny ears. Each batch yields eight delightful cakesicles that store well for days.
My kitchen counter looked like a pastel explosion last Easter, with white chocolate splatters and tiny candy eyes scattered everywhere. These bunny cakesicles started as a whimsical experiment to make something my nieces would actually want to eat instead of just admire on the dessert table. Now they are the first thing everyone asks about before I even finish planning the holiday menu.
Last year I made these for a neighborhood Easter gathering and watched three little girls carefully choose their bunnies by ear color. The conversation about which bunny had the cutest pink nose lasted longer than the actual dessert eating. These treats somehow turn a simple cake into something kids remember for months.
Ingredients
- Vanilla cake crumbs: Use any cake you have on hand, even slightly stale bakery finds work beautifully here
- Cream cheese: Softened to room temperature so it blends seamlessly into the cake mixture
- Unsalted butter: Another room temperature essential for binding everything together
- Powdered sugar: Just enough to sweeten the filling without making it too sticky
- Vanilla extract: Pure vanilla makes such a difference in the final flavor
- White chocolate: High quality melts or baking bars give the smoothest coating
- Edible gel food coloring: Pink and yellow work perfectly for bunny features
- Cakesicle sticks: Make sure they are food safe and sturdy enough to hold the weight
- Sprinkles and decorations: Let your creativity run wild with candy eyes, fondant ears, or edible pearls
Instructions
- Mix the cake mixture:
- Combine cake crumbs, cream cheese, butter, powdered sugar, and vanilla in a medium bowl until the mixture holds together like soft dough.
- Shape into bunnies:
- Divide into eight portions and form flattened oval bunny face shapes, then insert a stick about halfway into each one.
- Chill before coating:
- Refrigerate for twenty to thirty minutes until firm, which prevents them from falling apart during dipping.
- Melt the chocolate:
- Heat white chocolate in thirty second intervals, stirring between each, until completely smooth and fluid.
- Dip each cakesicle:
- Submerge each bunny in the melted chocolate, tap gently to remove excess, and place on parchment paper.
- Add decorations:
- While the coating is still soft, press on candy eyes, sprinkles, or fondant ears to create those adorable bunny faces.
- Set completely:
- Let them harden at room temperature or speed up the process in the refrigerator for about ten minutes.
- Add final details:
- Use food coloring pens to draw on whiskers, noses, or any other finishing touches before serving.
 Pin it
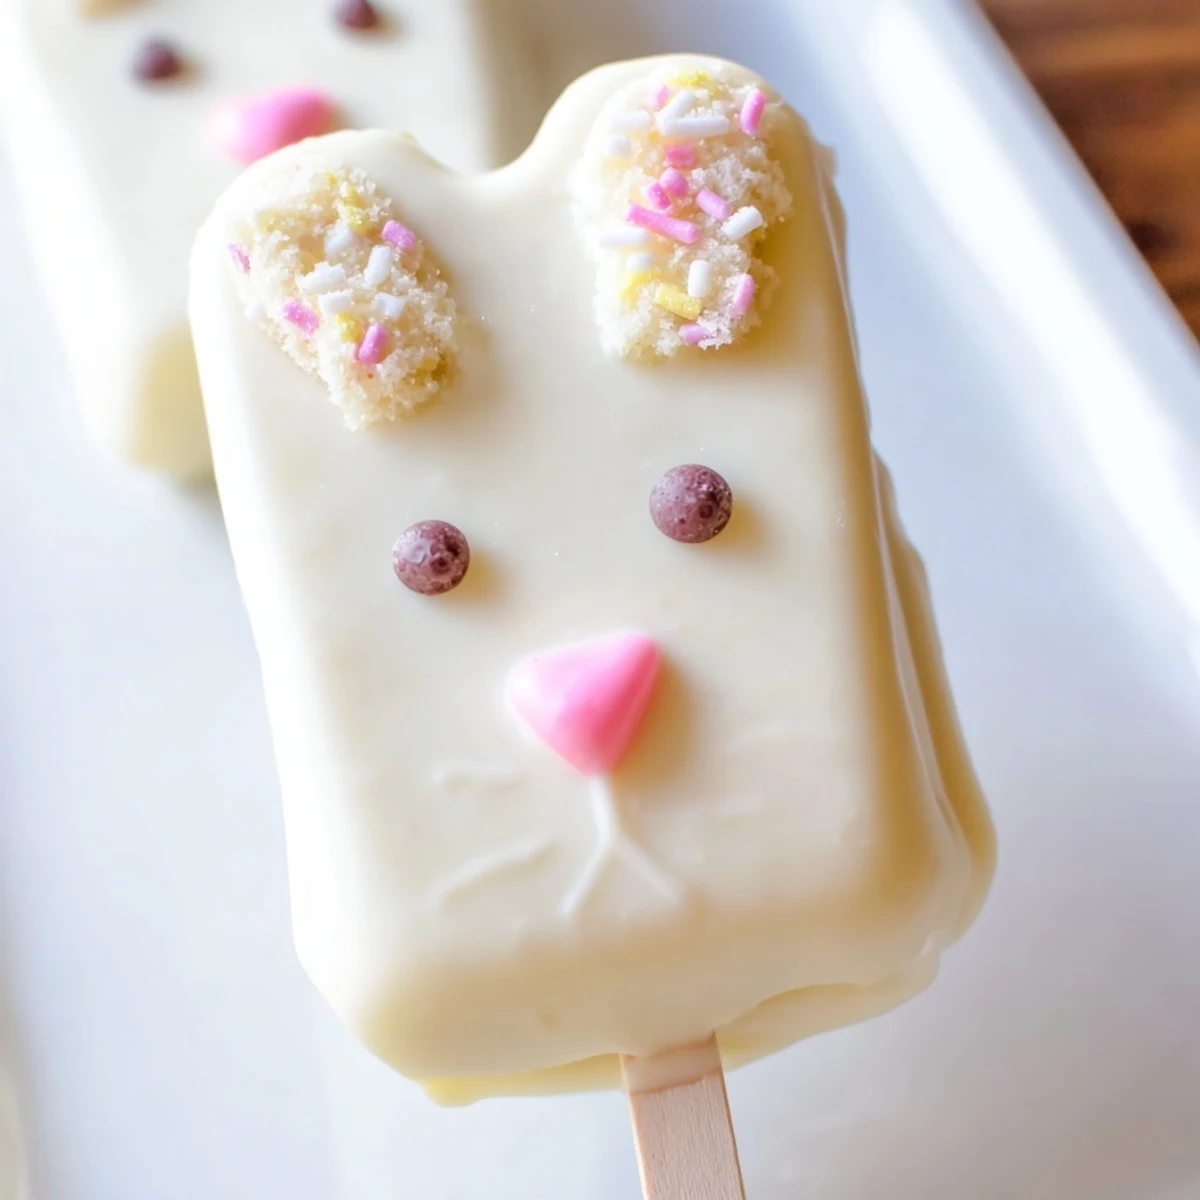
 My sister called me at midnight last Easter because she could not stop eating the leftover cake mixture while shaping the bunnies. Apparently the unfilled dough is just as addictive as the finished treats. Now I always double the recipe so there is enough for both snacking and serving.
Making Uniform Shapes
I used to freehand the bunny shapes and ended up with some that looked suspiciously like cats. Using a tablespoon as a rough guide helps keep them consistent in size, which also means they all finish cooking at the same rate. A small offset spatula makes smoothing the edges so much easier than using your fingers.
Coating Secrets
The white chocolate needs to be the right consistency, thick enough to cover but thin enough to drip off smoothly. If it seems too thick, add a teaspoon of coconut oil to thin it out without affecting the flavor. Deep dipping rather than shallow coating gives you that professional looking finish.
Decoration Ideas
Some of the cutest bunnies I have made used pretzel sticks dipped in pink chocolate for ears. You can also pipe melted chocolate directly onto the coating to create whiskers and fur details. The key is having all your decorations ready before you start dipping because that chocolate waits for no one.
- Keep a clean toothbrush handy to sweep away any stray sprinkles or chocolate crumbs
- Set up your decorating station before you melt the chocolate
- Work in small batches if you are making these with children
 Pin it
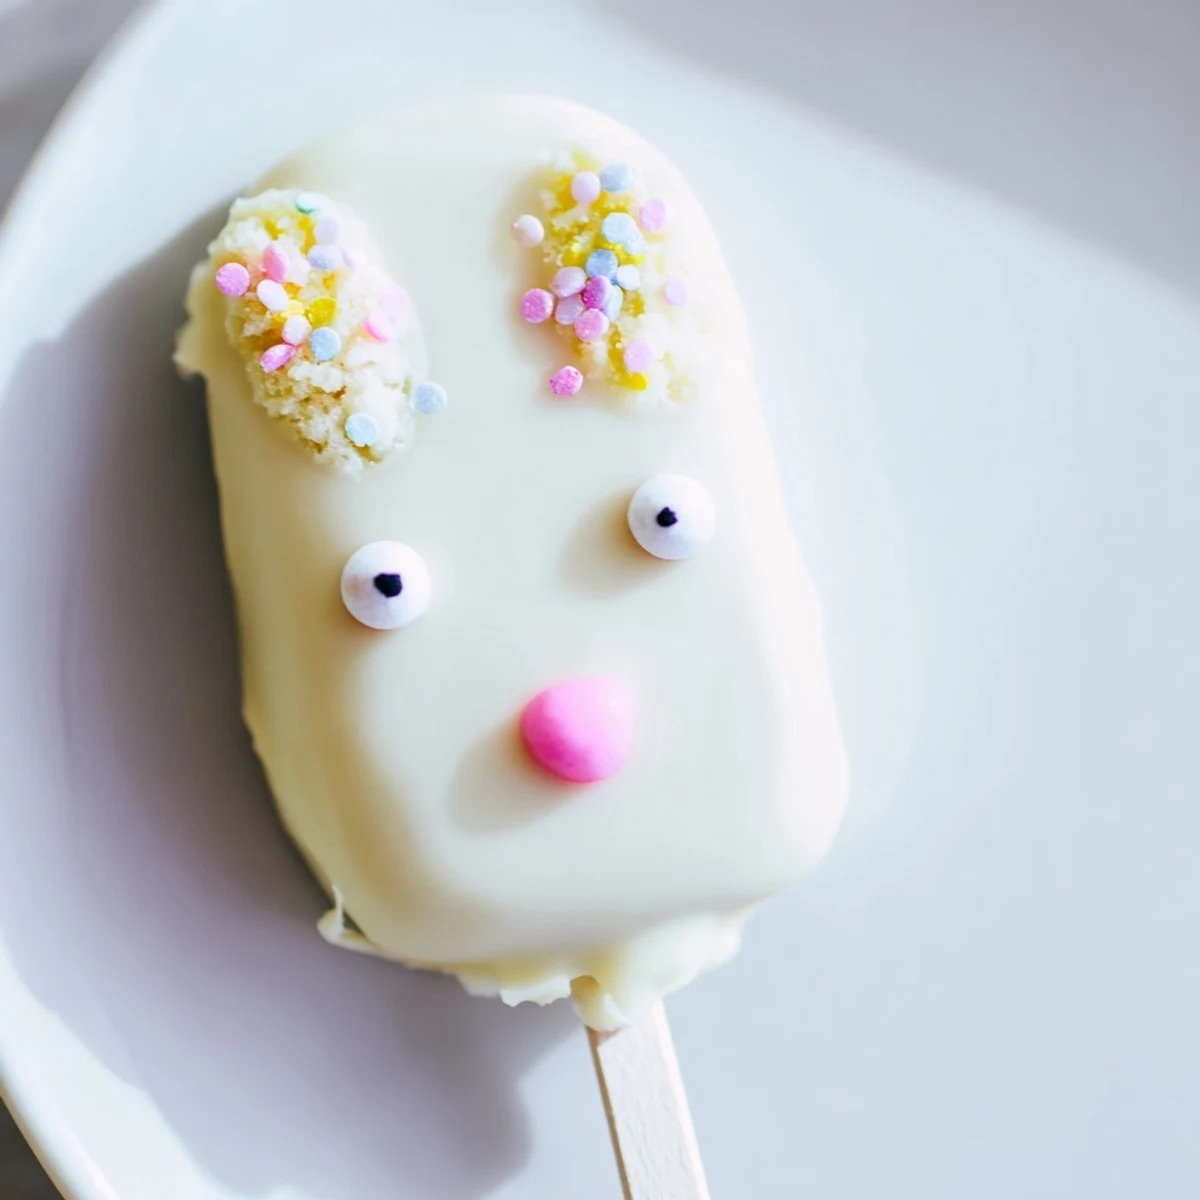
 These little bunnies bring such joy to Easter celebrations, and honestly, seeing kids light up when they choose their favorite is worth every chocolate splattered counter.
Recipe FAQs
- → How long do bunny cakesicles stay fresh?
-
Store your cakesicles in an airtight container in the refrigerator for up to 3 days. The white chocolate coating stays firm and the cake remains moist when properly chilled.
- → Can I use different cake flavors?
-
Absolutely! Chocolate, lemon, red velvet, or strawberry cake crumbs work beautifully. Just ensure your cake is finely crumbled and not too moist for the best shaping results.
- → What's the best way to melt white chocolate?
-
Melt in 30-second intervals in the microwave, stirring between each burst. This prevents seizing and ensures smooth, pourable consistency for even coating.
- → Do I need a special mold for bunny shapes?
-
No mold required! Hand-shaping flattened ovals works perfectly. However, a bunny-shaped cakesicle mold can help achieve uniform shapes if you prefer consistent results.
- → How do I prevent the sticks from falling out?
-
Chill your shaped cake mixture for 20-30 minutes before inserting sticks. Gently press the stick about halfway through, then refrigerate again before dipping to secure firmly.
- → Can I make these ahead for Easter?
-
Yes! Prepare up to 2 days ahead and store in the refrigerator. The white coating may develop condensation when removed from cold—let them sit at room temperature briefly before serving.