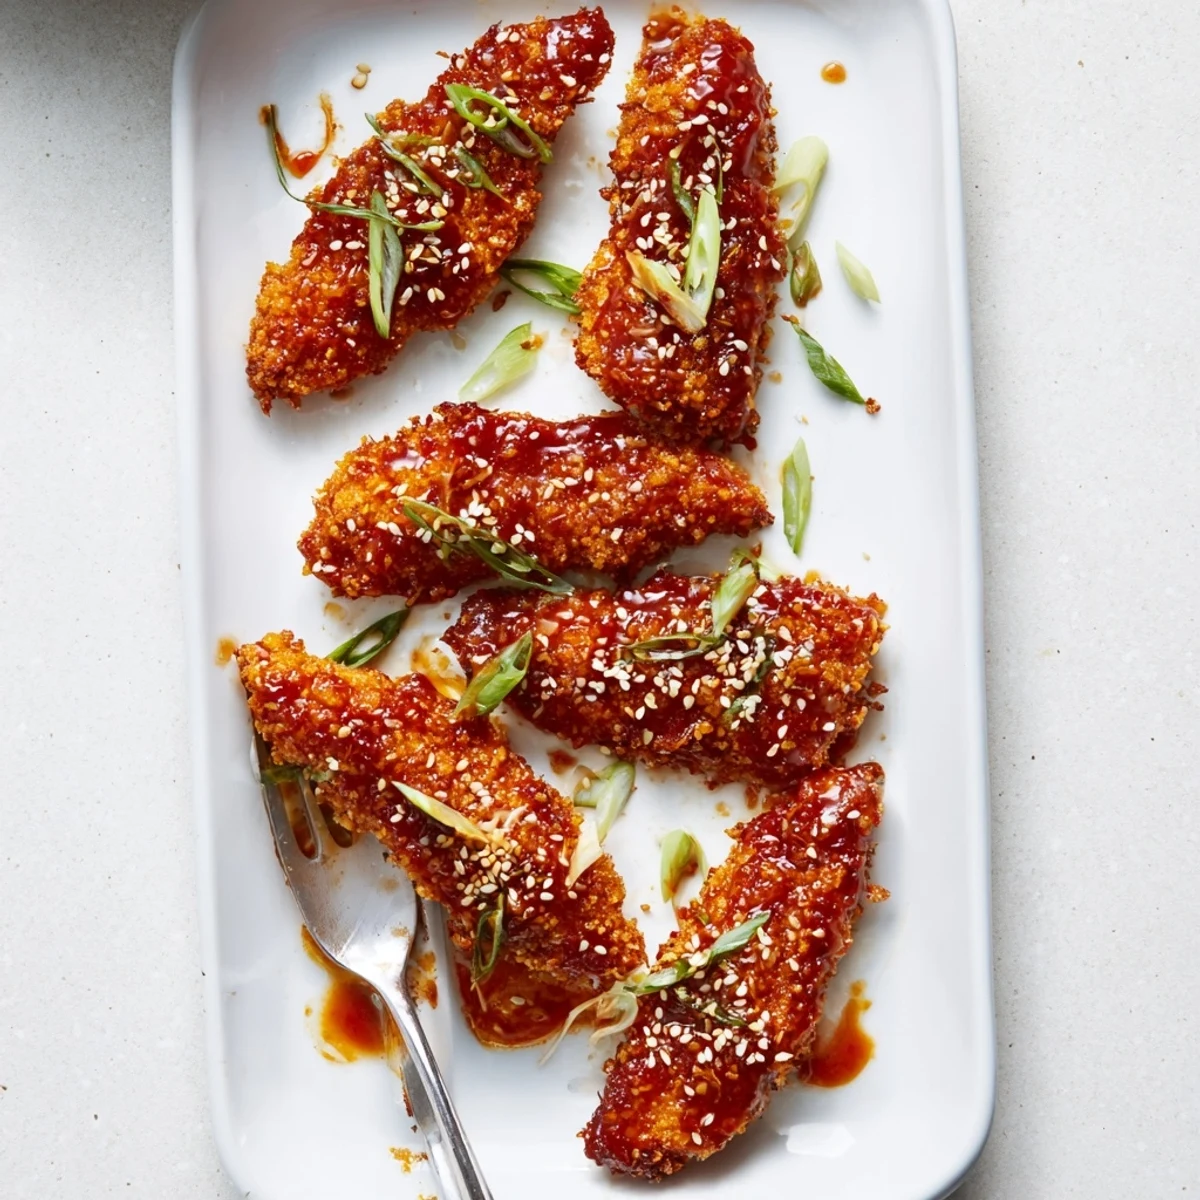
 Pin it
 Golden, crispy chicken fingers get an irresistible upgrade with a homemade sticky Thai sauce. The coating starts with a classic dredge through flour, egg, and panko breadcrumbs seasoned with garlic powder and smoked paprika, creating that perfect crunch we all love.
While the chicken bakes to golden perfection, whisk together sweet chili sauce, soy sauce, honey, rice vinegar, sesame oil, sriracha, garlic, and fresh ginger. The sauce simmers for just a few minutes until it thickens into that gorgeous glossy glaze.
Toss the warm chicken in the sauce until every piece is coated, then finish with toasted sesame seeds, fresh spring onions, and cilantro. These disappear fast at gatherings and make an impressive appetizer that looks like it came from a restaurant.
The first time I made these for a dinner party, my friend Sarah literally stopped mid conversation, her eyes widening as she took her first bite. She made me write down the recipe on a paper napkin right there at the table, and now it's become our most requested gathering food ever since.
Last summer, my teenage nephew helped me coat dozens of these for his graduation party, and we ended up with flour everywhere and more sauce on our fingers than the actual chicken. But watching three generations hover around the platter, dipping and double dipping, made the mess entirely worth it.
Ingredients
- Chicken tenders: Fresh strips give you the most tender results, though cutting breasts into uniform pieces works perfectly fine too
- Panko breadcrumbs: These Japanese breadcrumbs create the most incredible airy crunch that regular crumbs just cannot match
- Sweet chili sauce: The backbone of our glaze, look for one with real chili flecks floating in it
- Fresh ginger and garlic: Minced finely so they dissolve into the sauce without any gritty bits
- Sesame oil: Just a teaspoon adds that unmistakable nutty aroma that screams Thai cuisine
- Sriracha: Completely optional if you are feeding sensitive palates, but my family insists on the extra kick
Instructions
- Get your station ready:
- Set up three shallow bowls in assembly line fashion: flour first, then beaten eggs, then panko mixed with garlic powder and smoked paprika for that beautiful golden color
- Prep the chicken strips:
- Season them generously with salt and pepper on both sides before starting the coating process
- Create the crunch:
- Dip each strip in flour, shake off the excess, drag through egg, then press firmly into the panko mixture until thoroughly coated
- Bake to golden perfection:
- Arrange on a lined baking sheet, give them a quick spray of oil, and bake at 220°C for about 20 to 25 minutes, flipping halfway through for even color
- Make the magic sauce:
- While chicken bakes, simmer sweet chili sauce, soy sauce, honey, rice vinegar, sesame oil, sriracha, garlic, and ginger until slightly thickened and fragrant
- Bring them together:
- Toss the hot chicken fingers in the warm sauce until every piece is glistening and coated, then sprinkle generously with sesame seeds and sliced spring onions
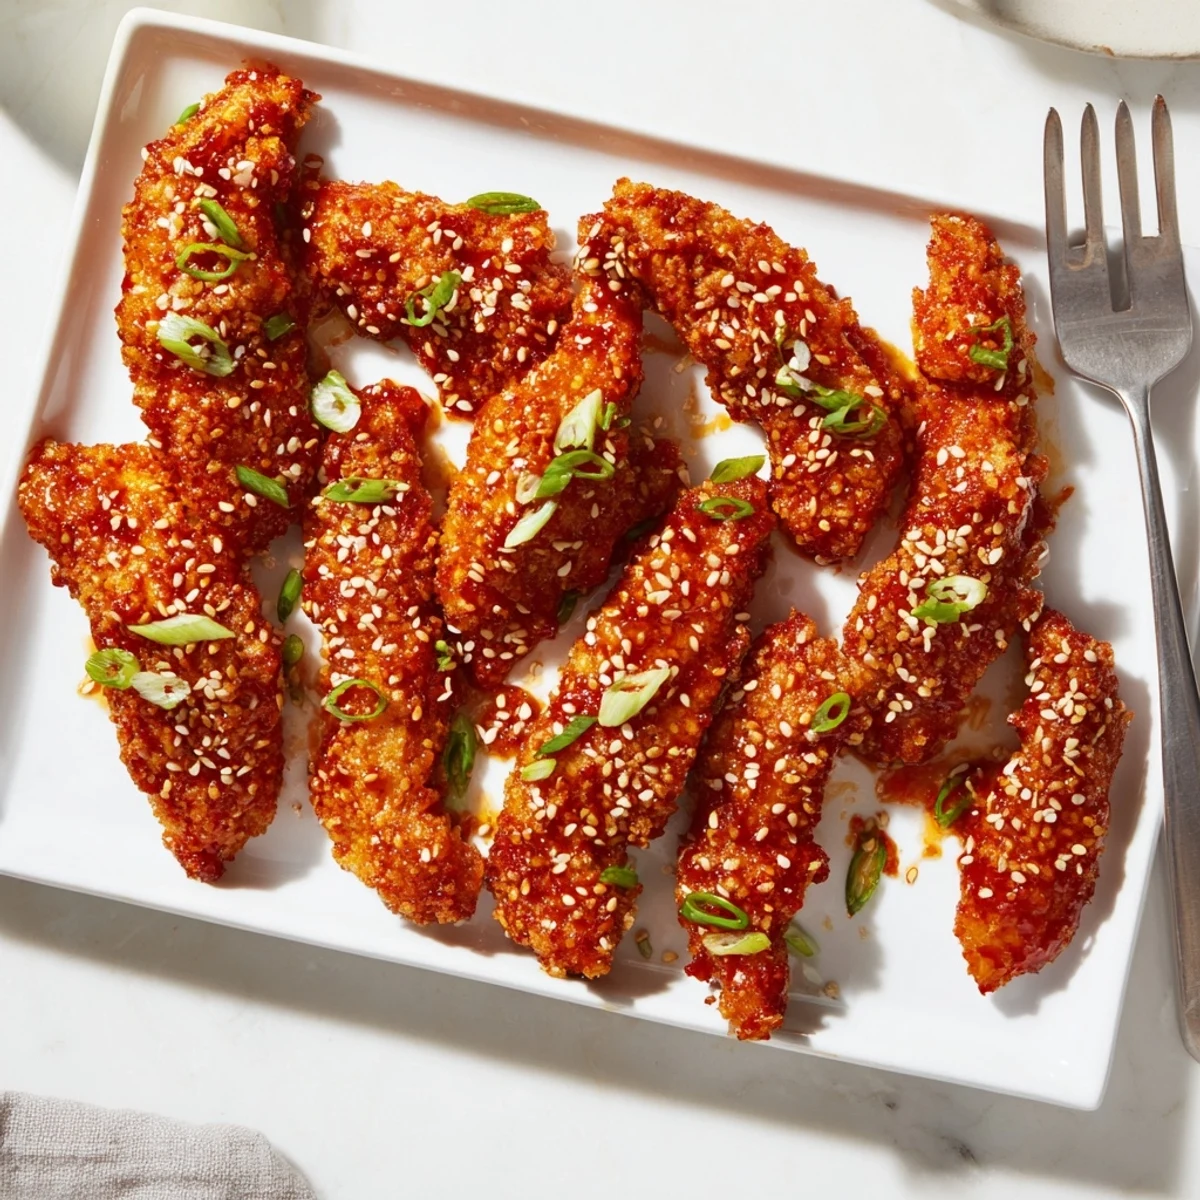 Pin it
 My daughter now requests these for every birthday dinner instead of cake, and honestly, I cannot blame her. There is something ridiculously satisfying about eating with your hands and getting your fingers deliciously sticky in the process.
Perfecting the Crunch
After years of making these, I have learned that pressing the panko firmly onto the chicken makes all the difference between coating that stays put and coating that ends up on the baking sheet instead of the chicken.
Sauce Secrets
The sauce thickens rapidly once it starts simmering, so stay close and stir constantly. I have ruined more batches by walking away for thirty seconds than I care to admit.
Serving Suggestions
These disappear fastest when served with plenty of napkins and maybe some cooling cucumber slices on the side. They also pair beautifully with simple jasmine rice if you want to stretch them into a full meal.
- Set out a small bowl of extra sauce for those who cannot get enough
- Squeeze fresh lime over the platter right before serving to cut through the sweetness
- Keep any leftovers separated from the sauce or they will lose their precious crunch overnight
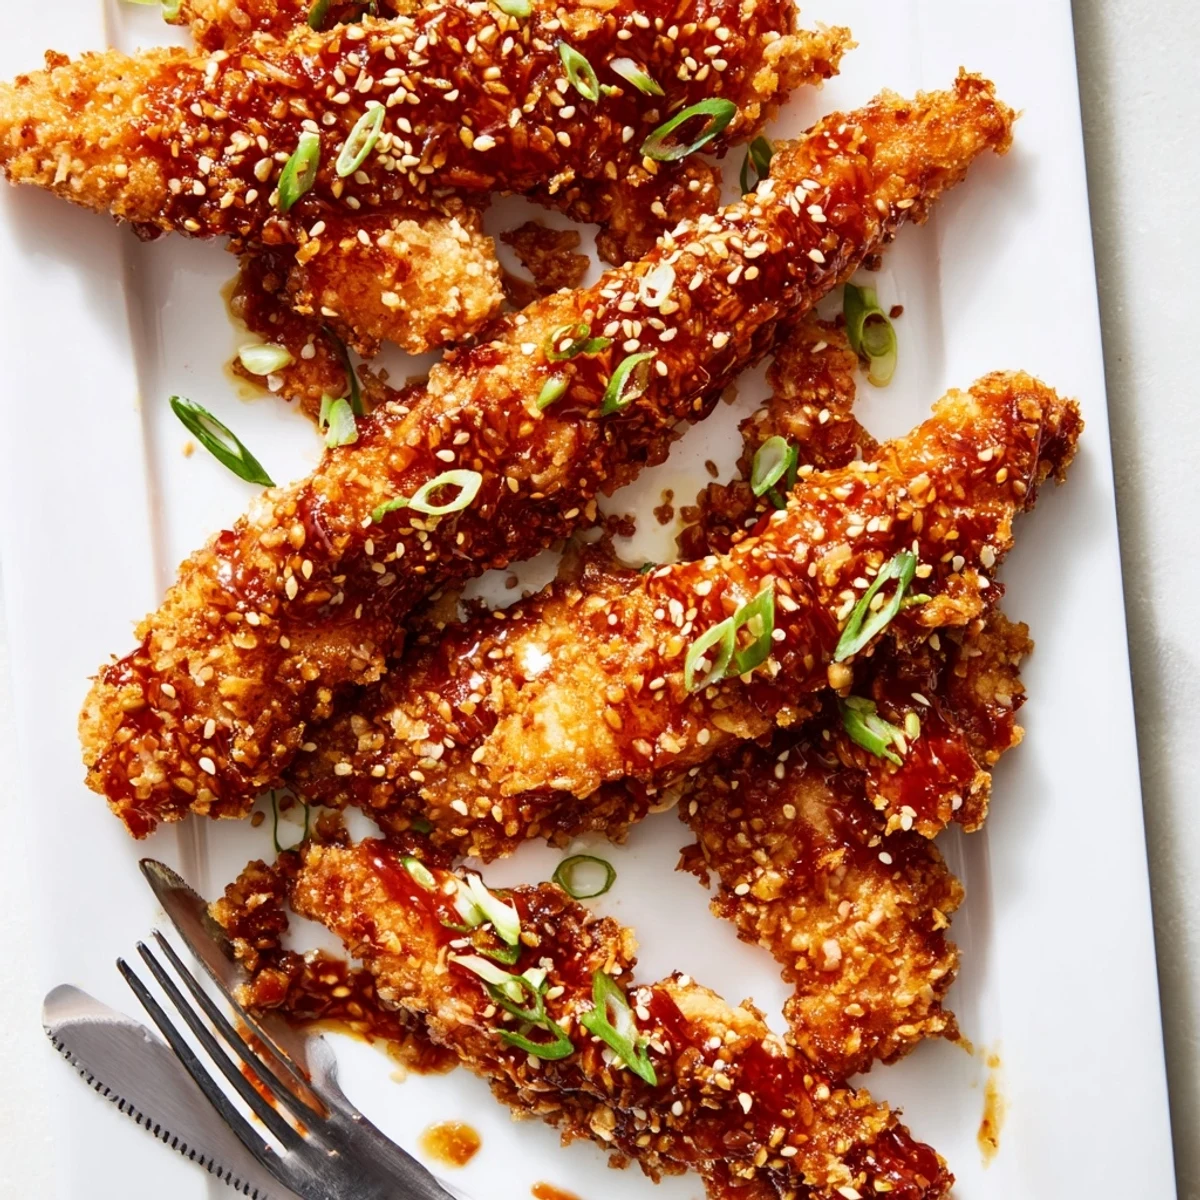 Pin it
 Hope these become your go to for feeding a crowd or just treating yourself to something special on a Tuesday night.
Recipe FAQs
- → Can I make these chicken fingers ahead of time?
-
Yes! You can bread the chicken strips up to 24 hours in advance and store them refrigerated on a parchment-lined tray. When ready to serve, bake as directed. The sauce can also be made 2-3 days ahead and gently reheated before tossing with the cooked chicken.
- → What can I substitute for panko breadcrumbs?
-
Regular breadcrumbs work, though they won't be quite as light and crispy. Crushed cornflakes or even crushed unsweetened cereal can create a similar crunch. For a gluten-free option, use almond flour or gluten-free breadcrumbs.
- → How do I make the sauce less spicy?
-
Simply omit the sriracha or reduce it to half a teaspoon. The sweet chili sauce provides mild sweetness and heat, so even without sriracha, you'll still get that characteristic Thai flavor balance.
- → Can I air fry these instead of baking?
-
Absolutely! Cook at 200°C (400°F) for 10-12 minutes, shaking halfway through. Air frying creates excellent crispiness with less oil. Just be careful not to overcrowd the basket so they crisp evenly.
- → What dipping sauces pair well with these?
-
The sticky glaze is delicious on its own, but extra peanut sauce, sweet chili dipping sauce, or a cool cucumber raita provide nice contrast. A squeeze of fresh lime juice right before serving brightens all the flavors beautifully.
- → How do I store leftovers?
-
Store cooled chicken in an airtight container in the refrigerator for up to 3 days. Reheat in a 180°C (350°F) oven for 10 minutes to restore crispiness. The microwave will make them soggy, so avoid that method if possible.