 Pin it
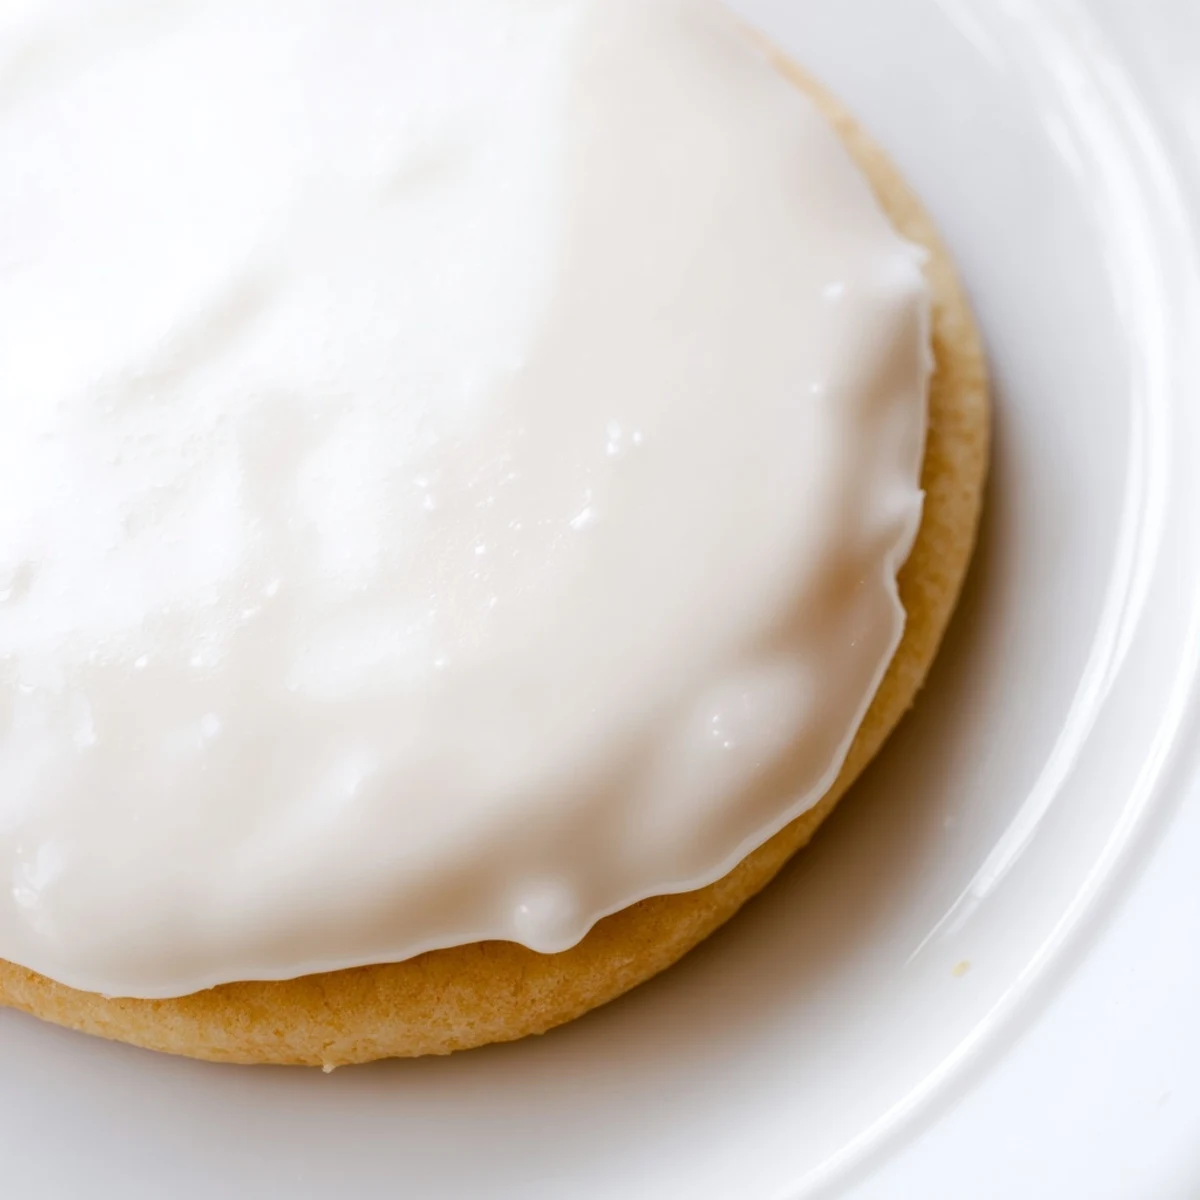
 This classic American cookie icing comes together in just 10 minutes with pantry staples you likely already have. The combination of powdered sugar, milk, corn syrup, and vanilla creates a perfectly pourable consistency that sets firm without becoming rock-hard. The corn syrup is the secret ingredient that gives this icing its signature glossy finish and helps it dry smoothly without cracking. You can easily customize the consistency for dipping, spreading, or piping intricate designs. Color it with gel or liquid food coloring for any occasion, from holidays to birthdays. One batch yields enough to decorate about two dozen cookies, and leftovers store beautifully in the refrigerator for up to a week.
The kitchen counter was covered in specks of food coloring, my hands were slightly stained pink, and I had never been prouder of anything in my life. My first attempt at decorating sugar cookies had turned into what looked like a chaotic art project, but that glossy white icing I'd whipped up was holding everything together. It was supposed to be a simple holiday baking day with my cousins, but somewhere between mixing colors and arguing over who got the last sprinkle, we discovered that the right icing could make even the clumsiest cookies look professional.
Last Christmas, I made three batches of this icing in different colors and set up a decorating station for my nephews. What started as carefully piped snowflakes and stars quickly evolved into abstract art, monsters, and at least one cookie that my nephew swore looked like a dinosaur. The best part was watching them realize that the icing was actually doing the heavy lifting, making their shaky hands look surprisingly artistic. Even the ones that ended up as messy blobs were gone within an hour.
Ingredients
- 2 cups powdered sugar: Sifting this first prevents any lumpy surprises in your smooth icing and creates that professional glossy finish
- 2-3 tablespoons milk: Start with less and add gradually, reaching for that perfect thick but pourable consistency that glides over cookies without running off the edges
- 1 tablespoon light corn syrup: This is the secret ingredient that gives the icing its signature shine and helps it dry firm rather than brittle
- 1/2 teaspoon pure vanilla extract: Use the good stuff here because this simple icing relies on vanilla for its warm background flavor
- Food coloring: Gel coloring gives you vibrant shades with less liquid, which helps maintain the perfect consistency
- Sprinkles or colored sugars: Add these immediately after icing while it is still wet so they stick without any additional effort
Instructions
- Mix the base:
- Whisk together the powdered sugar, 2 tablespoons milk, corn syrup, and vanilla in a medium bowl until completely smooth and glossy. The mixture should look thick and spreadable, like heavy cream.
- Adjust the consistency:
- If your icing is too thick to spread easily, add more milk just a half teaspoon at a time, whisking thoroughly after each addition. You want it thick enough to hold its shape but loose enough to flow off a spoon.
- Add color if desired:
- Divide the icing into separate bowls for multiple colors, then stir in food coloring a few drops at a time. Remember that colors deepen as they sit, so start with less than you think you need.
- Decorate your cookies:
- Dip the tops of cooled cookies directly into the icing, spread it with a small knife, or pipe designs using a piping bag or squeeze bottle. Work quickly once you start because this icing begins setting within minutes.
- Let them set:
- Leave the decorated cookies at room temperature for at least 4 hours until the icing is completely dry and firm to the touch. Overnight is even better if you can wait that long.
 Pin it
 My grandmother used to say that the difference between store-bought and homemade cookies was in the details, and she was absolutely right about the icing. After years of struggling with royal icing that cracked and buttercream that never set, this recipe finally made me feel like I could actually create something beautiful. The first time I stacked a dozen decorated cookies in a gift box and none of them smeared or stuck together, I may have done a little victory dance in my kitchen.
Getting the Right Consistency
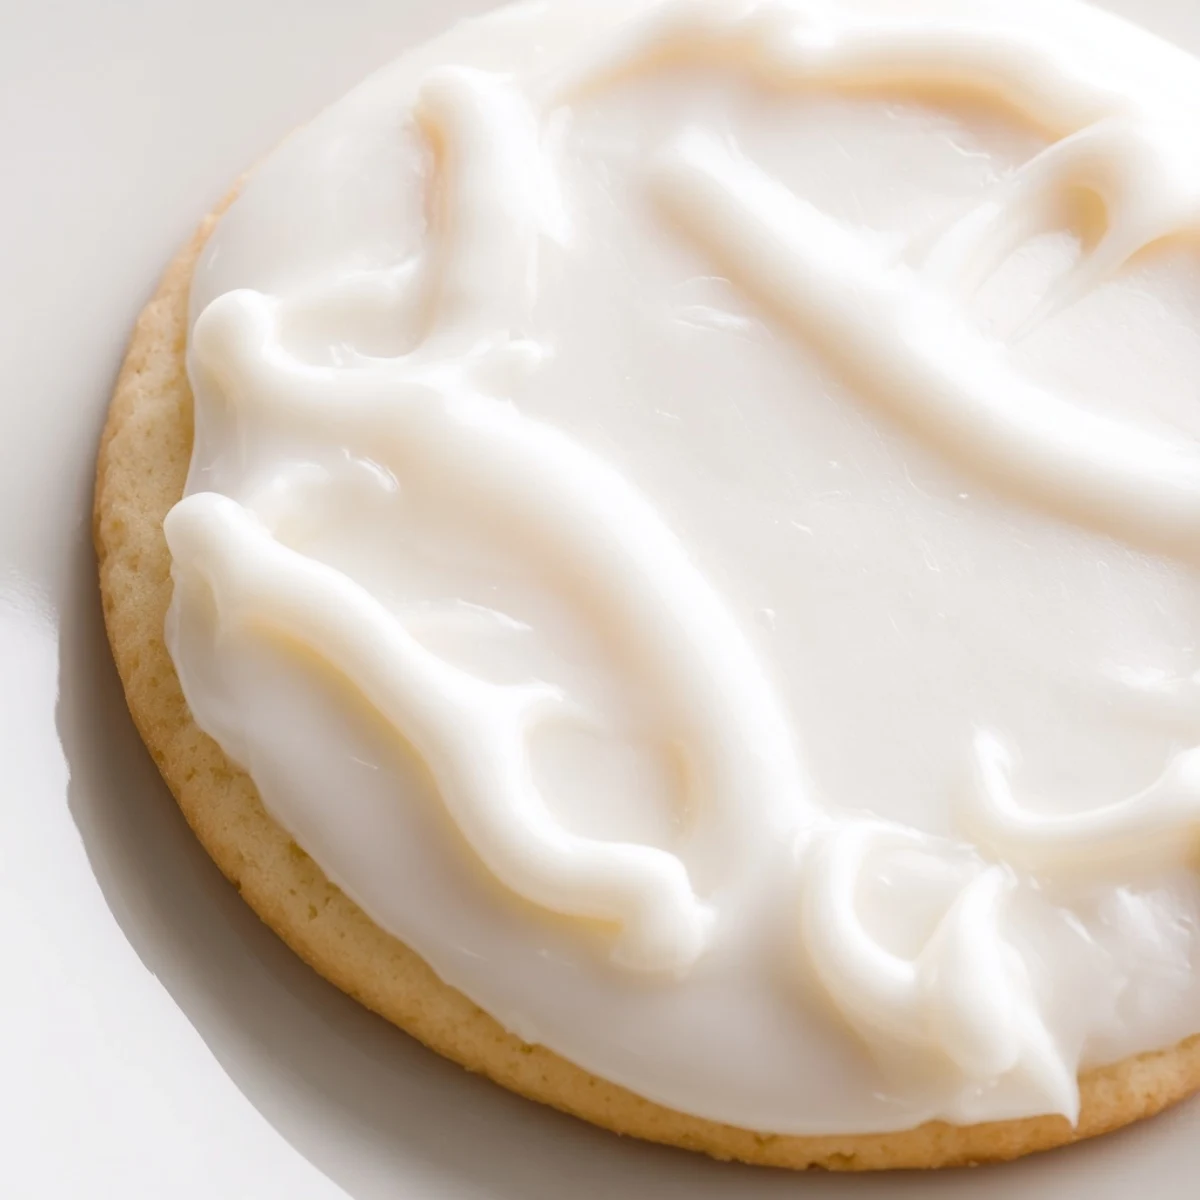
The perfect icing consistency is somewhere between honey and heavy cream, thick enough to hold its shape but loose enough to settle smoothly on the cookie surface. I learned this the hard way after making icing that was too thick and left knife marks, then too thin and dripped off the edges entirely. Now I always test by drizzling a little back into the bowl and watching how it incorporates back into itself.
Color Mixing Like a Pro
Start with less food coloring than you think you need because it is always easier to add more than to fix a color that is too intense. I keep toothpicks handy for gel coloring, dipping just the tip to add tiny amounts at a time until I reach exactly the shade I want. Deep colors like red and black need more time to develop their full intensity, so let them sit for five minutes before deciding whether to add more.
Storage and Make-Ahead Tips
This icing keeps surprisingly well in the refrigerator for up to a week, stored in an airtight container with a piece of plastic wrap pressed directly against the surface to prevent a skin from forming. When you are ready to use it again, let it come to room temperature and whisk briefly to restore the smooth consistency. If it has thickened in the fridge, add milk just a half teaspoon at a time until it returns to that perfect pourable state.
- Portion icing into small squeeze bottles for easy decorating and to prevent the main bowl from drying out while you work
- Keep a damp paper towel over any bowls of icing you are not actively using to maintain the perfect consistency
- Clean your cookies completely of any crumbs before applying icing, or you will end up with specks in your smooth finish
 Pin it
 Sometimes the simplest recipes are the ones that make you feel like you have actually mastered something in the kitchen. This icing has turned countless afternoons of cookie disasters into proud moments, and I hope it does the same for you.
Recipe FAQs
- → Why add corn syrup to cookie icing?
-
Corn syrup creates a glossy finish and helps the icing dry smoothly without cracking. It also keeps the icing from becoming too hard once set, giving you a nice firm texture that's still pleasant to eat.
- → How long does the icing take to dry completely?
-
Allow decorated cookies to dry at room temperature for at least 4 hours, though overnight drying is ideal for the best results. Humidity can affect drying time—dry days help the icing set faster.
- → Can I make this icing ahead of time?
-
Yes! Store leftover icing in an airtight container in the refrigerator for up to 1 week. The consistency may thicken when chilled—simply add a few drops of milk and stir well before using again.
- → What's the best consistency for piping vs. flooding?
-
For flooding (filling larger areas), aim for a thick honey-like consistency that spreads smoothly but stays contained. For piping borders and details, thicken with additional powdered sugar until the icing holds its shape when piped.
- → Can I use water instead of milk?
-
Yes, water works fine if you need a dairy-free option. However, milk adds a subtle richness and helps the icing adhere slightly better to the cookie surface. Non-dairy milks like almond or oat milk also work well.
- → Why does my icing look dull instead of shiny?
-
Make sure you're using fresh corn syrup and not reducing the amount. Also, avoid over-mixing which can incorporate air bubbles. Let the icing rest for a few minutes after mixing to allow bubbles to rise to the surface before using.