 Pin it
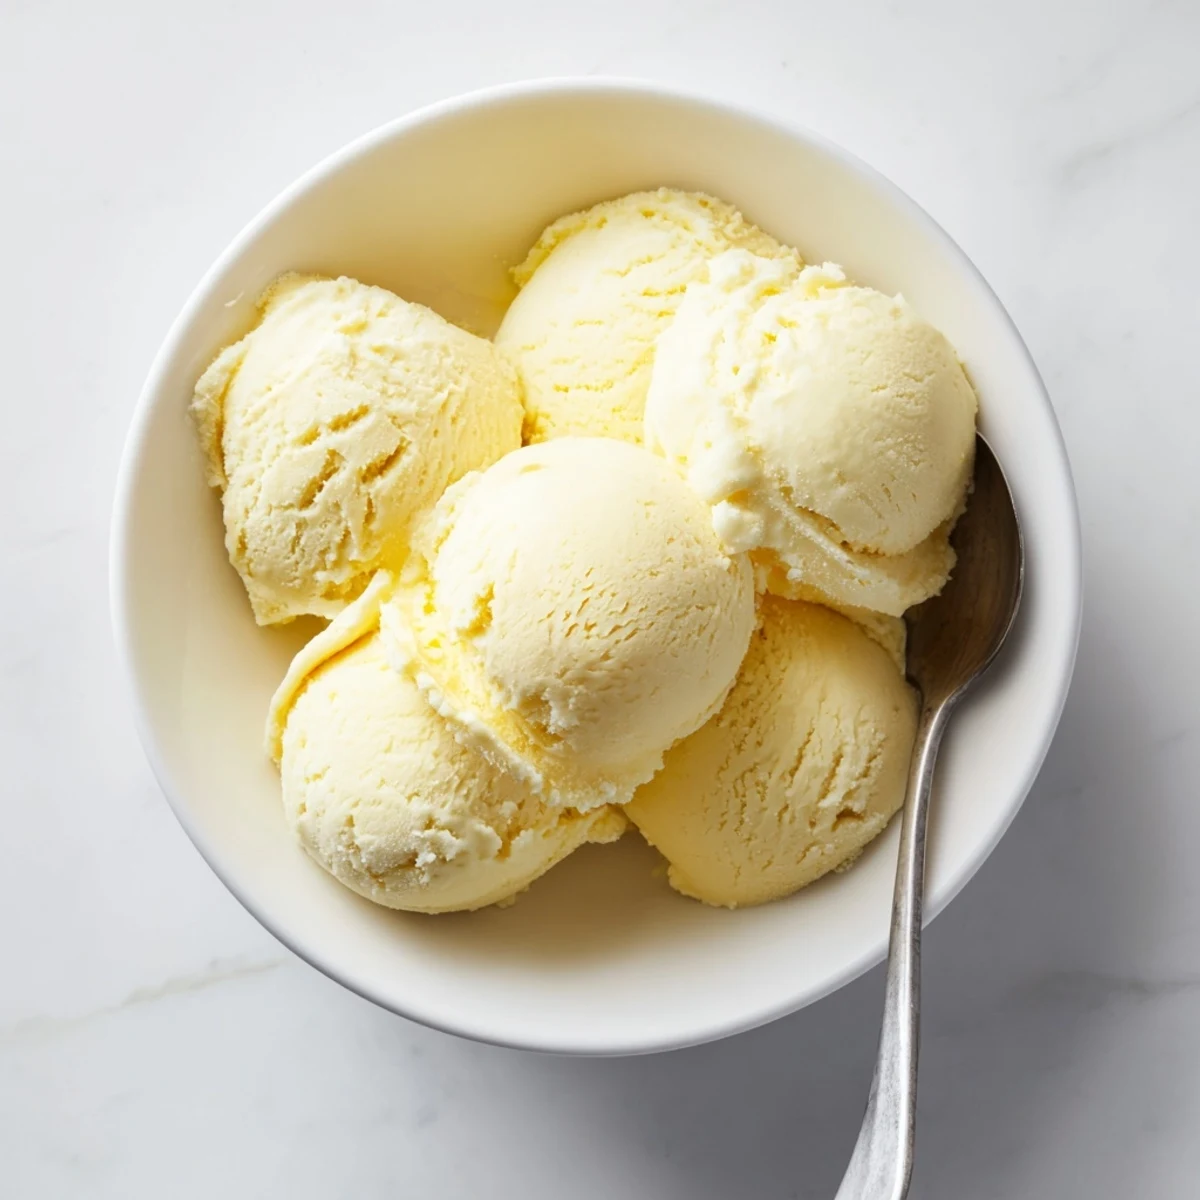
 Create your own rich and creamy vanilla ice cream at home with this classic method. The custard base combines heavy cream, whole milk, and egg yolks for an incredibly smooth texture. After heating and tempering the mixture, chill it thoroughly before churning in your ice cream maker. The result is a luxurious frozen dessert perfect for hot summer days or as a sweet finish to any meal.
My ice cream maker sat untouched for three years until a July blackout left me with two pints of cream about to spoil and nothing but a gas stovetop to work with. I figured custard was custard, so I might as well try. That night, eating still-soft vanilla ice cream by candlelight with the windows open, I understood why people bother making it from scratch.
I brought a batch to a backyard potluck last August and watched a friend who never eats dessert go back for thirds with zero shame. Something about scooping it fresh, before it hardens completely, makes people lose all restraint. My neighbor now texts me every heat wave asking if the machine is ready.
Ingredients
- Heavy cream (2 cups): This is your foundation, so buy the good stuff with no stabilizers and the richest fat content you can find.
- Whole milk (1 cup): Balances the cream so the finished ice cream is luscious rather than greasy or heavy.
- Granulated sugar (3/4 cup): Sugar lowers the freezing point, which keeps everything scoopable straight from the freezer.
- Salt (pinch): Just a tiny pinch makes the vanilla taste rounder and more complex than it would on its own.
- Pure vanilla extract (1 tablespoon): Skip the imitation stuff here because the flavor carries the entire dessert and faking it shows.
- Large egg yolks (5): Yolks give the custard its body and that velvety mouthfeel that makes you close your eyes on the first bite.
Instructions
- Warm the base:
- Combine the cream, milk, sugar, and salt in a saucepan over medium heat, stirring gently until the sugar melts and you see tiny bubbles forming at the edges. Pull it off the burner before it boils or you risk scalding the dairy.
- Prep the yolks:
- Whisk the egg yolks in a bowl just until broken up and slightly pale. You are not looking for thick ribbons here, just a uniform golden liquid ready to receive the hot cream.
- Temper carefully:
- Slowly stream about one cup of the hot mixture into the yolks while whisking nonstop so they warm gradually without scrambling. This step is where patience truly pays off and rushing it ruins everything.
- Cook the custard:
- Pour the tempered yolks back into the pan and cook over medium low heat, stirring constantly with a wooden spoon or spatula until the mixture thickens enough to coat the back of it. Dip the spoon, run your finger through the coating, and if the line holds clean, you are done.
- Add vanilla and strain:
- Remove from heat, stir in the vanilla extract, then push the custard through a fine mesh sieve to catch any stray cooked egg bits. This straining step is the difference between smooth and grainy, so never skip it.
- Chill thoroughly:
- Let the custard come to room temperature, then press plastic wrap directly against the surface and refrigerate for at least four hours or overnight if you can stand the wait. Cold base churns faster and yields a creamier result.
- Churn it up:
- Pour the chilled custard into your ice cream maker and churn according to the machines directions until it looks like soft serve. This usually takes about twenty minutes and the transformation is deeply satisfying to watch.
- Freeze to finish:
- Scrape everything into a freezer safe container, smooth the top, cover tightly, and freeze for at least two hours to firm up before scooping. Let it sit on the counter for five minutes before serving for the best texture.
 Pin it
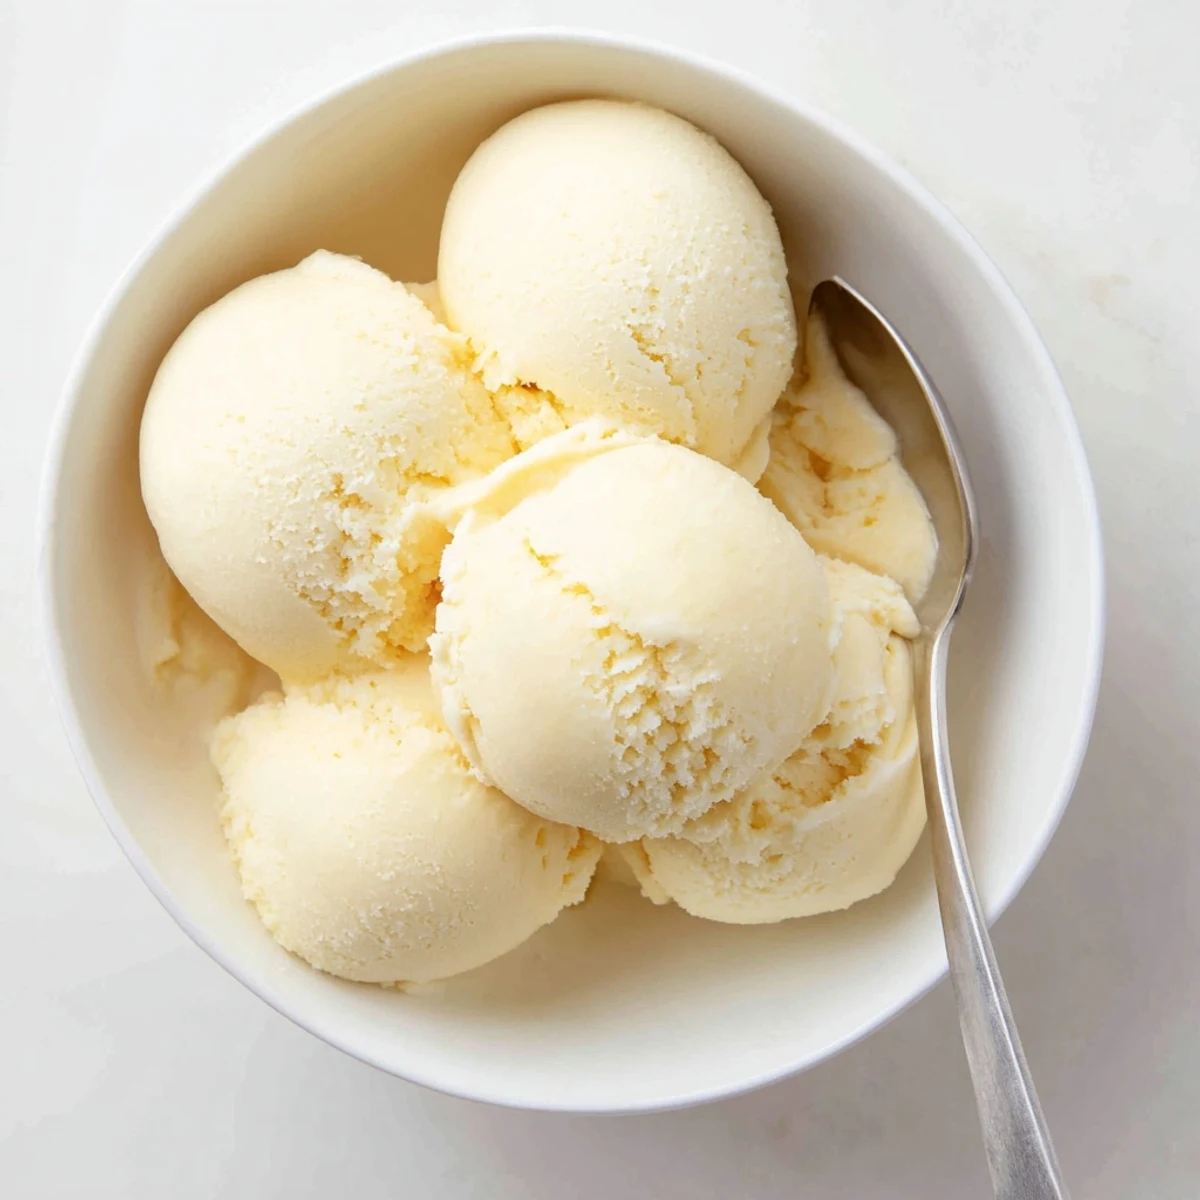
 The second time I made this, my daughter stood on a stool beside me watching the custard thicken with the intensity of a scientist observing a reaction. She declared it magic, and honestly, watching liquid cream and eggs transform into something that tastes like pure comfort still feels that way to me too.
Getting Creative With Flavors
This vanilla base is really a blank canvas, and once you nail the technique you can fold in almost anything at the end of churning. Fold in crushed chocolate sandwich cookies, fresh strawberry compote, or a ribbon of salted caramel right before the final freeze. Just keep add ins cold and stir gently so the soft texture does not deflate.
What If You Do Not Have a Machine
Before I owned an ice cream maker, I poured the chilled custard into a shallow baking dish and stirred it vigorously every thirty minutes as it froze. It takes more effort and the result is slightly less airy, but it absolutely works in a pinch. The key is breaking up ice crystals before they set into hard chunks.
Storing Leftovers Without Ruining Them
Homemade ice cream does not have the stabilizers commercial brands rely on, so it firms up considerably after a day or two in the freezer. I have learned a few storage habits that keep leftovers pleasant and scoopable.
- Press a piece of parchment paper directly onto the surface before sealing the lid to prevent ice crystals from forming on top.
- Let the container sit at room temperature for five to ten minutes before scooping rather than microwaving it.
- Consume within one week for the best flavor and texture, because after that it starts to pick up freezer odors.
 Pin it
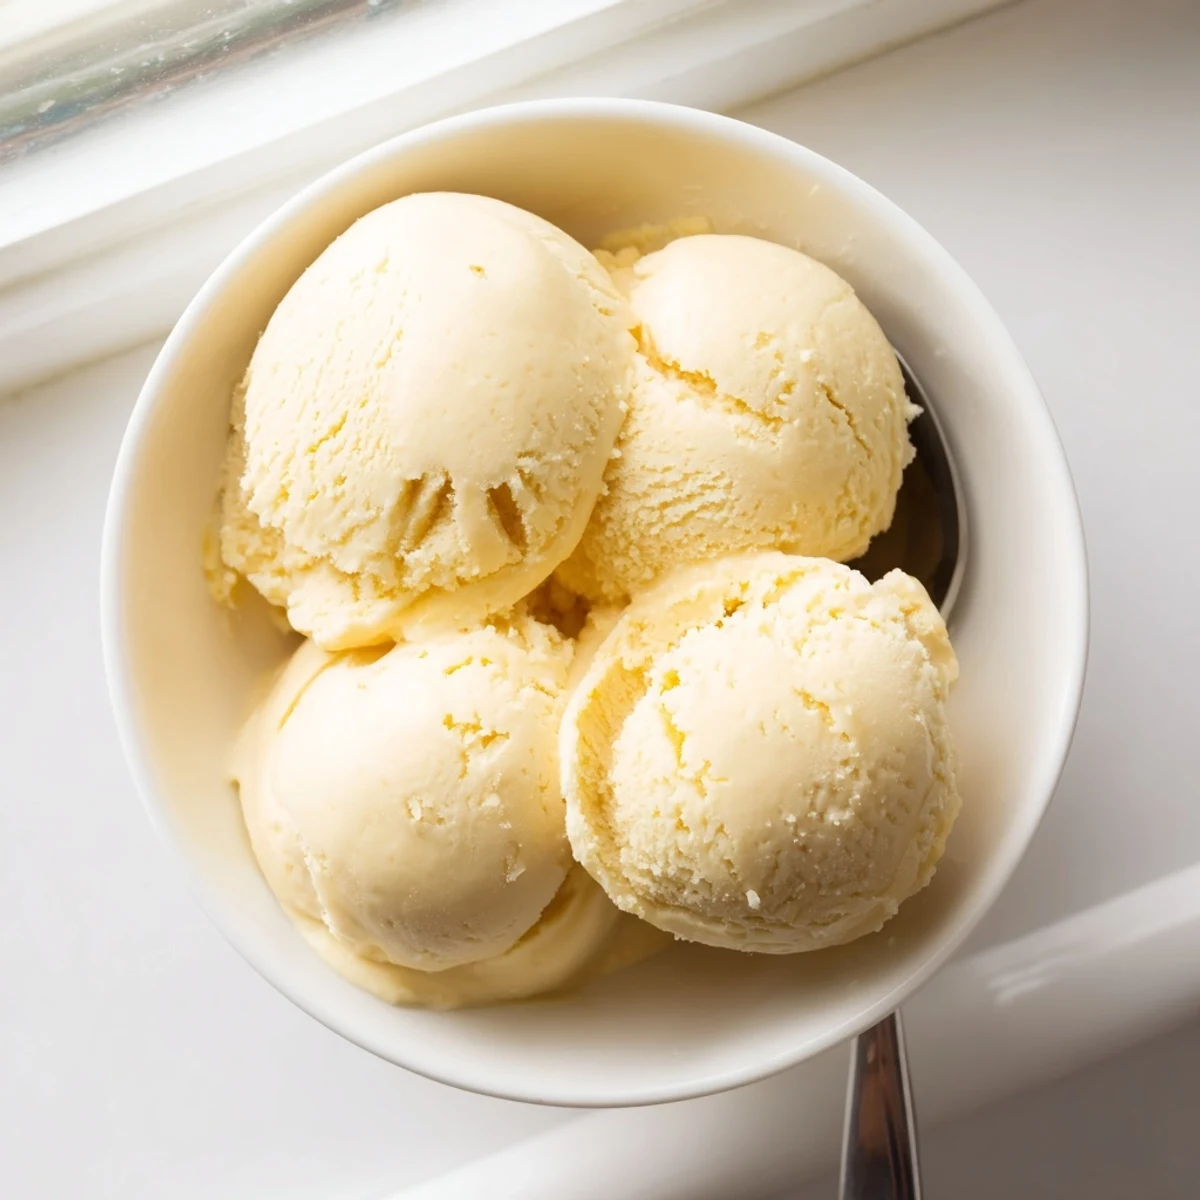
 Every scoop of this ice cream tastes like summer in a bowl and the kind of simple pleasure that never gets old. Share it generously, because watching someones face light up on the first bite is honestly the best part of making it.
Recipe FAQs
- → Why do I need to temper the egg yolks?
-
Tempering prevents the eggs from scrambling when added to the hot cream mixture. Slowly pouring hot liquid into the yolks while whisking raises their temperature gradually, creating a smooth custard base.
- → Can I make this without an ice cream maker?
-
Yes. Pour the chilled custard into a shallow container and freeze. Every 30 minutes for the first 3 hours, remove and vigorously whisk to break up ice crystals. The texture will be slightly denser but still delicious.
- → How long should I chill the mixture before churning?
-
Refrigerate the custard for at least 4 hours, or preferably overnight. This ensures the mixture is thoroughly cold, which helps it freeze faster and churn more evenly for better texture.
- → What's the best way to store homemade ice cream?
-
Use an airtight, freezer-safe container. Press a piece of parchment paper directly onto the surface before sealing to prevent ice crystals from forming. Consume within 2-3 weeks for optimal freshness.
- → How can I tell when the custard is thick enough?
-
The custard is ready when it coats the back of a wooden spoon and leaves a clear trail when you run your finger through it. This typically happens around 170-175°F (76-80°C).
- → Can I reduce the sugar in this recipe?
-
Sugar helps prevent ice crystals from forming and keeps the texture soft. Reducing sugar by more than 25% may result in a harder, icier finished product.