 Pin it
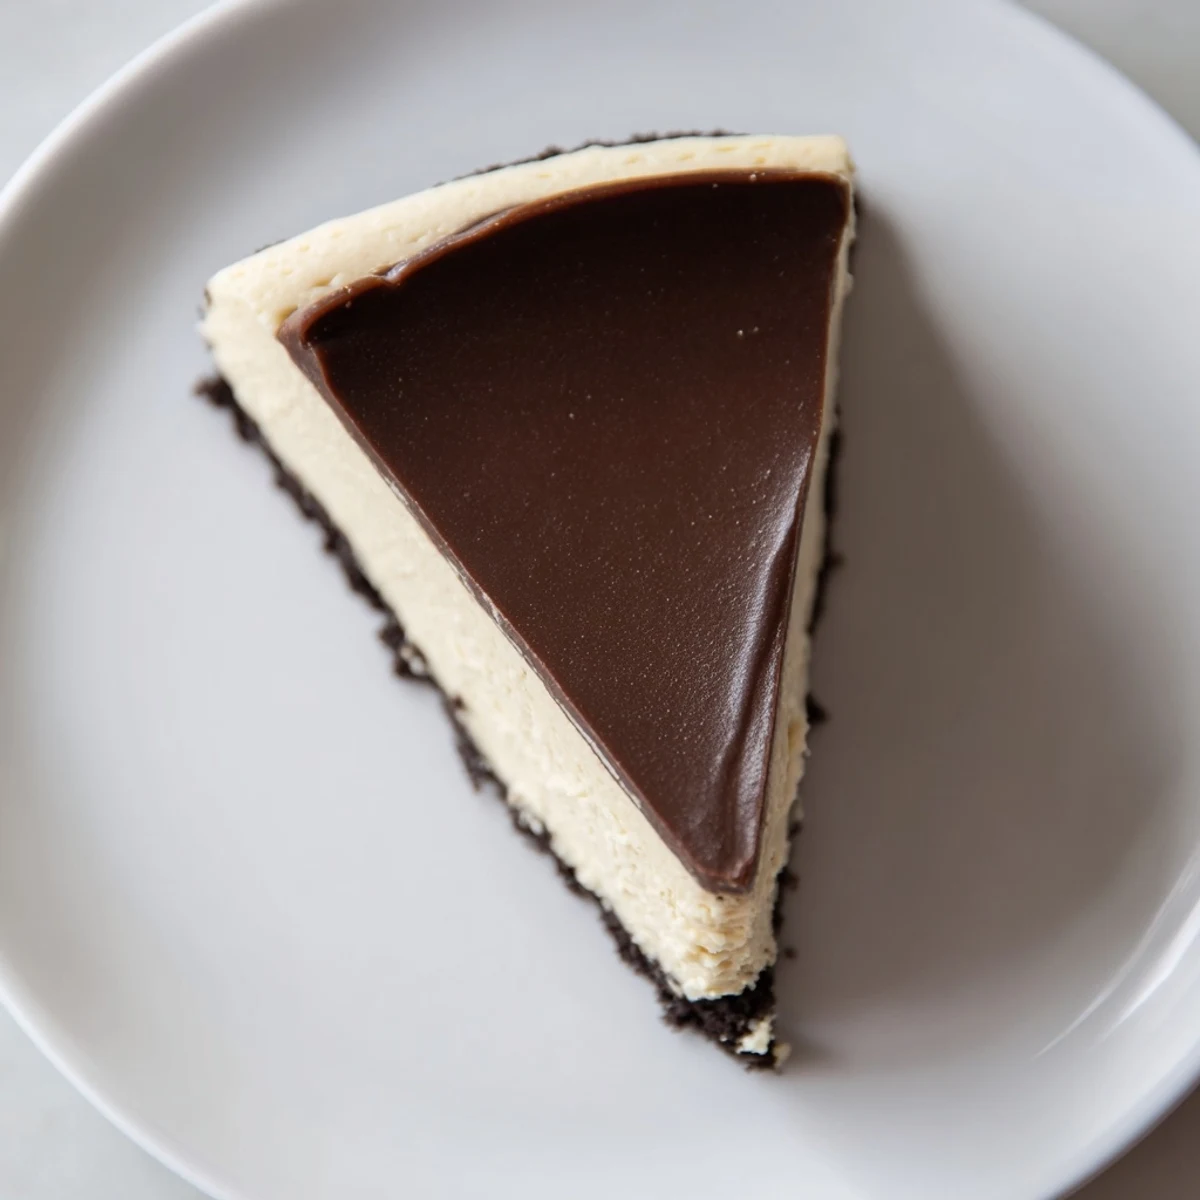
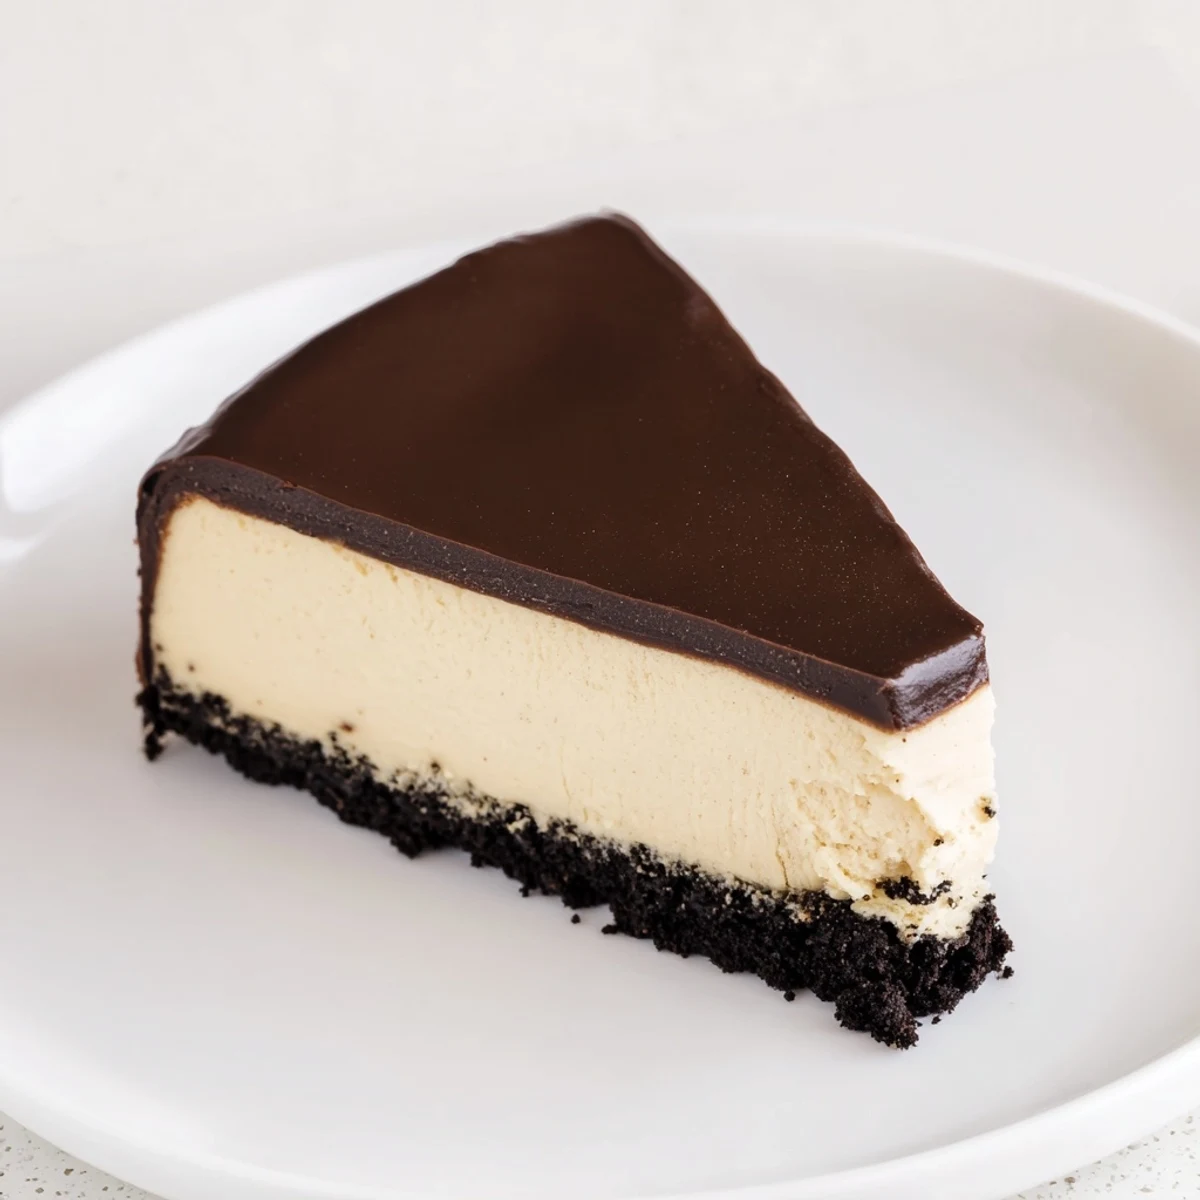
 This luscious cheesecake blends softened cream cheese with sugar and an alcohol-free Irish cream creamer for subtle flavor without the alcohol. The firm yet creamy filling rests on a chocolate cookie crust, baked until just set. After cooling, a rich ganache made from semi-sweet chocolate, heavy cream, and butter coats the surface, adding glossy, decadent appeal. Chilling ensures perfect texture, making it excellent for celebrations or indulgent treats.
The first time I made this cheesecake, my kitchen smelled like a chocolate shop crossed with a coffeehouse. That alcohol-free Irish cream creamer creates such an inviting aroma while it bakes, my family kept wandering in asking if it was done yet. Now it is the one dessert that disappears first at every gathering, with people who insist they do not like cheesecake going back for seconds.
I remember bringing this to a friends birthday dinner last winter. The birthday girl usually skips dessert, but after one bite she asked to take the leftover slice home. The way the Irish cream flavor mingles with the chocolate creates something comfortingly familiar yet special enough for occasions.
Ingredients
- 200 g chocolate sandwich cookies: These create a fudgy, crumbly foundation that holds up beautifully under the creamy filling
- 60 g unsalted butter, melted: Butter binds the crust together and adds that homemade richness store-bought crusts lack
- 680 g cream cheese, softened: Room temperature cream cheese is non-negotiable for that silky smooth filling without any lumps
- 200 g granulated sugar: This amount perfectly balances the tanginess of the cream cheese without making it cloyingly sweet
- 180 ml alcohol-free Irish cream creamer: This creates the signature flavor while keeping the dessert accessible for everyone
- 3 large eggs: Room temperature eggs incorporate better and prevent overmixing, which can lead to cracks
- 2 tsp vanilla extract: Pure vanilla enhances the Irish cream notes and adds depth
- 2 tbsp cornstarch: My secret for preventing cracks and giving the cheesecake structure without making it dense
- 1/4 tsp salt: A pinch of salt brightens all the flavors and keeps it from tasting flat
- 170 g semi-sweet chocolate, chopped: Semi-sweet provides the perfect balance to the creamy cheesecake underneath
- 120 ml heavy cream: Heavy cream creates that luxuriously smooth ganache that sets beautifully
- 1 tbsp unsalted butter: Butter adds shine and helps the ganache achieve that gorgeous glossy finish
Instructions
- Prepare the Crust:
- Preheat your oven to 160°C and line the bottom of your springform pan with parchment paper. Combine the cookie crumbs with melted butter until it feels like wet sand, then press it firmly into the pan bottom using the bottom of a measuring cup for an even layer.
- Bake the Foundation:
- Bake the crust for 10 minutes until you can smell the toasted cookies. Set it aside to cool while you make the filling, which helps prevent the crust from becoming soggy.
- Start the Filling:
- Beat the softened cream cheese and sugar together until you cannot see any granules of sugar remaining and the mixture is completely smooth. This usually takes about 2-3 minutes on medium speed.
- Add the Eggs Gently:
- Add eggs one at a time, mixing on low speed after each addition just until you no longer see yellow streaks. Overmixing here introduces air bubbles that can cause cracks during baking.
- Infuse the Flavor:
- Pour in the Irish cream creamer, vanilla, cornstarch, and salt. Mix until just combined, scraping down the sides and bottom of the bowl to ensure everything is evenly incorporated.
- Bake Patiently:
- Pour the filling over your crust and tap the pan gently on the counter a few times to release any trapped air bubbles. Bake for 50 to 60 minutes until the edges are set but the center still wobbles slightly like gelatin when you gently shake the pan.
- The Cooling Trick:
- Turn off the oven and crack the door open, letting the cheesecake cool gradually inside for 1 hour. This slow cooling is what prevents those dreaded cracks from forming.
- Chill Thoroughly:
- Let the cheesecake cool completely at room temperature, then refrigerate for at least 6 hours or overnight. The texture improves significantly after a full night of chilling.
- Make the Ganache:
- Place your chopped chocolate in a heatproof bowl. Heat the cream and butter in a small saucepan until you see tiny bubbles forming around the edges, then pour it over the chocolate and let it sit undisturbed for 2 minutes.
- Finish with Chocolate:
- Stir the chocolate and cream together gently until it becomes smooth and glossy. Spread it evenly over your chilled cheesecake, then refrigerate for at least 30 minutes before serving.
 Pin it
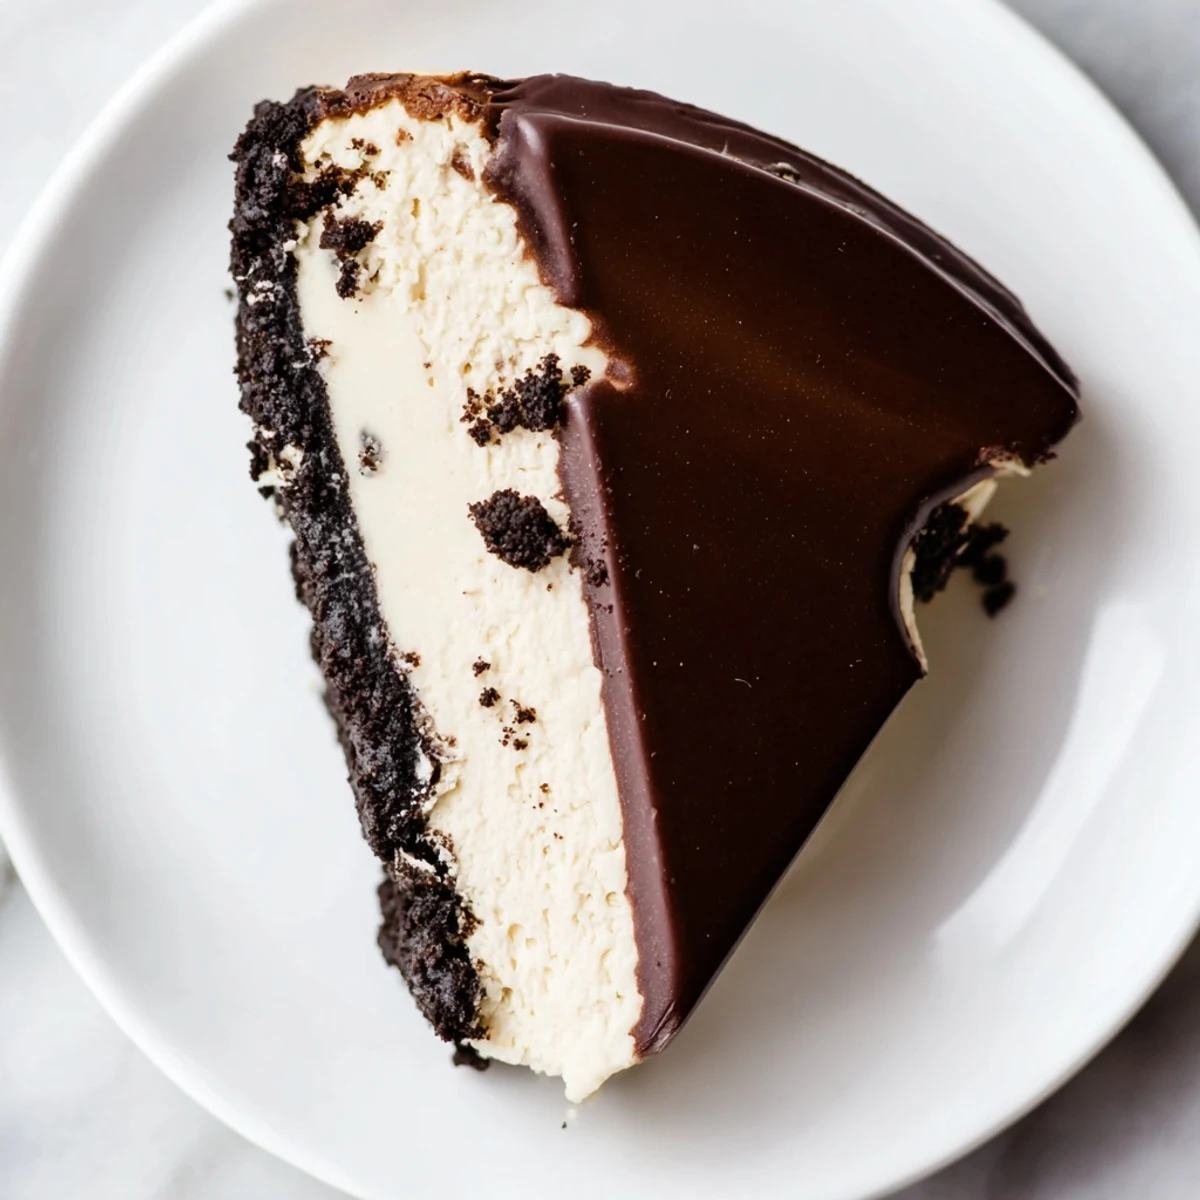
 My aunt texted me at midnight the first time she made this, asking if the jiggle in the center was normal. I assured her it was, and she sent back a photo the next morning of the most gorgeous slice she had ever made. She now calls it her special occasion dessert and makes it for everything from anniversaries to Tuesday night treats.
Making It Ahead
This cheesecake actually tastes better after sitting in the refrigerator for 24 hours. The flavors deepen and the texture becomes even creamier. I always make it the day before serving, which removes any stress from hosting or gathering preparation.
Perfect Slices Every Time
Run a sharp knife under hot water, wipe it dry, then slice through the cheesecake in one smooth motion. Wipe the knife clean and repeat between each slice for those picture-perfect restaurant-style wedges that look stunning on the plate.
Serving Suggestions
This rich cheesecake needs nothing more than a cup of coffee or tea to cut through the sweetness. The pairing of Irish cream flavors with chocolate creates such a complete dessert experience that additional garnishes feel unnecessary.
- Let refrigerated cheesecake sit at room temperature for 15 minutes before slicing for the best texture
- Use a warm knife dipped in hot water between cuts for clean edges
- Store any leftovers covered in the refrigerator for up to 5 days
 Pin it
 Every time I serve this, someone asks for the recipe, and I love watching their eyes widen when I tell them how simple it actually is. Good food should feel like a gift, both to make and to share.