 Pin it
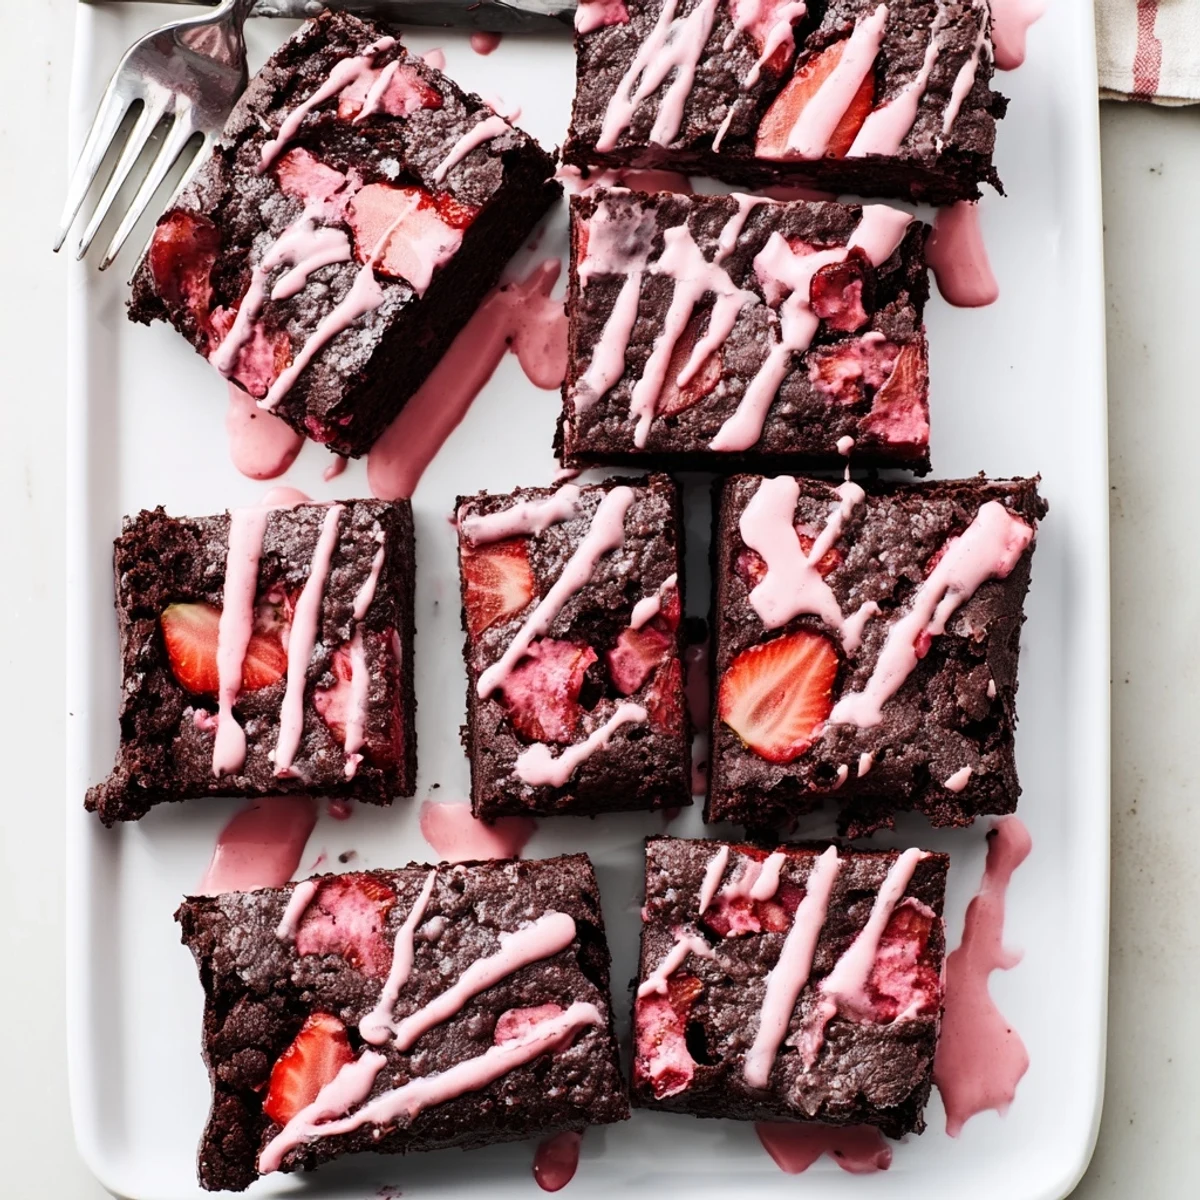
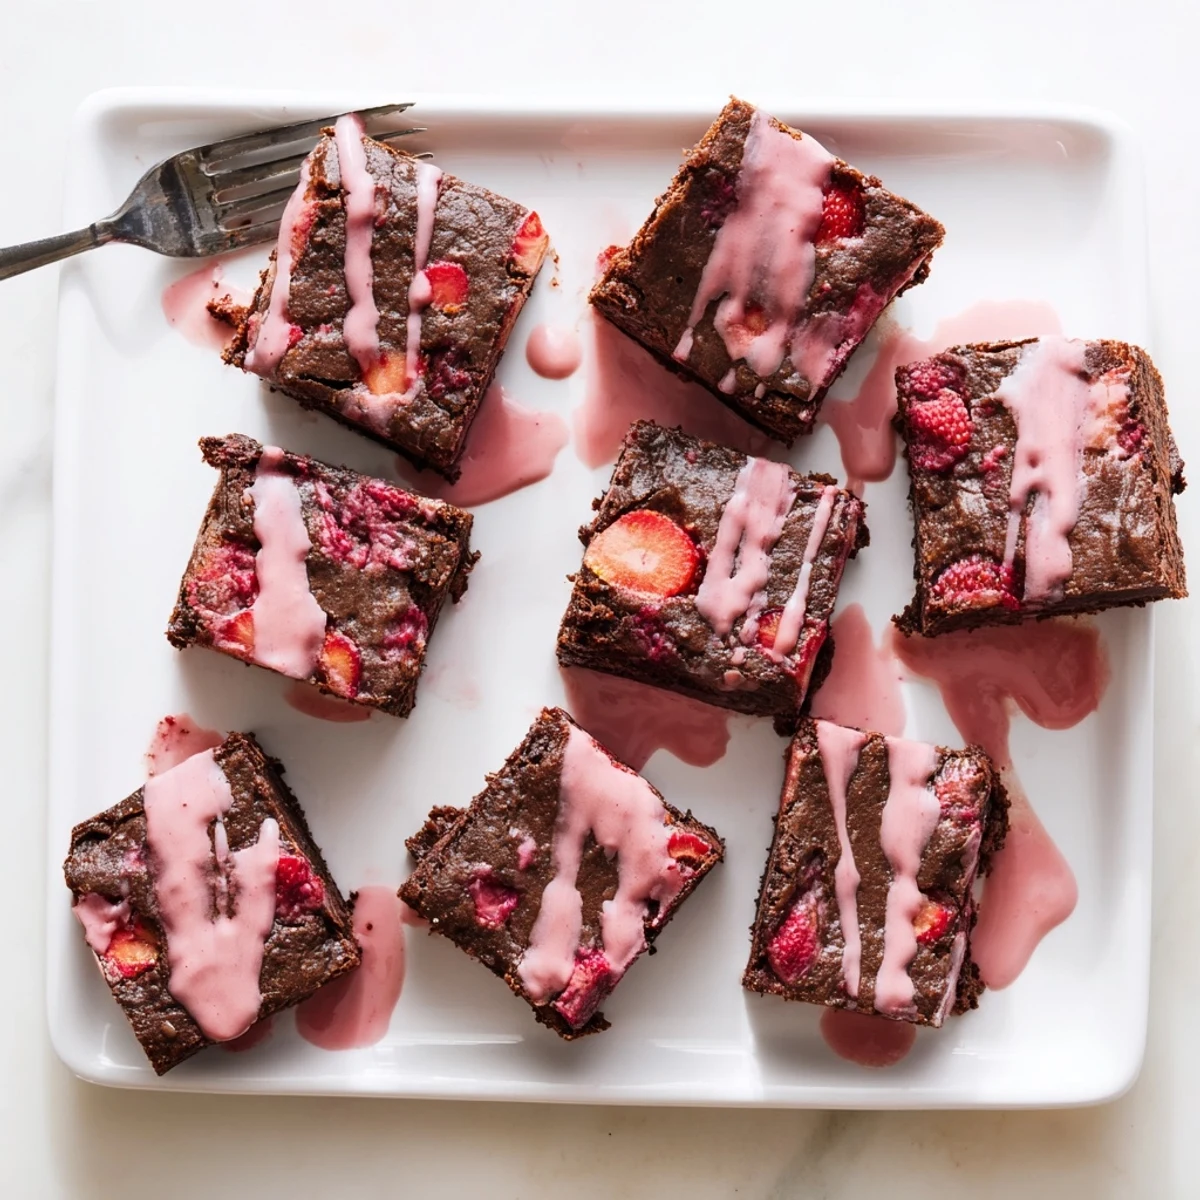
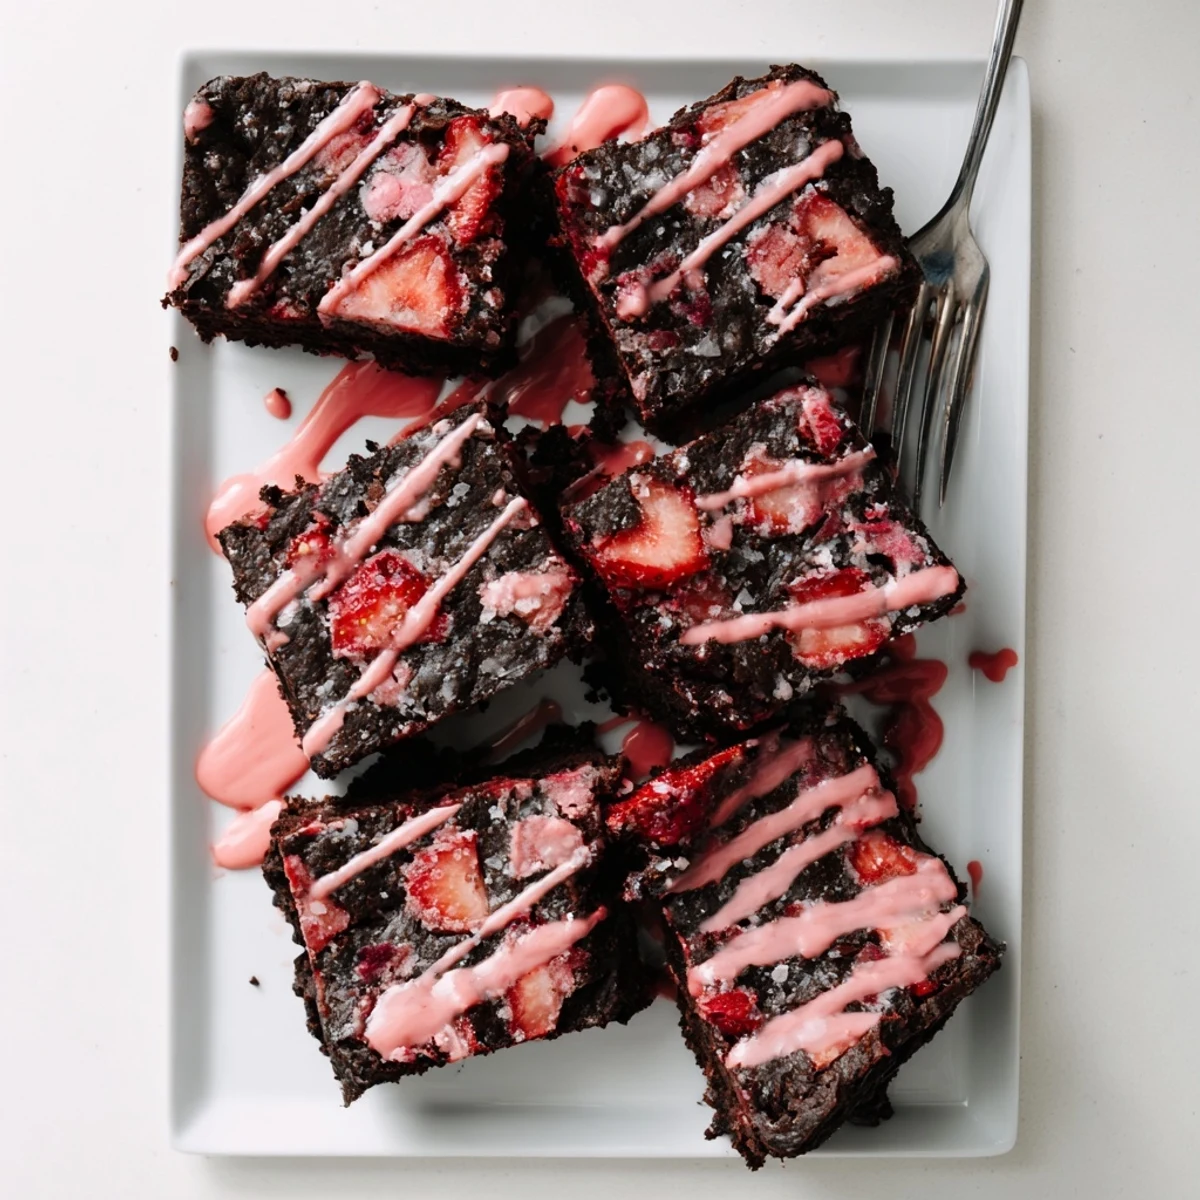
 These fudgy strawberry brownies combine rich chocolate with fresh, juicy strawberries for a delightful twist on the classic treat. The batter comes together quickly with melted butter, cocoa powder, and diced strawberries folded into the mixture. After baking to fudgy perfection, an optional strawberry glaze adds extra fruity sweetness and a beautiful finish.
My daughter came home from school last spring declaring she was over chocolate desserts. Within days, she spotted these strawberry brownies online and begged me to help her make them. Something about berries and chocolate sounded like a terrible idea to my traditional baking brain, but that grin won me over immediately.
We made three batches that first week, each one disappearing faster than the last. My son, the self proclaimed strawberry hater, actually ate two warm squares right off the cooling rack. Now it is the only dessert both kids agree on without any arguing.
Ingredients
- Fresh strawberries: Use ripe berries because they will release more juice into the batter creating those gorgeous pink swirls
- Unsalted butter: Melting it first makes these brownies incredibly dense and fudgy rather than cakey
- Granulated sugar: Do not reduce this or the brownies will not set properly because strawberries add so much moisture
- Large eggs: Room temperature eggs incorporate better and help create that crackly top everyone loves
- Vanilla extract: Pure vanilla makes the strawberry flavor pop instead of getting lost in the chocolate
- All-purpose flour: Measuring by weight is ideal here because too much flour makes them dry and cakey
- Unsweetened cocoa powder: Dutch process gives a deeper chocolate flavor that pairs beautifully with berries
- Salt: Just a pinch balances the sweetness from both the sugar and strawberries
- Additional strawberries for glaze: These get pureed into a bright pink drizzle that makes them look bakery worthy
- Powdered sugar: Creates a thick glossy glaze that sets firmly on top of the cooled brownies
- Lemon juice: Cuts through the sweetness and brightens the strawberry flavor in the glaze
Instructions
- Preheat your oven and prepare the pan:
- Line your baking pan with parchment paper letting the edges hang over slightly like a sling, which makes lifting the brownies out so much easier later.
- Mash the strawberries:
- Use a fork to mash the berries until they are juicy but still have small chunks visible, because you want those pockets of fruit throughout the brownies.
- Whisk the wet ingredients:
- Beat the melted butter and sugar together until they look glossy, then add the eggs one at a time followed by the vanilla.
- Combine the dry ingredients:
- Sift the flour, cocoa powder, and salt directly into the wet mixture, then fold gently just until the flour streaks disappear.
- Fold in the strawberries:
- Add the mashed berries and fold them through gently, leaving visible streaks of pink and red throughout the chocolate batter.
- Bake until just set:
- The brownies are done when a toothpick comes out with moist crumbs but not wet batter, and the edges have started pulling away from the pan slightly.
- Cool completely:
- Let them cool completely in the pan because the residual heat finishes setting the center and makes cutting cleaner squares much easier.
- Make the optional glaze:
- Whiz the strawberries in a mini food processor, then whisk the puree with powdered sugar and lemon juice until thick and drizzly.
 Pin it
 Last month, I brought a batch to a potluck and watched three adults crowd around the pan, debating whether they were chocolate desserts or fruit desserts. By the time I reached the dessert table, only crumbs remained. The host asked for the recipe before I even finished loading my car.
Getting That Swirly Look
Do not overfold the strawberries or you will lose those pretty ribbons of pink running through the chocolate. Just three or four gentle folds with your spatula will create those gorgeous marbled streaks that make these brownies so photogenic. The less you mess with the batter, the more dramatic the swirls will be.
Storage Secrets
These brownies actually taste better on day two because the strawberry flavor has time to meld with the chocolate. Keep them in an airtight container with a piece of bread to maintain moisture, and they will stay fudgy for three whole days on the counter. The glaze might get sticky in humid weather but that just makes them taste even fresher.
Make It Your Own
My neighbor adds white chocolate chips to hers and says it tastes like chocolate covered strawberries in brownie form. During berry season you can use fresh raspberries or chopped dark cherries instead of strawberries. If you want them extra fudgy, reduce the flour by two tablespoons but be prepared for them to need five more minutes in the oven.
- Try adding a drop of almond extract to the glaze for a strawberry almond vibe
- A sprinkle of sea salt on top of the wet glaze creates an incredible sweet salty contrast
- These freeze beautifully without the glaze if you want to make them ahead for parties
 Pin it
 Every time I make these now, I think about that afternoon in the kitchen with my daughter, flour on her nose and strawberry juice everywhere. Some recipes are just meant to be messy and shared.
Recipe FAQs
- → Can I use frozen strawberries instead of fresh?
-
Yes, frozen strawberries work well. Thaw them completely and drain excess liquid before dicing. This prevents the batter from becoming too watery while maintaining the fruity flavor.
- → How do I know when the brownies are done baking?
-
Insert a toothpick into the center. It should come out with a few moist crumbs but not wet batter. The edges should be set while the center remains slightly soft for that perfect fudgy texture.
- → Can I add white chocolate chips?
-
Absolutely. White chocolate chips complement the strawberry flavor beautifully. Fold in ½ to 1 cup along with the mashed strawberries for extra sweetness and creaminess.
- → How should I store these brownies?
-
Keep in an airtight container at room temperature for up to 3 days. For longer storage, refrigerate for up to a week. The glaze may soften slightly at room temperature but remains delicious.
- → Can I make these gluten-free?
-
Yes. Substitute the all-purpose flour with a 1:1 gluten-free flour blend. Ensure the blend contains xanthan gum for proper texture. The result will be equally delicious.