 Pin it
 This homemade yogurt requires only two ingredients: whole milk and plain yogurt with active cultures. Gently heat the milk to 85°C, cool it to 43°C, mix in the starter, and let it incubate in a warm spot for 8–12 hours.
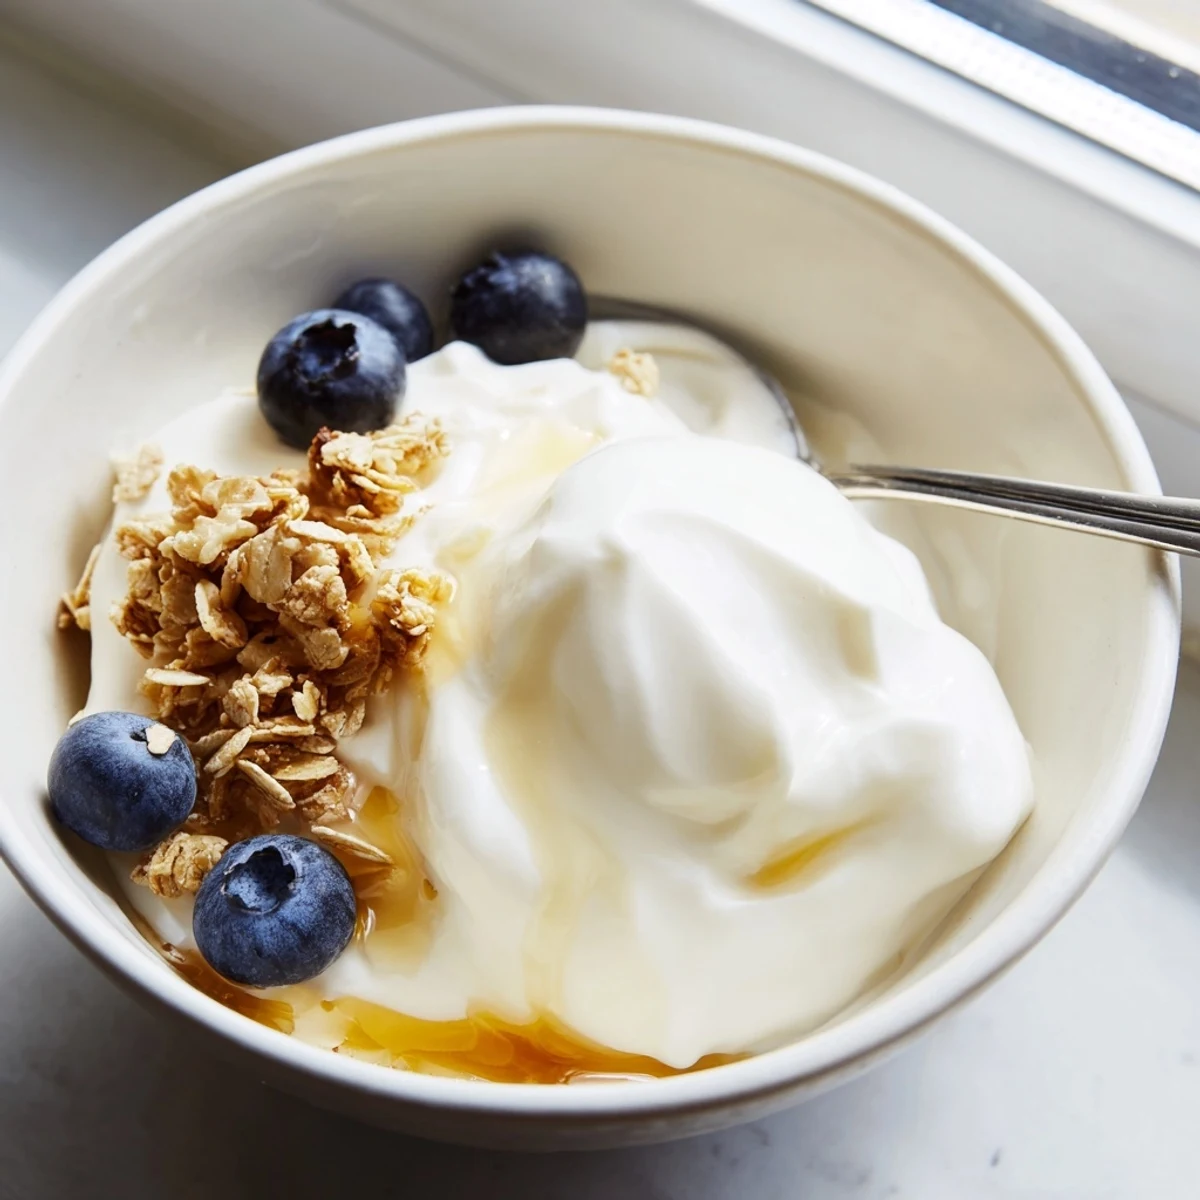
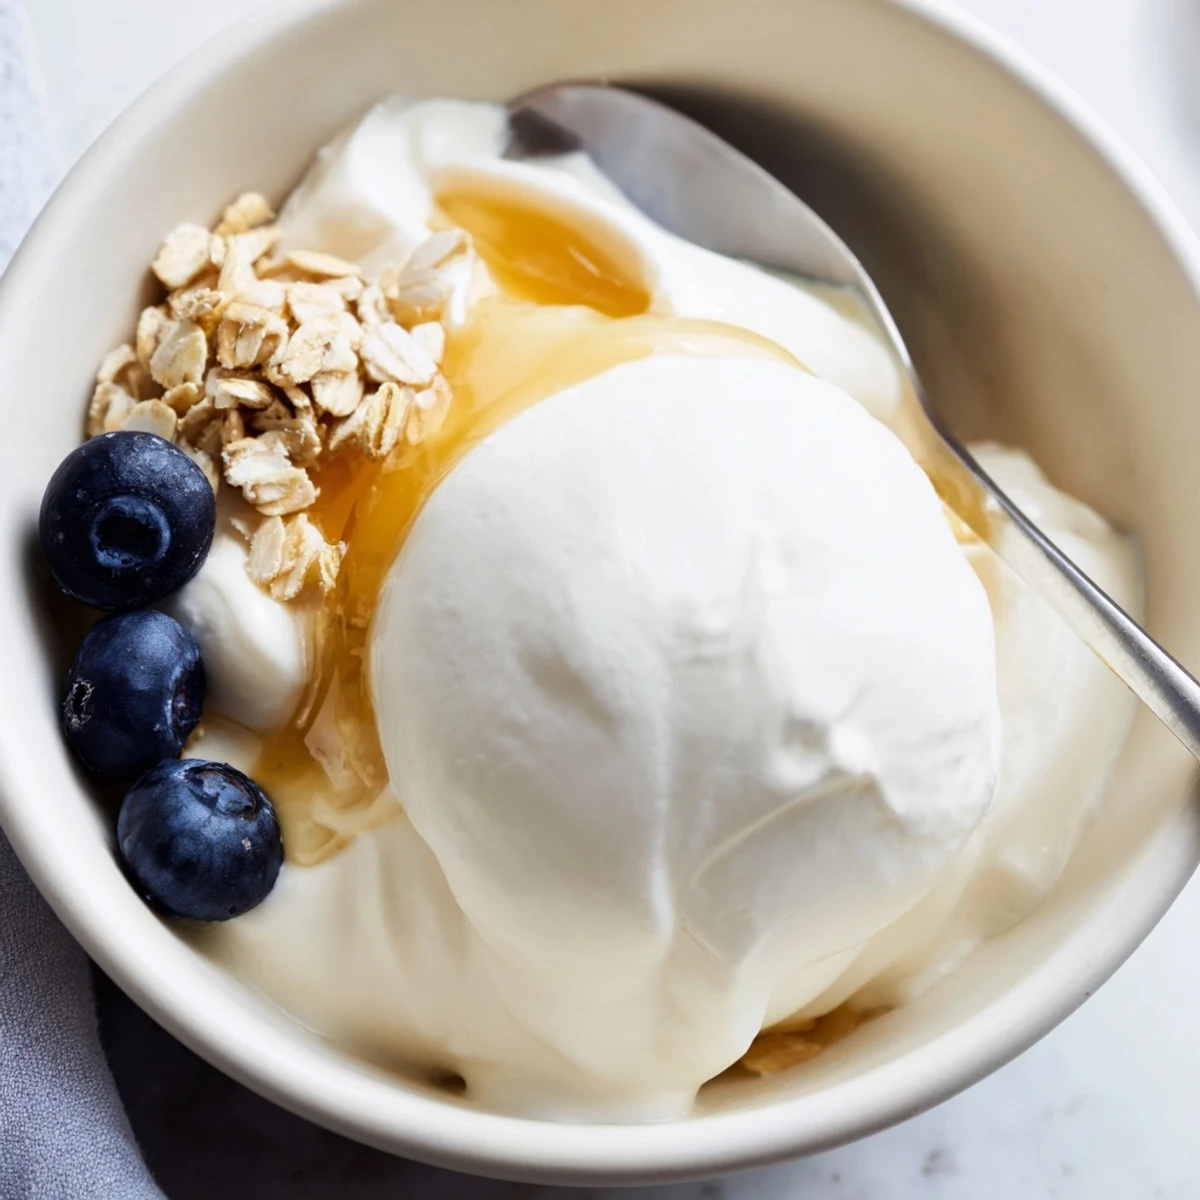
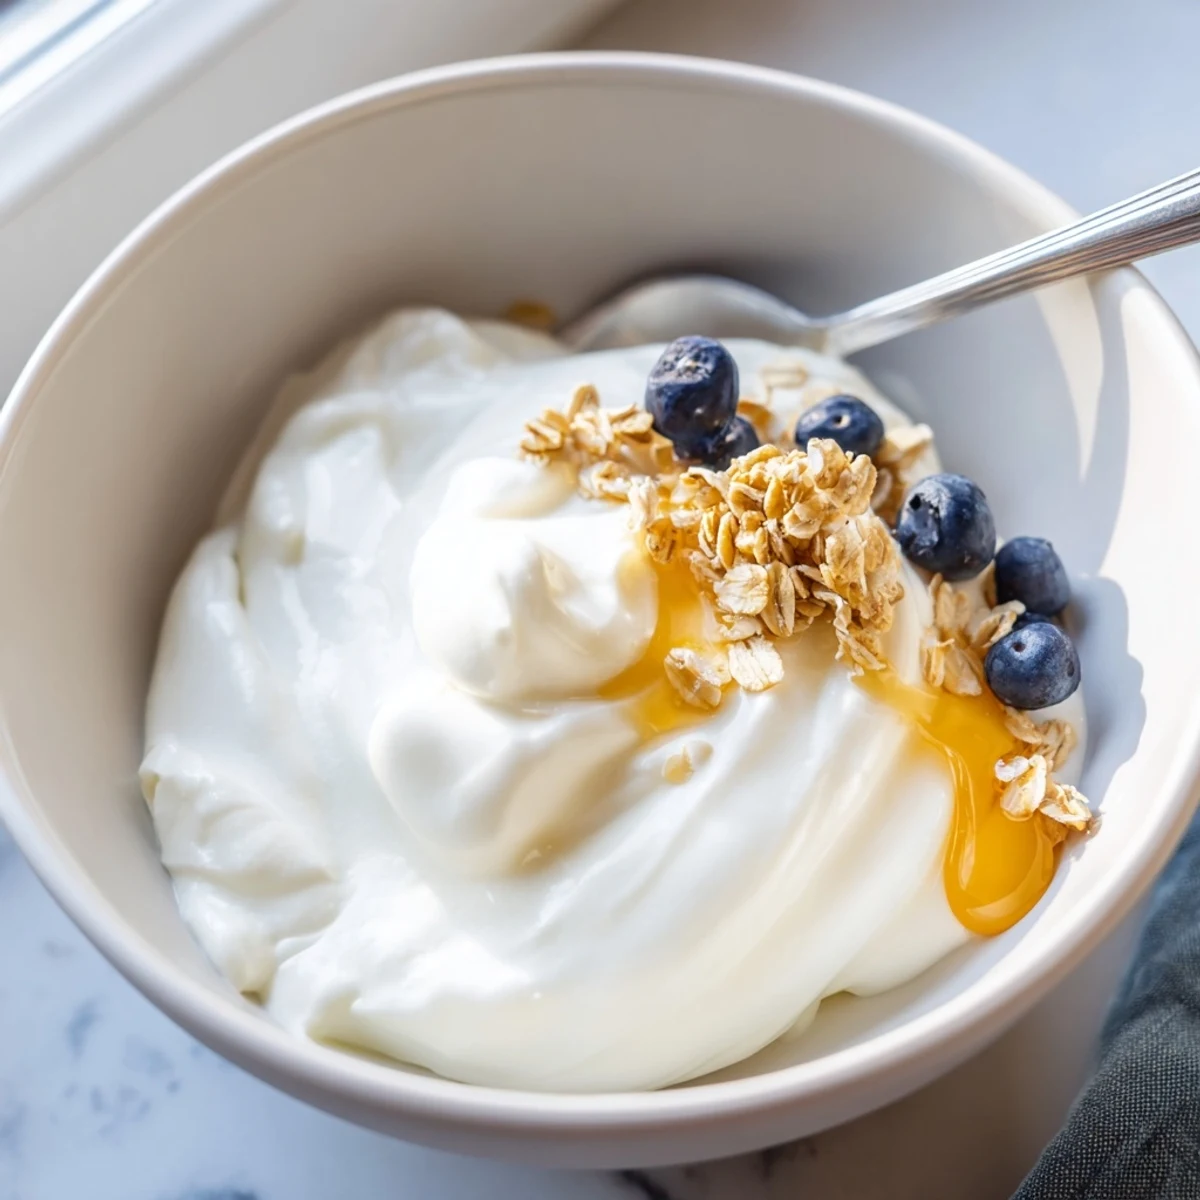
The result is a creamy, tangy yogurt that's perfect for breakfast bowls, snacking, or using as a base for dips and sauces. Strain it through cheesecloth for an even thicker consistency.
Save a portion of each batch to use as your starter for the next one, making this an ongoing kitchen staple that practically sustains itself.
The sound of milk scalding on a Tuesday morning changed everything about how I think about breakfast. I had been buying tubs of yogurt for years, never once considering that two ingredients and a warm oven could produce something far superior. That first batch, wobbly and delicate in a mason jar, tasted alive in a way no store version ever had.
My neighbor Clara stopped by the afternoon of my third batch, and I handed her a jar still warm from incubation. She stood in the doorway eating it with a spoon, eyes wide, and asked if I was secretly running a dairy farm in my kitchen.
Ingredients
- Whole milk (1 liter): Whole milk produces the creamiest, most luxurious result, though low fat works if that is what you have.
- Plain yogurt with active cultures (2 tablespoons): This is your starter, so check the label for live cultures and avoid anything with added sugar or flavors.
Instructions
- Heat the milk gently:
- Pour the milk into a saucepan and warm it over medium heat, stirring now and then, until it reaches 85 degrees Celsius. Watch it carefully because scorched milk is a smell that lingers unpleasantly for hours.
- Cool to the sweet spot:
- Remove the pan from heat and let the milk drop to between 43 and 45 degrees Celsius. This patience is the hardest part of the whole recipe, but adding starter too hot will kill the cultures.
- Temper the starter:
- Scoop a few tablespoons of the cooled milk into a small bowl and whisk in the yogurt starter until perfectly smooth. This step prevents clumps and ensures even fermentation throughout your batch.
- Combine everything:
- Pour the thinned starter back into the saucepan and stir gently but thoroughly so the cultures are distributed evenly through every drop of milk.
- Pour and cover:
- Transfer the mixture into a clean container or divide it among individual jars, then cover loosely with lids or a clean towel. Cleanliness matters here because you are creating an ideal environment for bacteria to thrive.
- Incubate in warmth:
- Place the containers in a warm spot for 8 to 12 hours. A turned off oven with the light switched on works beautifully, and the longer you wait, the tangier your yogurt will become.
- Chill before serving:
- Move the set yogurt to the refrigerator for at least 2 hours, which firms the texture and mellows the flavor into something wonderfully creamy.
- Store and enjoy:
- Keep your yogurt refrigerated and it will stay fresh for up to a week, though in my house it never lasts that long.
 Pin it
 There is something quietly thrilling about opening the oven door after eight hours and finding those jars transformed, solid and gleaming, as though magic happened while you were sleeping.
Making It Your Own
Thick Greek style yogurt is just one step further: strain your finished batch through cheesecloth for a few hours and watch the whey drain away into something dense and spreadable. A dollop of that on warm flatbread with a drizzle of olive oil and a pinch of salt rivals anything from a restaurant mezze plate.
Feeding a Habit
Save a few tablespoons from each batch to start the next one, and you create a continuous loop of yogurt that connects every week in your kitchen. After four or five generations, consider refreshing with a new store bought starter to keep the cultures vigorous and the flavor consistent.
Serving Without Fuss
Homemade yogurt is a blank canvas that rarely needs much embellishment, but a few additions turn it into something special with almost no effort.
- Fresh berries and a pour of honey in summer is all you need for a breakfast that feels indulgent.
- Toasted granola layered in a glass turns it into a portable snack that actually satisfies.
- A sprinkle of zaatar and a splash of good olive oil makes a savory dip that disappears fast at any gathering.
 Pin it
 A jar of homemade yogurt in the fridge is a small act of self sufficiency that makes Tuesday mornings feel a little more intentional. Start a batch tonight and tomorrow you will understand.
Recipe FAQs
- → What temperature should the milk reach before adding the starter?
-
Heat the milk to 85°C (185°F) first, then let it cool to 43–45°C (110–113°F) before mixing in the yogurt starter. The cooler temperature is essential—anything hotter will kill the live cultures.
- → How long does the yogurt need to incubate?
-
Plan for 8 to 12 hours of incubation in a warm, consistent environment. A turned-off oven with the light on, a yogurt maker, or any spot that stays around 40–45°C works well. Longer incubation produces tangier yogurt.
- → Can I reuse homemade yogurt as a starter for the next batch?
-
Yes, save a few tablespoons from your current batch to culture the next one. This works for several generations, though you may notice changes in texture or tanginess over time. Simply replace with fresh store-bought yogurt when needed.
- → How can I make the yogurt thicker?
-
Strain the finished yogurt through a cheesecloth or fine mesh strainer for several hours in the refrigerator. The longer it drains, the thicker it becomes—similar to Greek yogurt or even labneh.
- → Can I make this with dairy-free milk?
-
You can use plant-based milk like soy, oat, or almond milk. However, you'll need a dairy-free yogurt starter specifically formulated for plant milks, as regular dairy starters may not culture properly in alternative milks.
- → How long does homemade yogurt last in the refrigerator?
-
Store your yogurt in a sealed container in the refrigerator for up to one week. Always use a clean spoon when serving to avoid introducing bacteria that could shorten its shelf life.